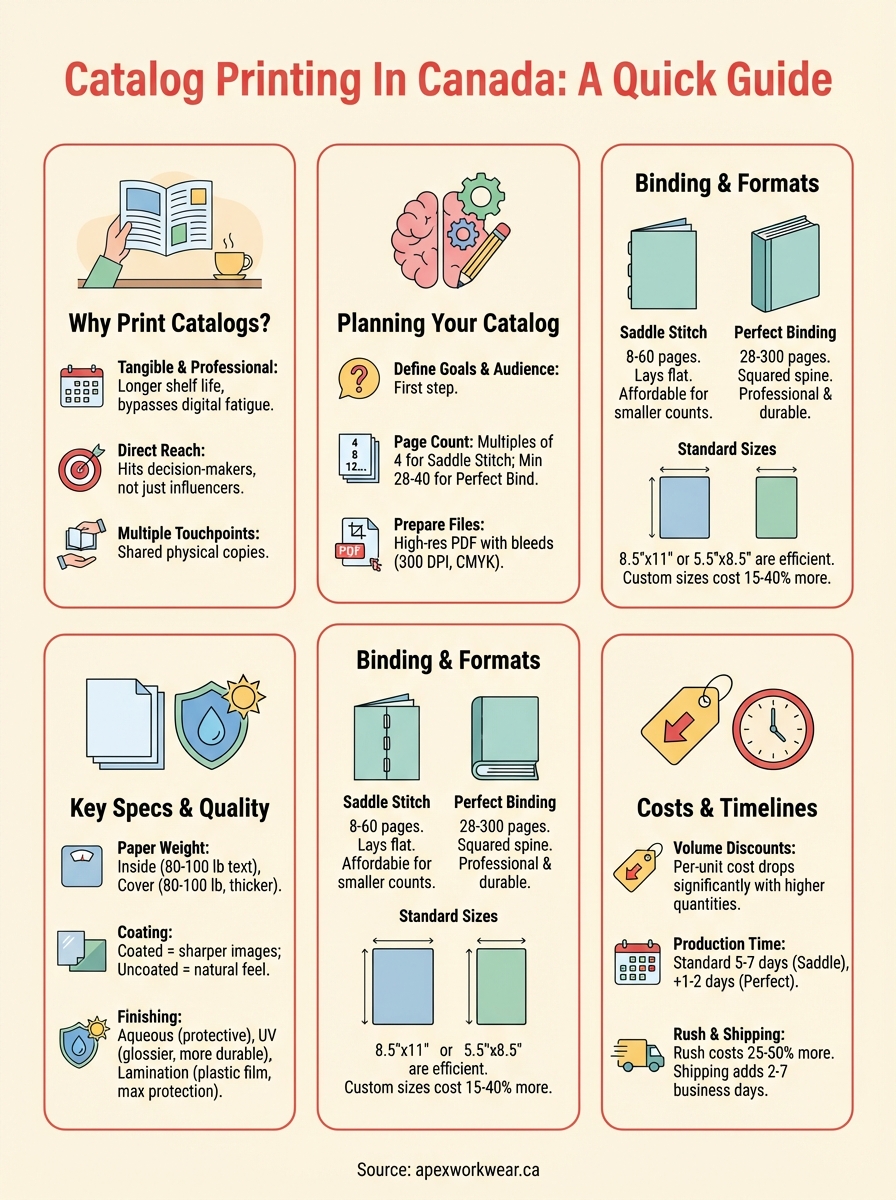
Catalog printing turns your product listings and service offerings into professionally bound books that customers can browse, share, and keep. You get physical marketing materials that showcase your full range in an organized format, whether that’s a 12-page booklet or a 100-page perfect bound catalog. Canadian businesses use printed catalogs to stand out at trade shows, leave behind after sales calls, mail to prospects, or display in showrooms and retail spaces.
This guide covers everything you need to order catalogs in Canada. You’ll learn about binding methods like saddle stitch and perfect binding, standard sizes and custom options, paper weights that affect durability and cost, typical pricing for different quantities and formats, and realistic turnaround times from Canadian printers. We’ll also walk through the planning process so you know what specs to choose and what files to prepare before you request quotes. By the end, you’ll understand exactly what to order and what questions to ask when comparing catalog printing services.
Why catalog printing matters for Canadian brands
Your competitors send emails that get deleted and run ads that get blocked, but a printed catalog sits on desks, coffee tables, and reception counters for weeks or months. Catalog printing gives you a tangible marketing tool that prospects can flip through during meetings, reference when making purchasing decisions, and share with colleagues without forwarding links or remembering websites. You control the entire browsing experience from cover to back page, guiding readers through your products in the exact sequence you choose.
Tangible marketing in a digital world
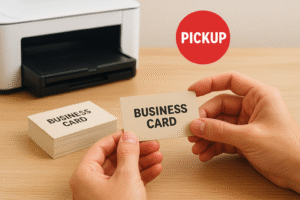
Digital fatigue is real. Your potential customers receive hundreds of emails weekly and scroll past thousands of social media posts, but they hold onto physical materials that feel valuable. A well-designed catalog signals professionalism and permanence in ways that digital content cannot match. You gain shelf life that digital campaigns never achieve, staying visible in offices and homes long after online ads disappear. Trade show visitors stuff business cards in bags and forget them, but they keep catalogs that showcase your full product line with detailed specifications and pricing.
Printed catalogs create multiple touchpoints as different team members review the same physical copy during purchasing discussions.
Reaching decision-makers directly
Mailing catalogs to targeted prospect lists puts your products directly into the hands of buyers who make purchasing decisions, not just influencers who scroll social media. You bypass spam filters and inbox clutter entirely. B2B buyers particularly value printed reference materials they can mark up, tab, and return to throughout long sales cycles. Your catalog becomes a working document in their procurement process, not just another piece of content competing for screen time. Canadian businesses that combine catalog printing with digital marketing see higher conversion rates because they reach prospects through multiple channels, meeting them where they actually review products and compare options.
How to plan and order a catalog
Successful catalog printing starts with knowing your goals and your readers. You need to define how many pages you’ll need to showcase your products or services, who will receive the catalog, and what action you want them to take after reading it. Most Canadian businesses rush to choose paper weights and binding methods before they figure out content structure, then end up reprinting because their specs don’t match their needs. Start by mapping out your content first, then choose the physical specifications that support that content.
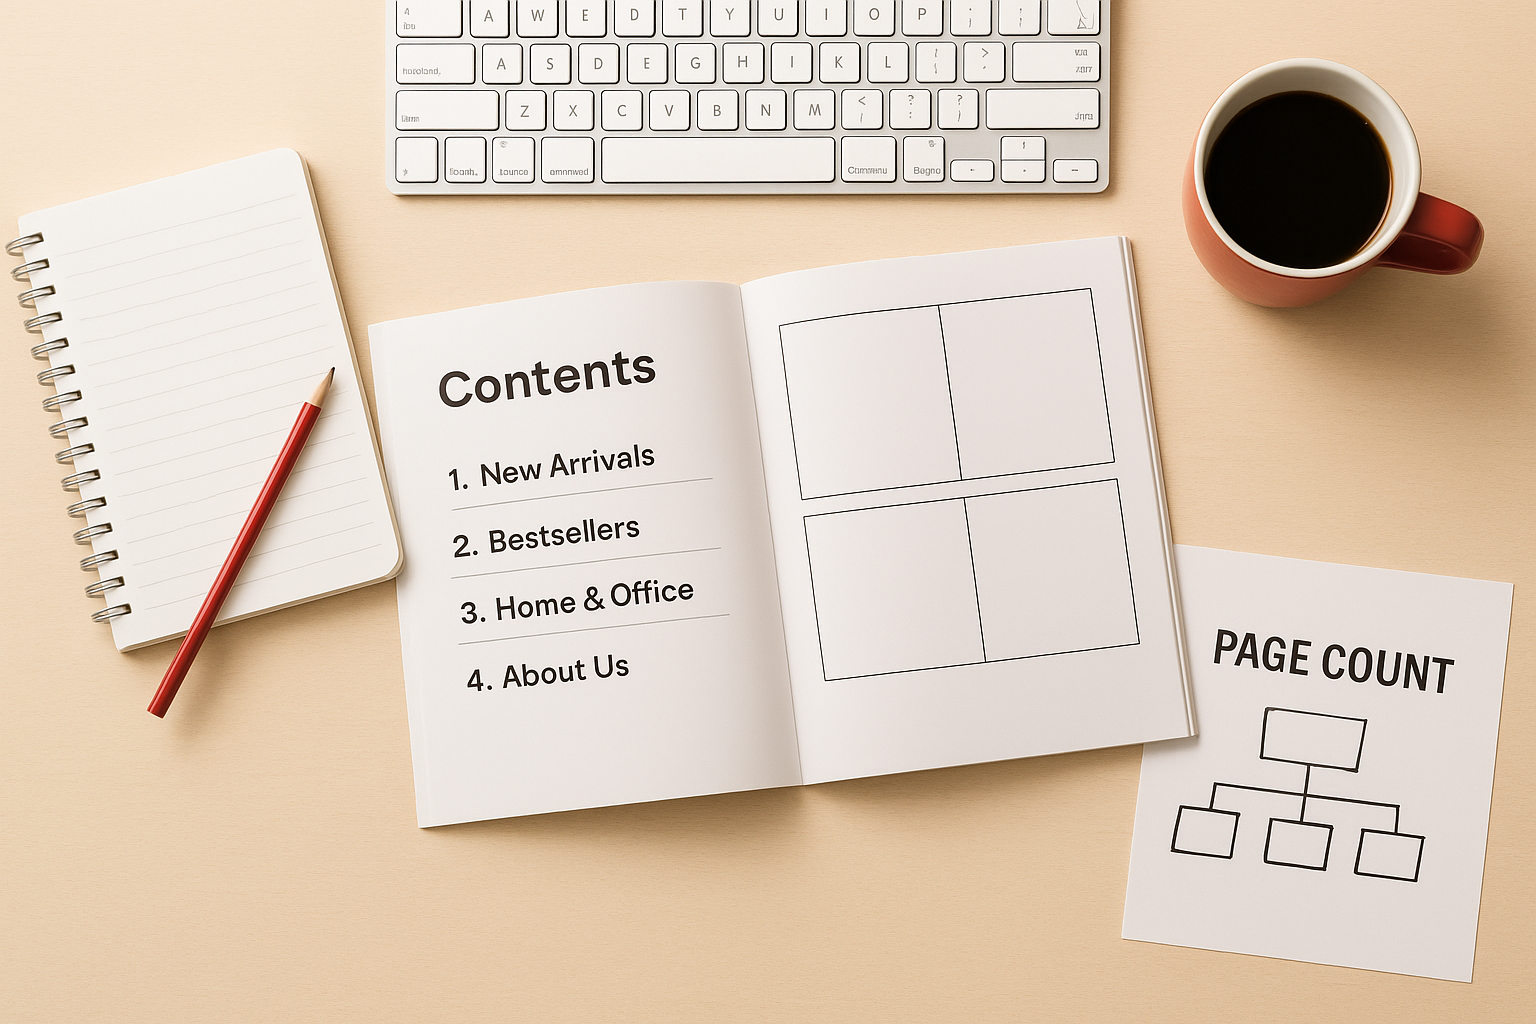
Organizing your content and page count
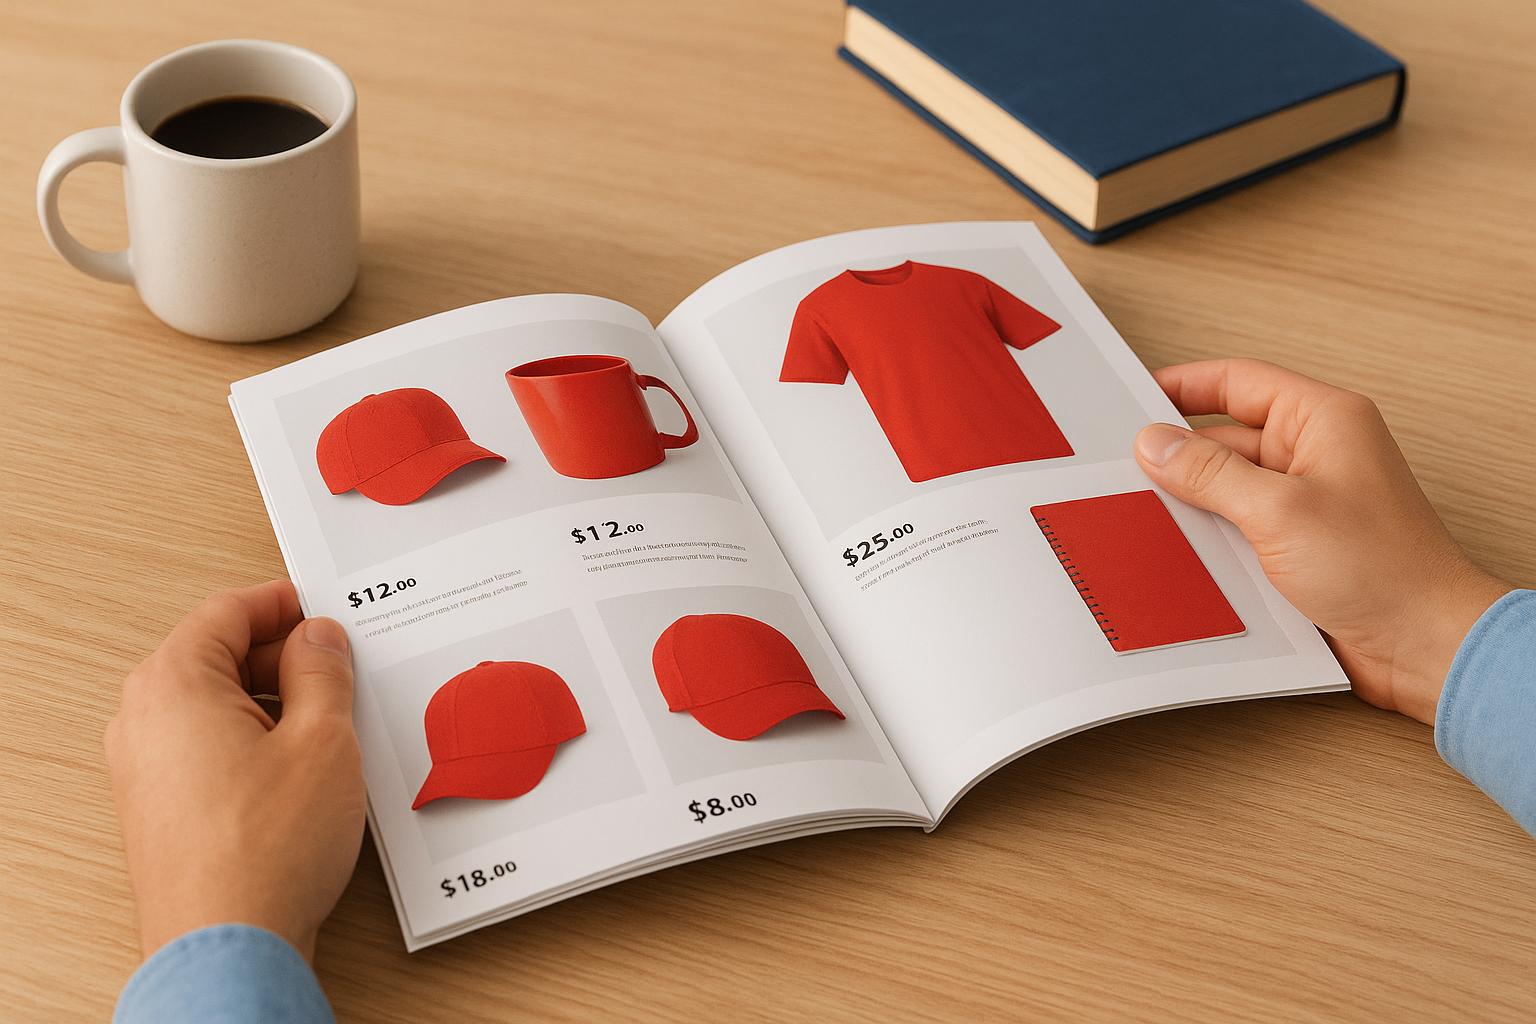
Your page count determines which binding methods you can use and affects your per-unit cost significantly. Catalogs require page counts in multiples of four for saddle stitch binding (covers count as pages), so you plan in 8-page, 12-page, 16-page, or larger increments. Perfect binding offers more flexibility but requires minimum page counts of 28 to 40 pages depending on the printer. List every product category, service offering, or section you need to include, then calculate how many pages each section requires based on how much detail and how many images you’ll provide. Add pages for your cover, table of contents, company information, contact details, and order forms. Canadian printers typically charge less per page as your total count increases, but printing 48 pages when you only need 32 wastes money on filler content nobody reads.
Plan your page count based on actual content needs, not arbitrary targets or what competitors do.
Preparing files and requesting quotes
You get accurate quotes from Canadian catalog printing services when you provide complete specifications upfront. Tell printers your finished size (like 8.5" x 11" or 5.5" x 8.5"), total page count including covers, preferred binding method, paper weight for inside pages and covers, quantity you need, and your deadline. Request quotes from at least three printers to compare pricing and turnaround times. Most Canadian printers want your files as high-resolution PDFs with bleeds (extra image area beyond trim edges), so ask for their specific file requirements before you finalize designs. You’ll receive a digital proof to review and approve before printing begins. This approval stage catches layout errors, colour issues, or text problems that would be expensive to fix after printing thousands of copies.
Catalog formats, binding and sizes
Your choice of binding method and finished size affects how customers handle your catalog, how long it lasts, and what it costs to print. Catalog printing services in Canada offer different binding options based on your page count, with each method suited to specific uses and budgets. You balance durability requirements against cost constraints while choosing dimensions that fit standard mailing envelopes or display racks. Understanding these format decisions before you design pages saves you from expensive redesigns or binding methods that don’t match how readers will actually use your catalog.
Saddle stitch binding for lighter catalogs
Saddle stitch binding works like a magazine, with pages folded in half and stapled through the spine. Canadian printers use this method for catalogs with 8 to 60 pages (including covers), making it the most affordable option for smaller publications. You get catalogs that lay flat when opened, which helps readers view full-page spreads of products without fighting pages that want to close. The middle pages sit slightly closer to the spine than outer pages, so you avoid placing important text or images within 3mm of the fold. Restaurants, retail shops, and service businesses choose saddle stitch for seasonal catalogs they update frequently because the lower cost per unit makes reprinting affordable. Your catalogs arrive ready to distribute, with no additional bindery work required.
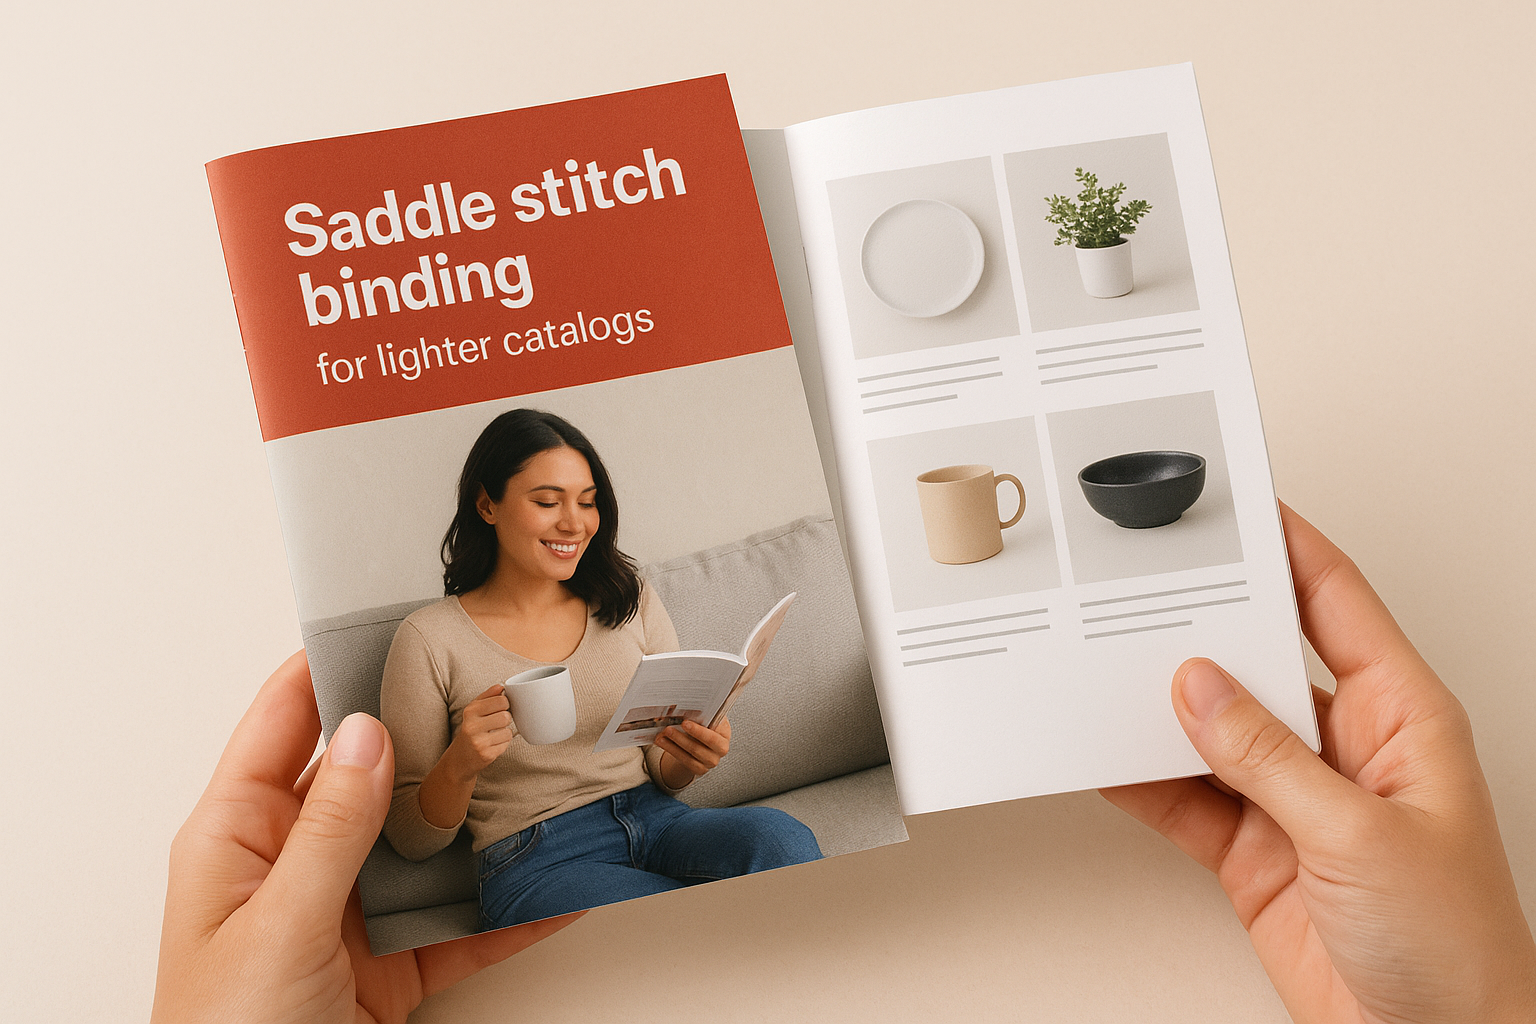
Saddle stitch binding costs 30% to 50% less than perfect binding for catalogs under 40 pages.
Perfect binding for professional presentations
Perfect binding creates a flat, squared spine like a paperback book, with pages glued into the cover rather than stapled. This method handles catalogs from 28 to 300 pages, giving you capacity for comprehensive product lines or detailed specifications. You get a spine wide enough to print your company name and catalog title, making your publication easy to identify on shelves or desks. The binding creates a more permanent, professional appearance that suggests higher value, which matters when you’re targeting corporate buyers or selling premium products. Perfect bound catalogs require slightly longer production times (typically 1 to 2 days extra) and cost more per unit, but they withstand repeated handling better than saddle stitched versions.
Standard and custom dimensions
Canadian businesses print most catalogs in 8.5" x 11" (letter size), 5.5" x 8.5" (half letter), or 8.5" x 5.5" (landscape half letter) because these sizes use standard paper sheets efficiently and fit common envelopes. Letter size catalogs provide maximum space for product photos and detailed descriptions. Half letter dimensions reduce mailing costs and fit easily in bags or pockets, making them practical for trade shows or door-to-door distribution. You pay 15% to 40% more for custom sizes like 7" x 10" or 6" x 9" because printers generate more paper waste during trimming. Custom dimensions make sense when you need specific proportions for your products or want a distinctive format that stands out from competitors’ catalogs.
Key print specs that affect quality
The paper, coating, and colour specifications you choose determine how your catalog looks, feels, and holds up to repeated handling. Print quality affects how customers perceive your brand and products, with heavier papers and professional finishes suggesting higher value than thin, uncoated stock. You need to balance quality expectations against budget constraints while understanding which specs actually improve the reader experience and which ones just increase costs without noticeable benefits. Canadian catalog printing services offer standard combinations that work for most businesses, but knowing your options helps you make informed decisions when customizing specifications.
Paper weight and stock selection
Inside pages typically use 80 lb to 100 lb text weight paper (also called book weight), with 100 lb providing a more substantial feel and better opacity that prevents images from showing through from the other side. Lighter 70 lb or 80 lb paper reduces mailing costs for thick catalogs but feels flimsy and shows more print-through, which matters when you print dark images or solid backgrounds. Cover stock uses 80 lb to 100 lb cover weight paper, which is significantly thicker and more rigid than text weight despite similar numbers. The cover weight designation means the paper is manufactured for durability rather than just bulk.
Coated papers produce sharper images and more vibrant colours than uncoated stock because the coating prevents ink from soaking into the paper fibers. Most product catalogs use coated paper for inside pages to maximize image quality, while some service businesses choose uncoated stock for a more natural, tactile feel. You see the difference immediately when comparing gloss-coated pages (which reflect light and show fingerprints) against matte-coated pages (which reduce glare while still delivering excellent colour reproduction). Uncoated paper works well for catalogs with mostly text and simple graphics, but photographs look dull and colors appear muted compared to coated alternatives.
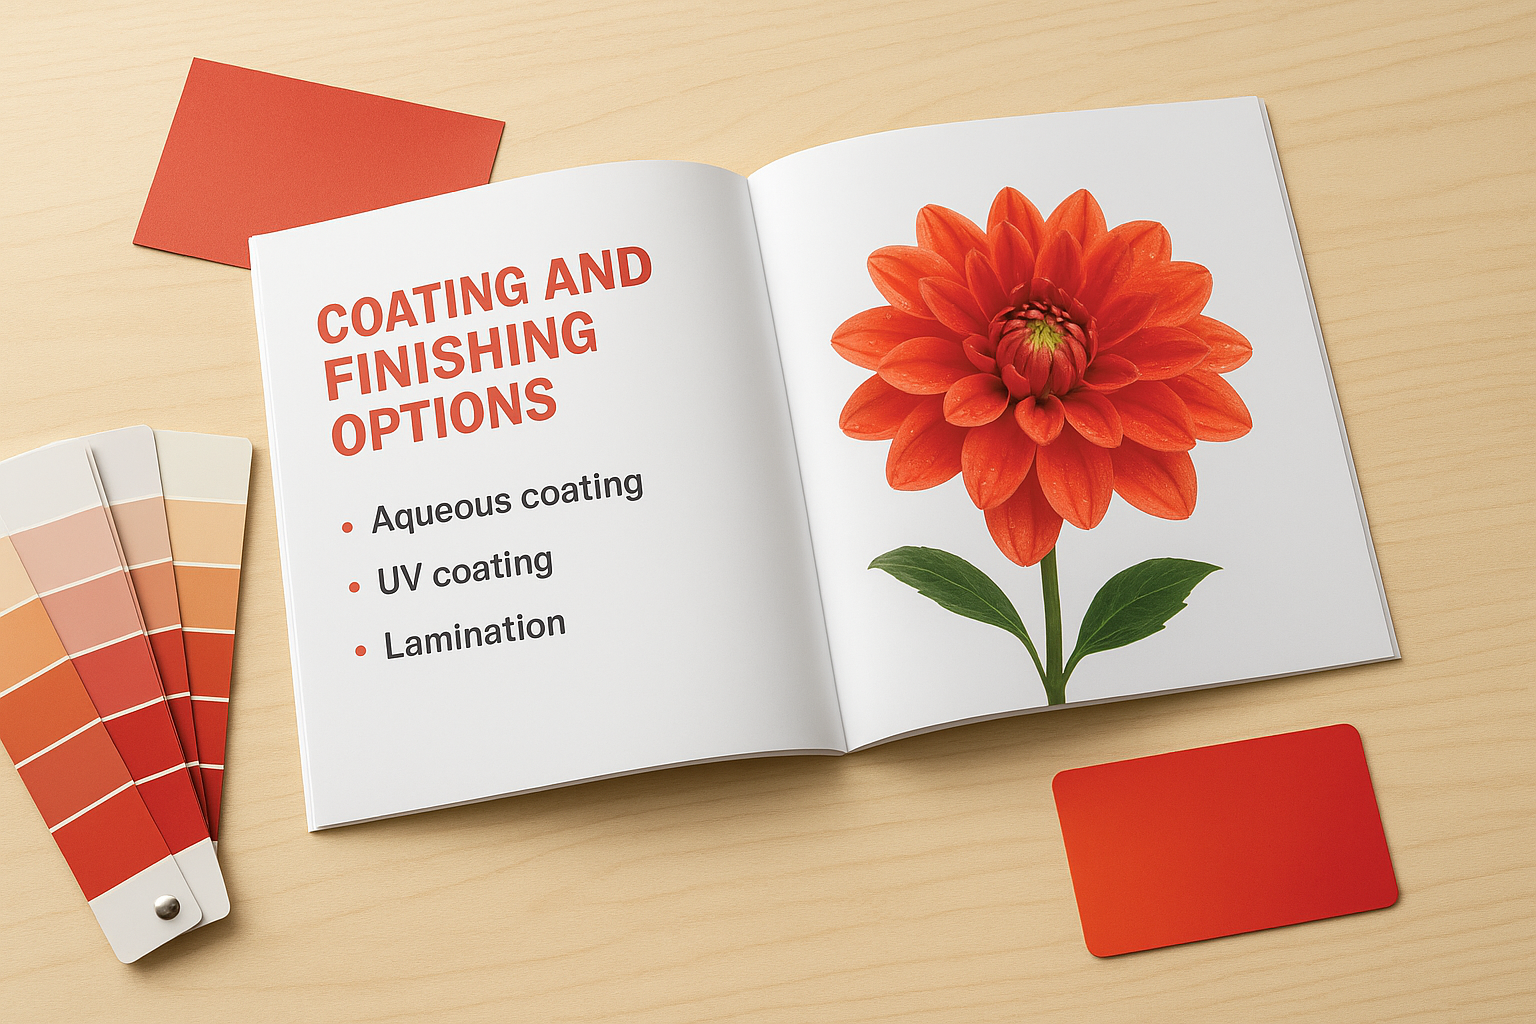
Coating and finishing options
Aqueous coating applies a water-based protective layer during the printing process, giving pages a satin or gloss finish that resists scuffs and fingerprints without adding much cost. UV coating creates a harder, glossier surface that provides more protection but costs 15% to 25% more than aqueous coating. Both options make your catalog more durable and easier to clean, which matters for catalogs that customers reference repeatedly or display in high-traffic areas. Spot UV coating highlights specific elements like logos or product photos with high gloss while leaving surrounding areas matte, creating visual contrast that draws attention to key content.
Coated covers last three times longer than uncoated covers in typical handling conditions.
Lamination adds a thin plastic film to covers for maximum protection against tears, moisture, and wear. You choose between gloss lamination (which produces a shiny, reflective surface) and matte lamination (which creates a smooth, non-glare finish that’s easier to write on). Laminated covers cost more than coated covers but provide the longest lifespan, making them worth considering for catalogs that customers keep for months or years. Some Canadian printers offer soft-touch lamination, which adds a velvety texture that feels premium but increases cover costs by 40% to 60%.
Color mode and image quality
Catalog printing uses CMYK colour mode (cyan, magenta, yellow, black), not the RGB mode that screens display. Images and graphics you prepare in RGB will shift colors during conversion to CMYK, often making vibrant reds, blues, and greens appear duller in print. You avoid color surprises by converting files to CMYK before sending them to your printer and requesting a digital proof that shows how colours will actually appear. Images need minimum resolution of 300 DPI (dots per inch) at final print size to avoid pixelation or blurriness, so photographs pulled from websites or social media usually require replacement with higher-resolution versions from original camera files.
Costs, timelines and choosing a printer
Catalog printing prices vary widely based on your specifications, but you can estimate costs accurately once you know your page count, quantity, binding method, and paper choices. Canadian printers typically quote by the piece for smaller runs and offer volume discounts as quantities increase. You need to balance per-unit costs against total order size, understanding that printing 500 catalogs might cost $3 each while 2,000 catalogs drop to $1.50 each because setup costs get spread across more units. Turnaround times depend on complexity and printer workload, so you request quotes with your deadline clearly stated to avoid surprises.
What catalog printing actually costs
A basic 8.5" x 11" catalog with 24 pages and saddle stitch binding on 100 lb gloss text typically costs $2.50 to $4.00 per copy for quantities of 250 to 500 from Canadian printers. Doubling your page count to 48 pages increases per-unit cost by 40% to 60%, not 100%, because you’re spreading setup and binding costs across more pages. Perfect binding adds $0.30 to $0.60 per catalog compared to saddle stitch for similar specifications. Cover upgrades like UV coating or lamination add $0.15 to $0.40 per catalog depending on the finish you choose.
Printing 1,000 catalogs instead of 250 reduces your per-unit cost by 30% to 45% because press setup, colour calibration, and binding setup remain constant whether you print 100 copies or 10,000 copies. You pay more upfront for larger quantities but get significantly better value per catalog. Custom sizes, specialty papers, or unusual binding methods increase costs by 20% to 50% compared to standard options because they require extra handling and generate more waste.
Production and delivery timelines
Standard production takes 5 to 7 business days from proof approval to shipping for most catalog printing orders with saddle stitch binding and common specifications. Perfect binding adds 1 to 2 days to your timeline because the glue requires curing time before catalogs can be trimmed and packed. Rush services cut production to 2 to 3 business days but increase your costs by 25% to 50%, making them practical only for urgent needs or mistakes that require reprinting.
Factor shipping time into your planning, as ground delivery across Canada takes 2 to 7 business days depending on distance.
Large print runs over 5,000 copies or catalogs exceeding 100 pages may require 10 to 14 business days because they need multiple press runs and extended binding time. You avoid delays by submitting print-ready files that meet your printer’s specifications and approving proofs promptly rather than requesting multiple revision rounds.
Evaluating Canadian printing services
Request detailed quotes from three to five Canadian catalog printing companies, comparing not just price but also included services like design review, proof options, and shipping costs. Ask about their quality guarantee and reprint policy if you receive defective catalogs. Local printers in your region offer advantages like free or reduced delivery charges, easier in-person consultations for complex projects, and faster turnaround because they’re not shipping across the country. You verify quality by requesting printed samples of their work before committing to large orders. Check online reviews and ask for references from businesses similar to yours who have ordered comparable quantities and specifications.
Final thoughts
Catalog printing gives Canadian businesses a powerful marketing tool that combines staying power with professional presentation. You now understand the binding methods, paper specifications, typical costs, and realistic timelines needed to order catalogs that match your budget and goals. The right specifications depend on your specific needs, whether you’re showcasing 20 products in a saddle stitched booklet or presenting 200 items in a perfect bound catalog that customers reference for months.
Apex Workwear produces high-quality printed catalogs for Canadian businesses, along with custom apparel and a full range of marketing materials. We offer expert design review at no extra cost, competitive pricing with bulk discounts, and fast turnaround times with most orders shipping within 5 to 7 business days. Get a free quote on your catalog printing project and receive an estimate within 24 hours, seven days a week.