You printed a stack of flyers. They look sharp. But weeks later, you have no idea if a single person actually did anything with them. Sound familiar? That’s the problem with most print campaigns, there’s no feedback loop. No data. No way to tell what’s working. Adding QR codes changes that, but only if your flyer distribution tips (with QR codes) go beyond slapping a square in the corner and hoping for the best.
The difference between a flyer that gets scanned and one that gets tossed comes down to placement, design, and a clear reason for someone to pull out their phone. Get those right, and your print materials start doing double duty, driving real, trackable action online.
At Apex Workwear, we print flyers for small businesses, contractors, and startups across Canada every day. We see what works and what doesn’t. Below are six practical tips to help you distribute flyers with QR codes that people actually engage with.
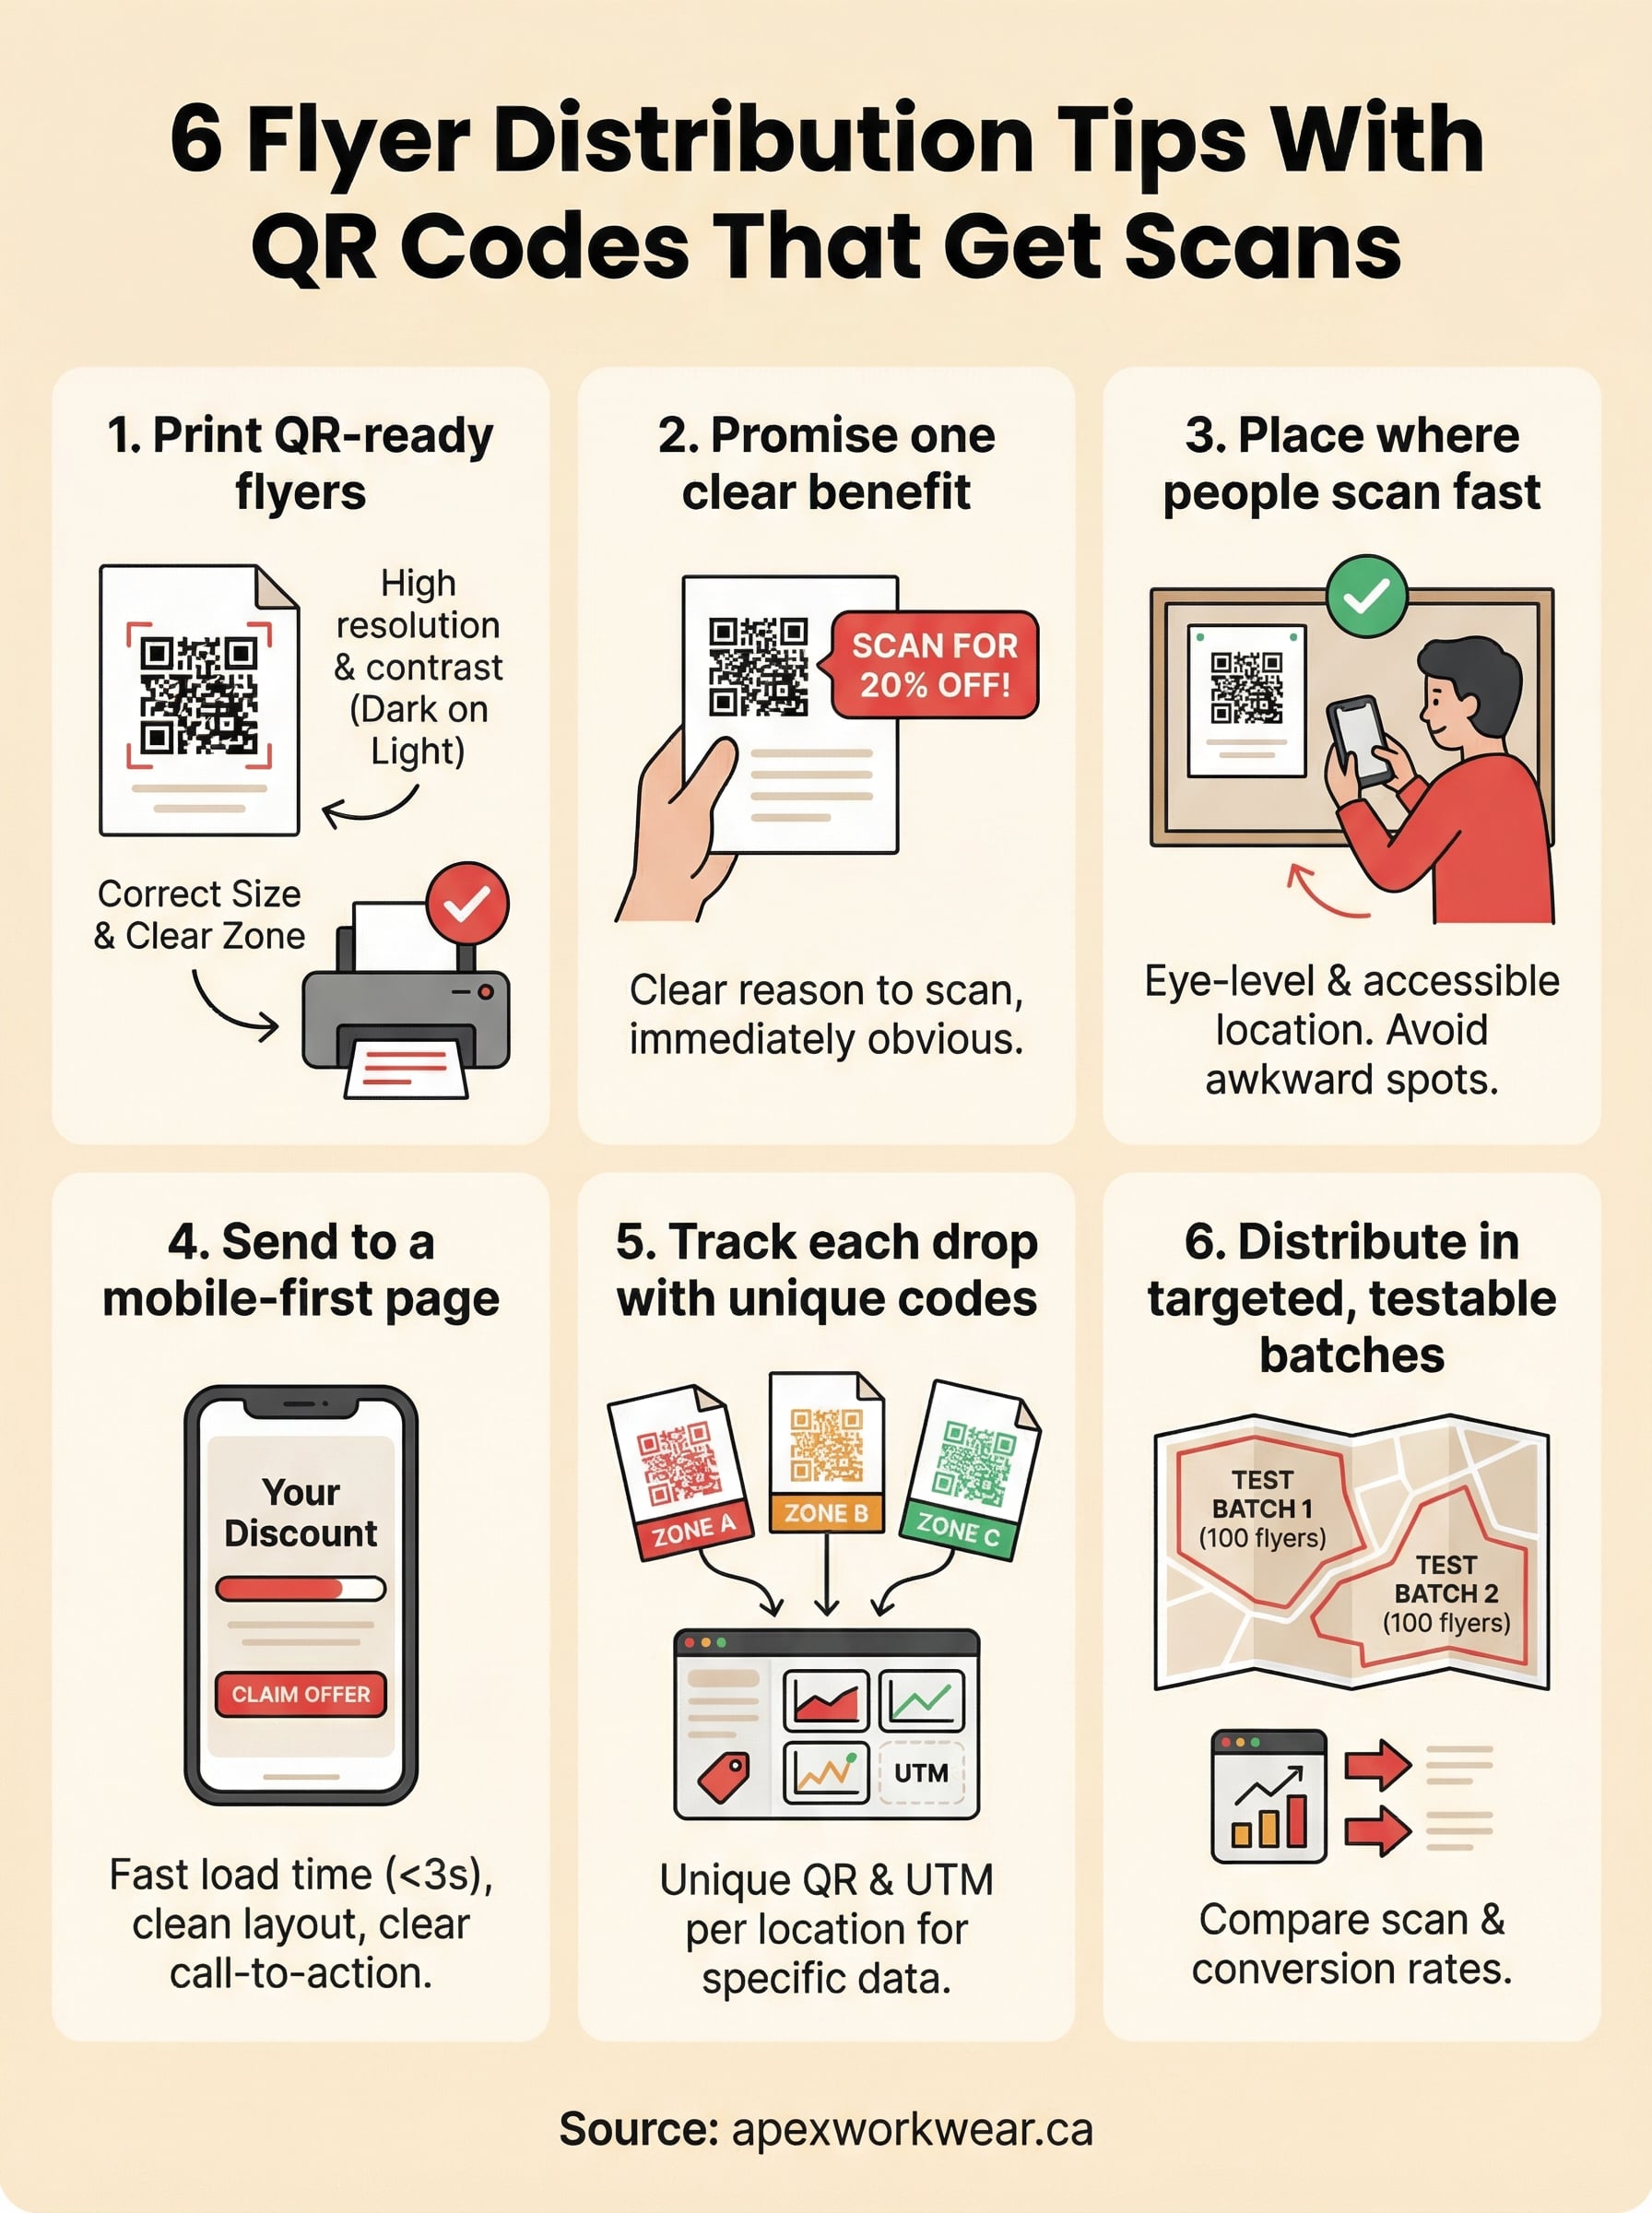
1. Print QR-ready flyers with Apex Workwear
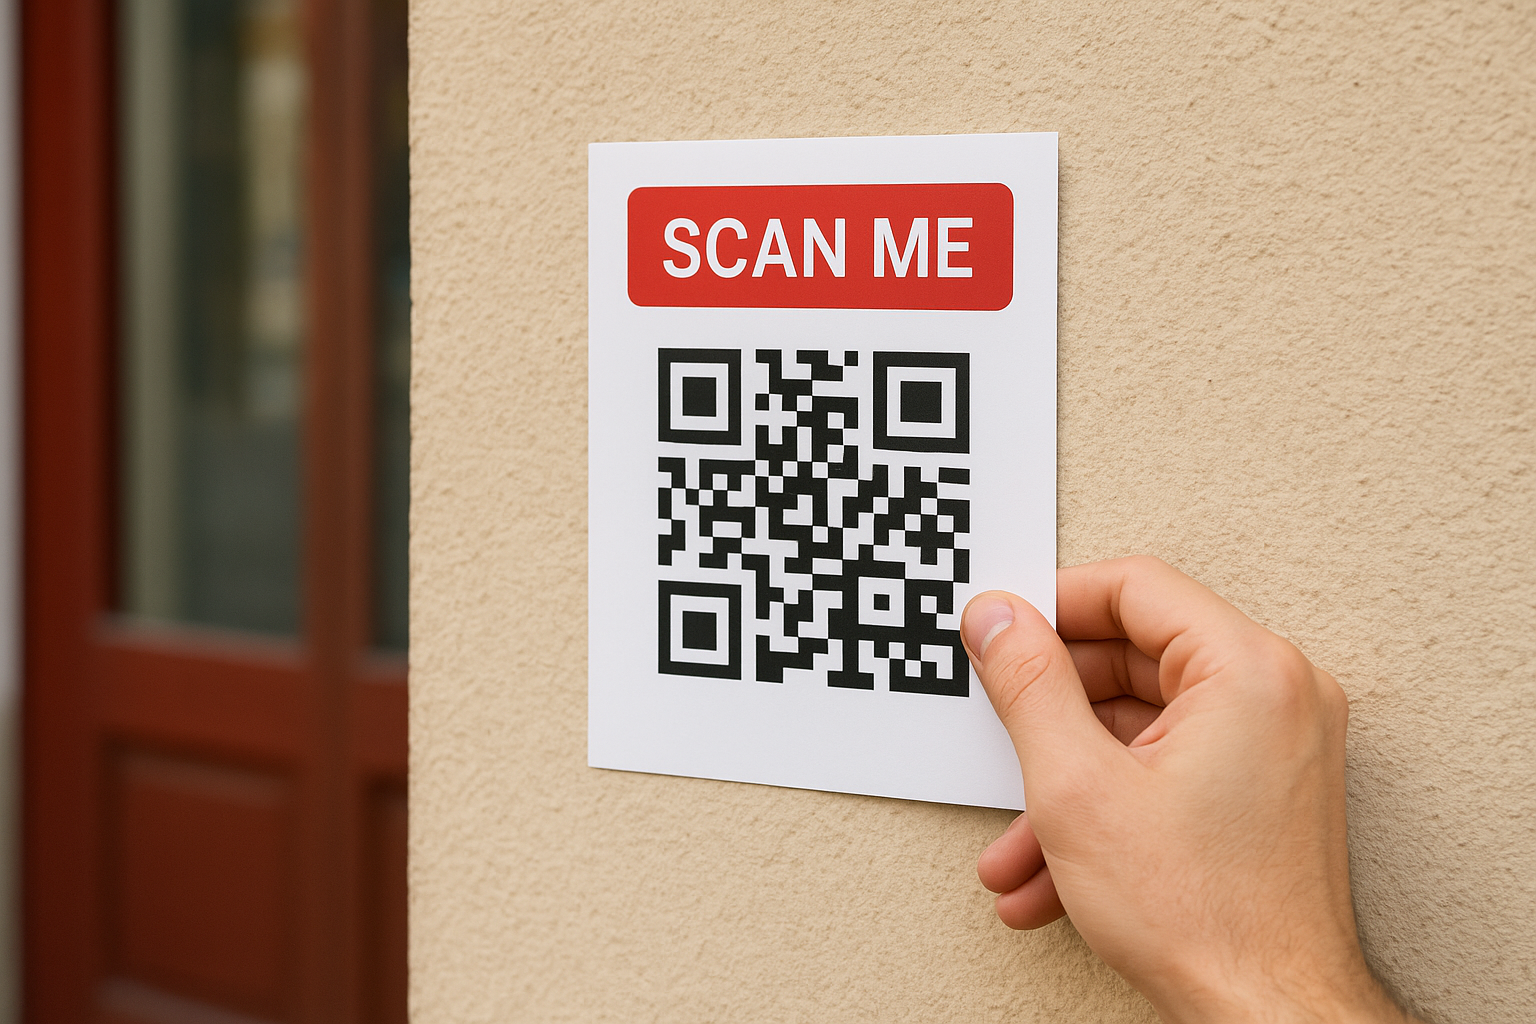
Your flyer is the first thing someone sees, and its print quality directly affects whether your QR code scans reliably. A blurry, low-resolution code printed on thin paper stock sends the wrong message before anyone even pulls out their phone. Apex Workwear prints flyers designed to work with QR codes, meaning sharp edges, correct sizing, and the right contrast to make every scan count.
What to do
Give the QR code enough room on the flyer and pair it with the right colour contrast. A poorly sized or low-contrast code is the fastest way to kill engagement before the campaign even starts. Here is what to confirm before you send your files to print:
- Minimum QR code size: 2 cm x 2 cm for handheld flyers, larger for posted or wall-mounted versions
- Contrast: Dark code on a light background, never reversed onto a busy pattern
- Clear zone: Leave at least 4 mm of white space around all four edges of the code
- File format: Embed the QR code as a vector or at 300 DPI minimum
A QR code that fails to scan even once is a wasted opportunity. Get the size and contrast right before you print a single copy.
How to execute it
Send your design files to Apex Workwear with the QR code already embedded at 300 DPI or higher. If your layout is not finalised, the team offers basic design adjustments at no extra cost, so you can get print-ready without hiring an outside designer. Choose a paper stock that matches your distribution plan: heavier stock holds up for handouts and event tables, while a lighter stock suits high-volume door drops. Rush turnaround options are available if your campaign has a fixed launch date.
What to measure
Once your flyers are out in the field, the QR code gives you something plain print never could: actual engagement data. Log in to your QR platform and track total scan volume from the moment distribution starts. Watch for scan timing patterns, specifically when spikes appear relative to each drop date, to understand how long a flyer stays active after it lands. That timing data is what separates a measurable campaign from a guess, and it is the foundation of every effective set of flyer distribution tips with QR codes.
2. Promise one clear benefit before the scan
A QR code on its own does nothing. People need a reason to scan it, and that reason has to be immediately obvious and worth the two seconds it takes to open their camera app. If your flyer just says "scan here" without telling someone what they get, most people will walk straight past it.
What to do
Put a clear, specific benefit right next to the QR code. Think: "Scan for 20% off your first order" or "Scan to book a free estimate." The message should speak directly to something your audience actually wants. Keep it to one benefit only, because multiple offers create hesitation, and hesitation kills scans.
The benefit statement sitting next to your QR code is the deciding factor between a scan and a skip.
How to execute it
Write the benefit in plain, direct language and position it within 2 cm of the QR code so the eye connects the two naturally. Use a font size large enough to read at a glance. Avoid vague phrases like "learn more" and replace them with action-specific language that tells the reader exactly what happens the moment they scan.
What to measure
Track whether your scan rate improves when you test different benefit statements across separate batches. Comparing two versions of the same flyer with different call-to-action text is one of the most underused flyer distribution tips with QR codes, and the data will show you which message your audience responds to fastest.
3. Place the QR code where people can scan fast
Even a perfectly designed QR code fails if it lands somewhere awkward to scan. Physical placement determines whether someone reaches for their phone or just keeps walking. The best flyer distribution tips with QR codes account for the physical context your flyer ends up in, not just what it looks like on screen.
What to do
Put the QR code in a spot that is easy to reach with a phone camera without any physical awkwardness. For handheld flyers, the bottom third of the layout works well. For flyers posted on walls or notice boards, eye-level placement is non-negotiable. Anything above shoulder height or below knee level will get skipped.
Position matters as much as design. A code placed at chest height on a busy street gets scanned; the same code at ankle level does not.
How to execute it
Test your placement before committing to a full print run. Print a single proof, fix it at the intended posting height, and scan it yourself from a normal standing distance. If you need to crouch, stretch, or angle your phone awkwardly to get a clean read, adjust the layout before printing the full batch.
What to measure
Track whether scan rates vary across different posting heights and locations in your distribution area. High-traffic spots at eye level should consistently outperform lower-traffic or awkwardly placed ones. Use that data to refine your posting strategy with each new drop.
4. Send scanners to a mobile-first landing page
Someone scans your QR code on their phone, so the page they land on needs to work perfectly on a small screen. A slow-loading desktop page with tiny text and hard-to-tap buttons will lose that person in seconds, undoing all the effort you put into your flyer design and distribution.
What to do
Build or update your landing page so it loads fast and displays cleanly on a mobile screen. Remove anything that slows load time or clutters the layout, and make sure the single action you want the visitor to take is obvious the moment the page opens. This is one of the most overlooked flyer distribution tips with QR codes, yet it has a direct impact on your conversion rate.
A great flyer earns the scan, but a poor mobile page loses the customer before they convert.
How to execute it
Use Google’s free PageSpeed Insights tool to check your page’s mobile performance score before your campaign launches. Aim for a load time under three seconds and a layout that keeps your main call-to-action button above the fold without any scrolling required. One clear headline, one image, and one button is often enough.
What to measure
Track your bounce rate and conversion rate on the landing page separately from your other web traffic. A high scan count paired with a high bounce rate tells you the page, not the flyer, is the weak link in your campaign. Fix the page before you commit to printing more flyers.
5. Track each drop with unique QR codes and UTMs
Most businesses use one QR code across every flyer they distribute, which means they get a total scan count but no idea which location or batch drove it. Creating a unique QR code paired with a UTM-tagged URL for each individual drop gives you real, location-level data, and that is one of the most underused flyer distribution tips (with QR codes) available to you.
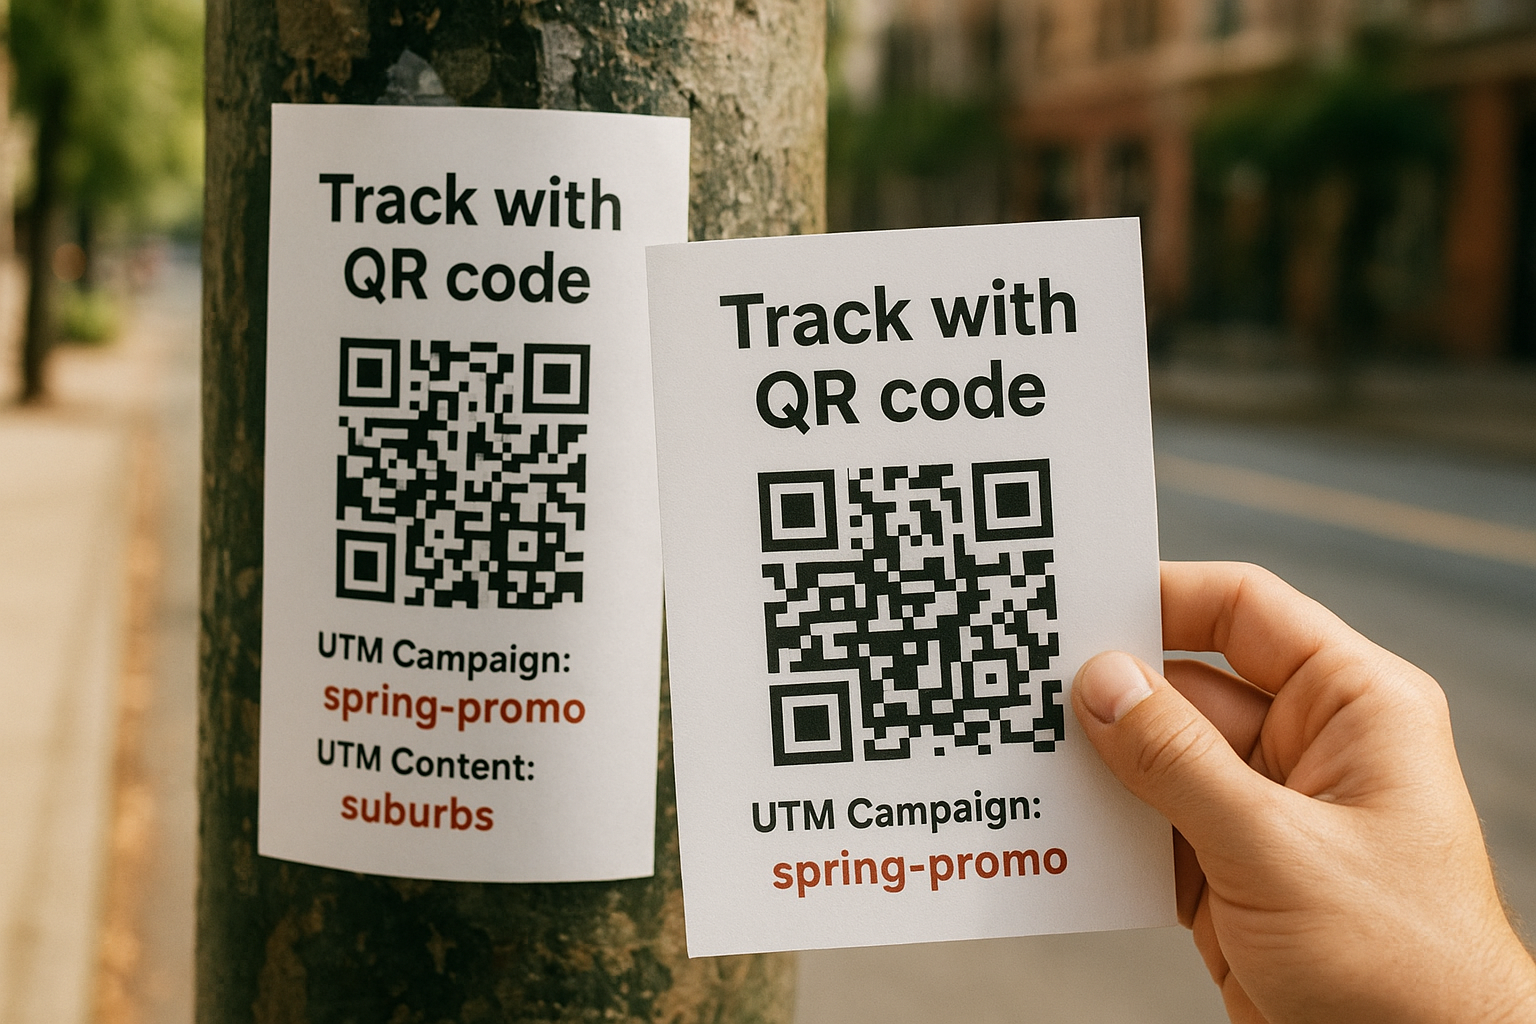
One generic QR code tells you scans happened. Unique codes tell you where, when, and which drop earned them.
What to do
Generate a separate QR code for each distribution zone or batch, and build a matching UTM URL for each one. Label them clearly in your tracking sheet so you can connect every scan back to a specific street, building, or event.
| Distribution Zone | QR Code ID | UTM Campaign | UTM Content |
|---|---|---|---|
| Downtown core | QR-01 | spring-promo | downtown |
| GTA suburbs | QR-02 | spring-promo | suburbs |
| Trade show table | QR-03 | spring-promo | tradeshow |
How to execute it
Use Google Analytics to build your UTM parameters before you generate each QR code. Set the campaign source as "flyer" and vary the content tag by location. Keep your naming convention consistent from the start so your reports stay clean and comparable across every drop.
What to measure
Compare scan volume and conversion rate across each zone after two weeks. The locations producing the highest conversion rates, not just scan counts, are the ones worth prioritising in your next print run.
6. Distribute flyers in targeted, testable batches
Blanket distribution across a wide area wastes your print budget and tells you nothing useful. Instead, break your campaign into small, defined zones and treat each one as a separate test. This approach is one of the most practical flyer distribution tips with QR codes because it lets you compare results side by side and double down on what performs.
What to do
Divide your distribution area into two to four distinct zones before printing. Each zone gets its own batch size, its own QR code (as covered in tip five), and a consistent drop method so your results stay comparable. Avoid mixing residential streets with commercial strips in the same batch, because the audiences behave differently and your data will be difficult to interpret.
Treating each zone as its own mini-campaign gives you clean data and a clear path to better results next round.
How to execute it
Start with a smaller batch per zone, around 100 to 200 flyers, rather than printing thousands upfront. Drop each batch on the same day of the week to control for timing variables. Keep a simple spreadsheet logging the zone name, drop date, quantity distributed, and QR code ID for each run so nothing gets mixed up.
What to measure
After two weeks, compare scan rates and conversion rates across every zone. Zones that outperform the average earn a larger allocation in your next print run. Those that underperform tell you to either adjust your placement strategy or shift budget toward stronger areas.
Next steps for your next flyer drop
These six flyer distribution tips (with QR codes) give you a complete framework to move from guesswork to a measurable print campaign. The biggest shift is treating each flyer drop as a data source, not just a one-way broadcast. Sharp print quality, a clear benefit statement, smart placement, a fast mobile landing page, unique tracking codes, and targeted batch distribution each play a specific role. Remove one and your results suffer.
Your next step is straightforward: start with a small batch, apply each tip above, and let the scan and conversion data tell you where to invest more of your print budget. Print quality is the foundation everything else sits on, and that starts before a single flyer leaves your hands.
Ready to get started? Order your custom flyers from Apex Workwear and get print-ready files with fast turnaround and free local shipping across the GTA.