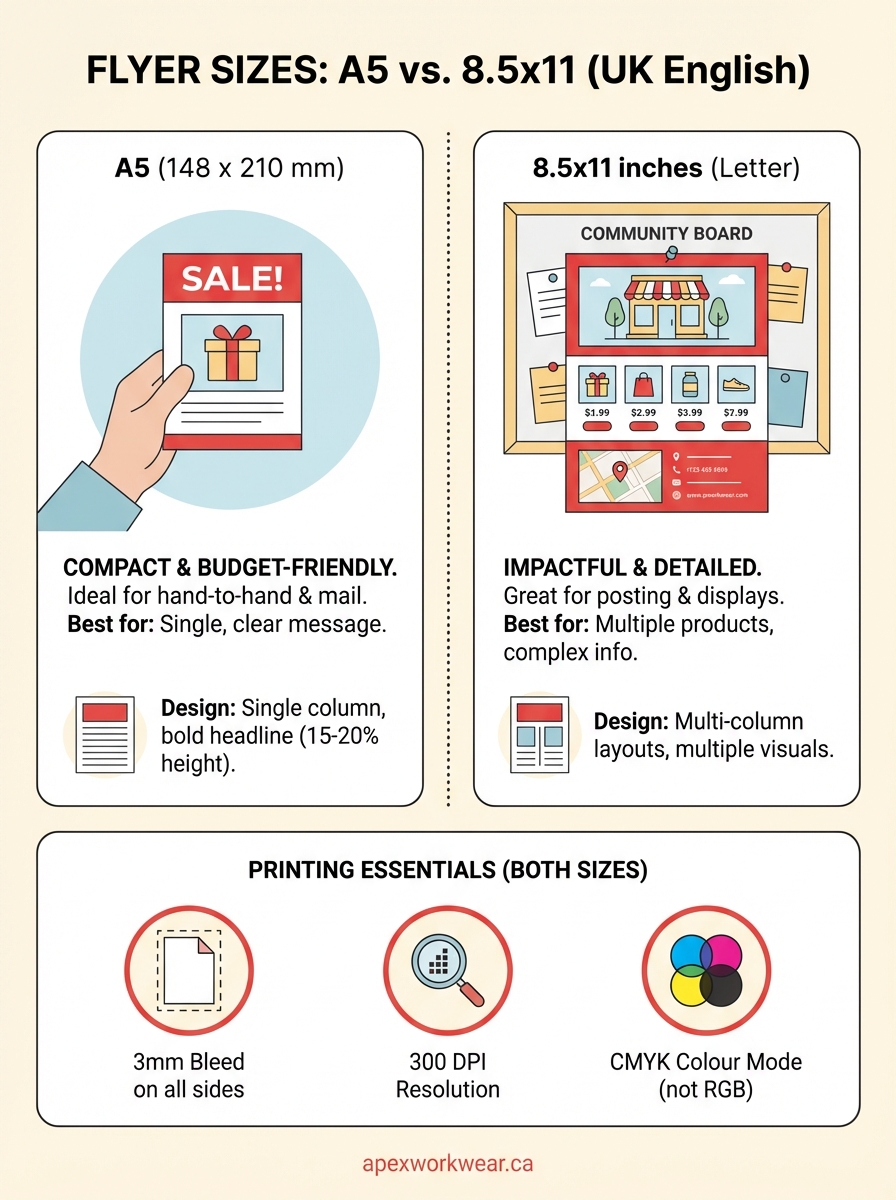
Flyer sizes determine how much space you have to work with and how your message reaches people. Two formats dominate the printing industry: A5 (148 x 210 mm or 5.8 x 8.3 inches) and the North American standard 8.5 x 11 inches (letter size). A5 is compact, budget friendly and fits easily into bags or envelopes. The 8.5 x 11 format gives you more room for detailed content and stands out when posted on walls or handed directly to customers. Each size serves different purposes, and picking the wrong one can waste your budget or fail to grab attention.
This guide breaks down both flyer sizes so you can make the right choice for your project. You’ll learn when to use each format, how they differ in design requirements, and what you need to know about file setup and printing. We’ll also share practical design tips for both sizes to help your flyers perform better. Whether you’re promoting an event, announcing a sale or building brand awareness, understanding these two formats will save you time and money while delivering better results.
Why flyer size matters
Your choice of flyer size directly affects how people interact with your promotional material and whether they keep it or toss it away. Size impacts printing costs, with A5 flyers using half the paper of 8.5 x 11 inch sheets, which can save you significant money on large runs. The format you pick also determines where and how you can distribute your flyers. A5 fits perfectly in standard envelopes and jacket pockets, while 8.5 x 11 inch flyers command more attention when posted on community boards or handed out at events.
Budget and distribution considerations
Print shops charge based on paper usage and setup time, so understanding flyer sizes (A5 vs 8.5×11) helps you forecast costs accurately before committing to a print run. If you’re mailing flyers, A5 often qualifies for lower postage rates because it fits standard envelope sizes without folding. Larger formats require bigger envelopes or arrive folded, which can look less professional. Storage and transport also matter when you’re ordering hundreds or thousands of flyers. A5 flyers take up half the space of letter-sized materials, making them easier to store in your office or carry to events.
Reader experience and retention
People treat different flyer sizes differently based on the situation. Compact A5 flyers get saved more often because they slip into bags, planners or desk drawers without taking up much room. The 8.5 x 11 format works better when you need to make an immediate visual impact or when recipients will reference detailed information later.
The physical size of your flyer influences whether someone keeps it or throws it away within seconds of receiving it.
How to choose the right flyer size
Your message, distribution method and budget work together to determine which flyer size works best for your project. Start by analyzing what you need to communicate and how much detail readers need to understand your offer or call to action. A complex promotion with multiple product details demands more space than a simple event announcement. Think about where your flyers will end up and who will handle them. The right format makes your content easy to read while fitting naturally into your distribution strategy.
Match size to your content complexity
Simple messages with one clear call to action fit perfectly on A5 flyers without overwhelming readers or wasting space. You can announce a sale, promote a single event or share basic contact details on this compact format. Choose the 8.5 x 11 inch format when you need to explain multiple products, include detailed pricing tables or provide step-by-step instructions. Restaurant menus, real estate listings and service catalogs benefit from the extra room. If your draft design feels cramped on A5, don’t shrink your fonts to make everything fit. Scale up to letter size instead and keep your text readable from a normal viewing distance.

Consider your distribution channels
Hand-to-hand distribution at trade shows or street corners works well with A5 because people can pocket the flyer immediately without folding it. Mail campaigns also favour A5 since these flyers fit into standard business envelopes without extra postage costs. The 8.5 x 11 format excels when you’re posting flyers on community boards, shop windows or office lobbies where size helps you stand out from smaller notices. Door hangers and windshield distribution typically use letter-sized flyers because the larger format gets noticed faster. Think about whether your audience will encounter your flyer while standing, sitting or moving. Understanding flyer sizes (A5 vs 8.5×11) in relation to distribution helps you pick the format that gets read instead of discarded.
Your distribution method should drive your size choice, not the other way around.
Balance quantity against budget
Printing costs scale with paper size, so A5 flyers let you order twice as many pieces for roughly the same paper cost as 8.5 x 11 inch flyers. Calculate your total reach by multiplying your budget by the approximate cost per flyer in each size. A smaller format makes sense when you need volume distribution across multiple locations or over several weeks. Larger formats justify their cost when you’re targeting a specific audience that needs detailed information or when you want maximum visual impact. Factor in storage space if you’re printing in bulk. A box of 5,000 A5 flyers occupies half the space of the same quantity in letter size, which matters if you have limited storage or need to transport materials frequently between locations.
Design tips for A5 flyers
The compact dimensions of A5 flyers force you to prioritize content and eliminate anything that doesn’t directly support your message. This limitation actually improves design quality by preventing the cluttered layouts that plague many printed materials. You have roughly 62 square inches of space to work with, so every element needs to earn its place. Focus on a single strong visual element, a clear headline, and one specific call to action. Trying to cram multiple messages onto an A5 flyer creates confusion and reduces response rates.
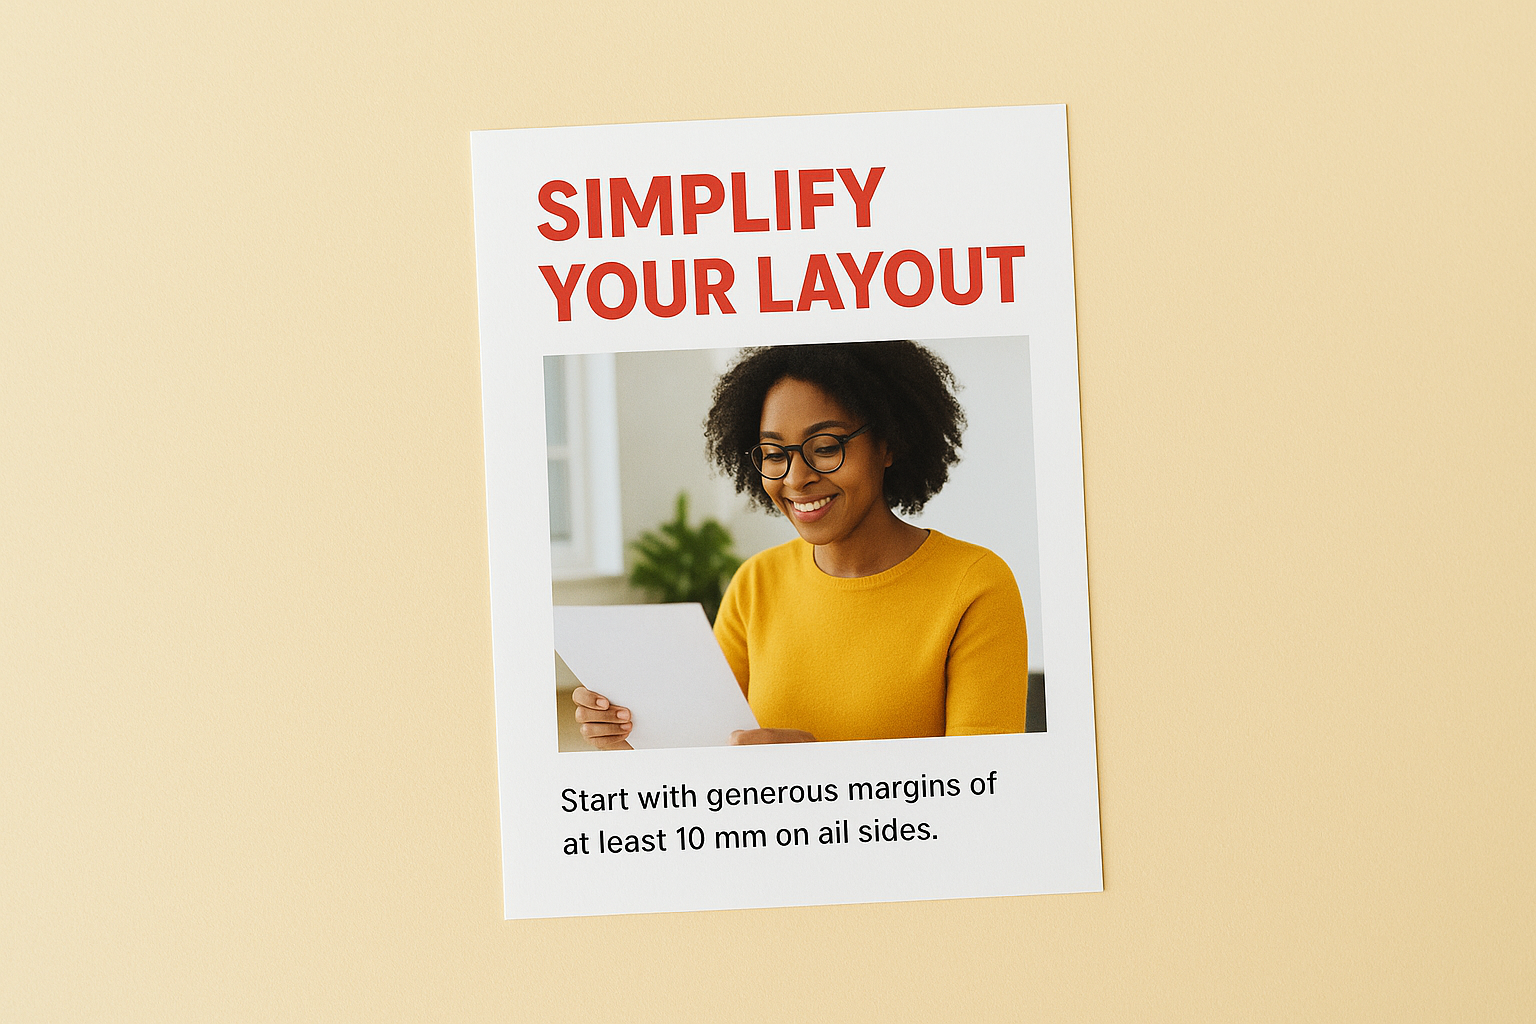
Simplify your layout
Start with generous margins of at least 10 mm on all sides to prevent your content from feeling cramped or touching the edges after trimming. A5 flyers work best with a single-column layout that guides the reader’s eye from top to bottom in a natural flow. Avoid complex grid systems or multiple columns that work well on larger formats but create visual chaos on compact designs. White space becomes your most valuable design tool when working within these constraints. Leave breathing room around your headline, image and call to action instead of filling every available millimeter with content.
Optimize text hierarchy
Your headline should consume 15 to 20 percent of the flyer’s height to ensure it captures attention immediately when someone glances at your material. Keep body text between 10 and 12 points to maintain readability without requiring readers to squint. Anything smaller than 9 points becomes difficult to read under normal lighting conditions, especially for audiences over 40. Limit yourself to two font families maximum across the entire design. Use font weight and size to create hierarchy instead of introducing multiple typefaces that make your A5 flyer look unprofessional.
The smaller your flyer format, the fewer fonts you should use.
Choose images carefully
One strong photo or illustration works better than multiple small images that compete for attention on an A5 surface. Crop images tightly to focus on the most important details rather than including wide shots that lose impact when scaled down. Test your image selection by viewing your design at actual size on screen. If you can’t identify the subject clearly at A5 dimensions, pick a simpler image or crop closer. When comparing flyer sizes (A5 vs 8.5×11), remember that images need more contrast and bolder composition on the smaller format to maintain visual impact.
Design tips for 8.5×11 flyers
The letter-sized format gives you 93.5 square inches to work with, which is 50 percent more space than A5 provides. This extra room lets you include multiple content sections, detailed product information, and supporting visuals without sacrificing readability. The challenge shifts from fitting everything in to organizing your content so readers can scan and absorb information quickly. Structure becomes critical because poorly organized 8.5 x 11 inch flyers overwhelm readers and get tossed aside despite having good content.
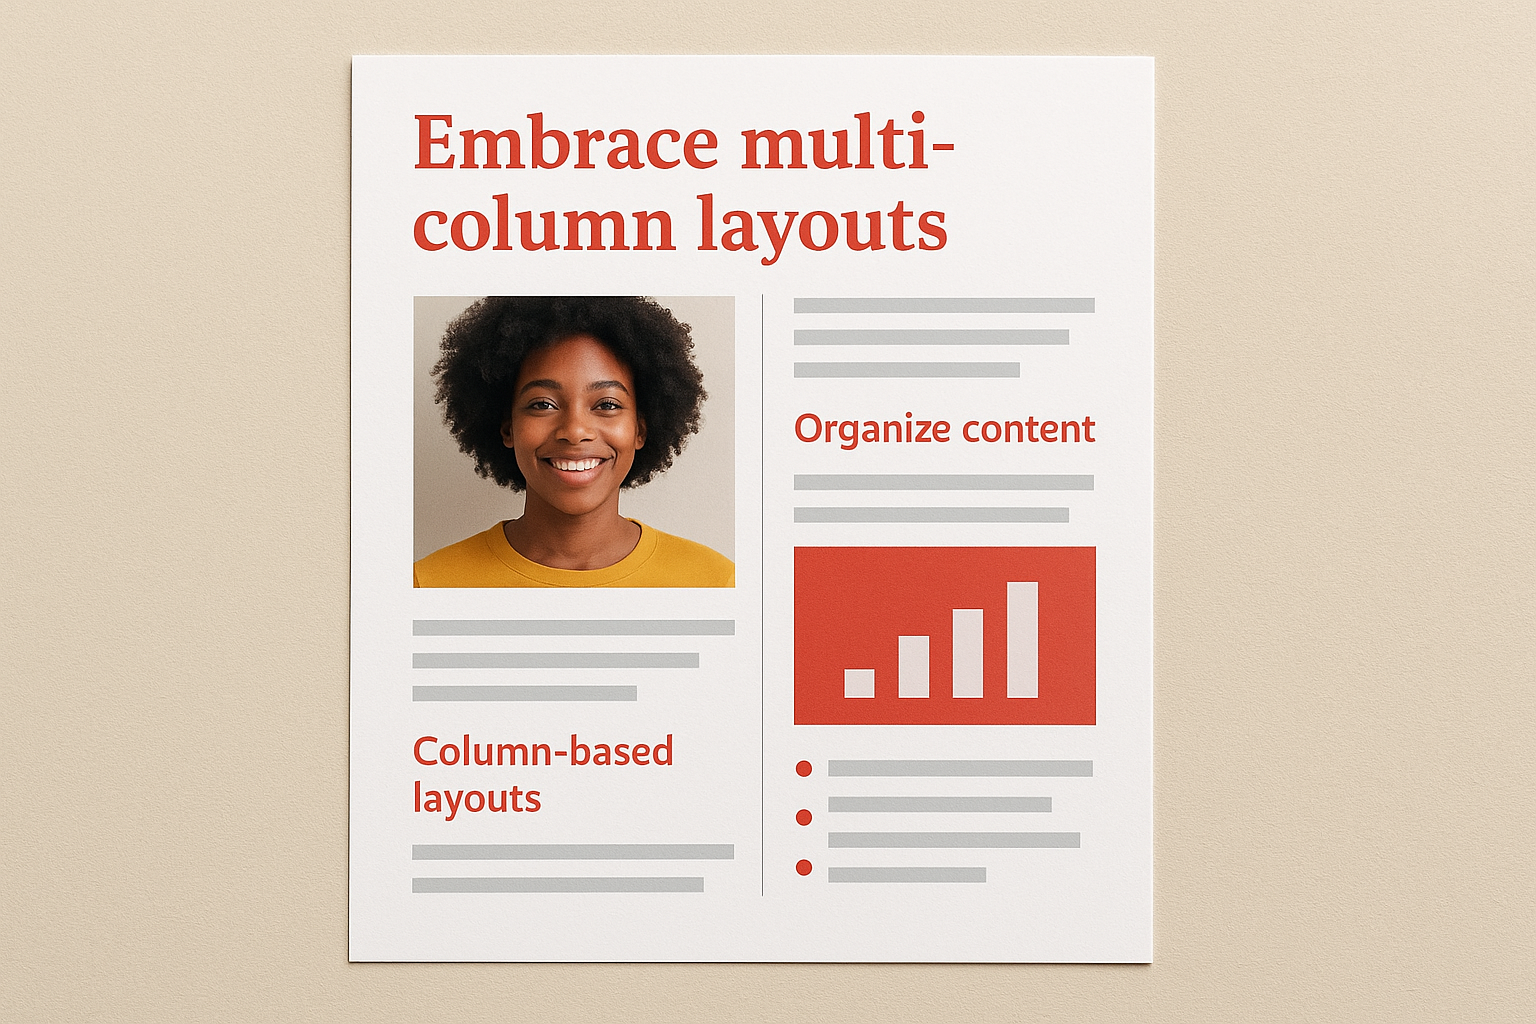
Embrace multi-column layouts
Two-column or three-column grids help you organize different content types while guiding readers through your message in a logical sequence. Restaurant menus, price lists, and service catalogs benefit from column-based layouts that let readers compare options side by side. Keep column widths between 2 and 3.5 inches to maintain comfortable line lengths for body text. Gutters between columns should measure at least 0.25 inches to create clear visual separation. Single-column layouts work on 8.5 x 11 inch flyers when you need large images or when your content naturally flows from top to bottom without side-by-side comparisons.
Balance detailed content with visual breathing room
You can include 300 to 500 words of body copy on a letter-sized flyer while still maintaining visual appeal and readability. Break longer text blocks into digestible chunks using subheadings, bullet points, and strategic white space instead of running paragraphs together into dense blocks. Your margins can shrink slightly compared to A5 dimensions, but keep at least 0.5 inches on all sides to prevent a cramped appearance. When comparing flyer sizes (A5 vs 8.5×11), remember that the larger format rewards thoughtful content organization rather than simply cramming in more information.
More space doesn’t mean you should fill every inch with content.
Layer multiple visual elements
The 8.5 x 11 format accommodates a hero image plus two or three supporting photos without creating visual clutter. Position your primary image to occupy roughly one-third of the total space, then distribute smaller visuals throughout remaining sections to maintain visual interest. Use image sizes strategically to show priority: large images for main products or concepts, smaller images for secondary details or supporting proof points. Consider incorporating infographics, charts, or diagrams that would feel cramped on A5 flyers but communicate complex information clearly on the larger format.
Printing and file setup essentials
Proper file setup prevents expensive reprints and ensures your flyers look exactly as you intended when they come off the press. Print shops require specific technical specifications that differ from what you’d use for digital graphics or web content. Getting these details right from the start saves you time and money while avoiding common mistakes that make flyers look amateurish or get rejected by printers. Whether you’re working with flyer sizes (A5 vs 8.5×11), the same technical standards apply to both formats.
Set correct document dimensions and bleeds
Create your document at final trim size plus 3 mm bleed on all sides to account for slight variations during the cutting process. For A5 flyers, set your canvas to 154 x 216 mm (148 x 210 mm plus 3 mm bleed per edge). For 8.5 x 11 inch flyers, your document should measure 8.75 x 11.25 inches including bleeds. Extend your background colours, patterns or images all the way to the bleed edge so you don’t end up with thin white borders if cutting is slightly off. Keep all critical text and logos at least 5 mm inside the trim line to create a safe zone that protects important elements from being cut off.
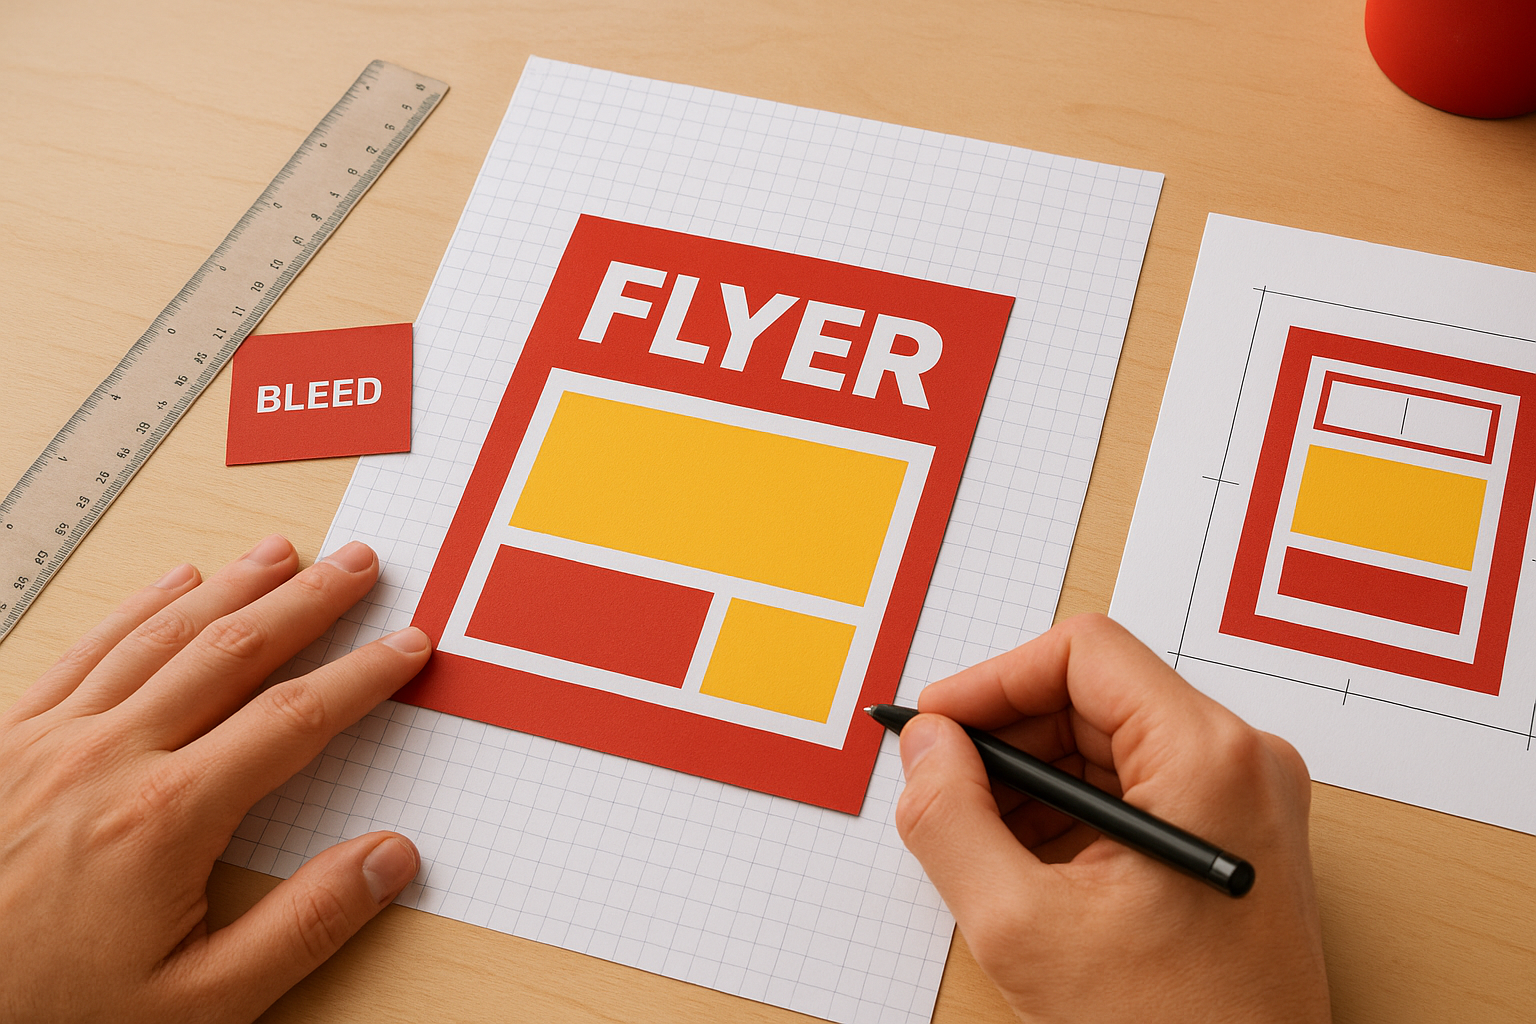
Files without proper bleeds get rejected by professional print shops or result in visible white edges around your finished flyers.
Resolution and colour mode requirements
Set your document resolution to 300 DPI (dots per inch) minimum for crisp text and sharp images that look professional when printed. Switch your colour mode to CMYK instead of RGB because printers use cyan, magenta, yellow and black inks rather than the red, green and blue light that screens emit. Colours often shift when converting from RGB to CMYK, so work in CMYK from the beginning to avoid surprises. Test your images by zooming to 100 percent at actual document size. Blurry or pixelated images on screen will look worse when printed, so replace any low-resolution photos before sending files to your printer.
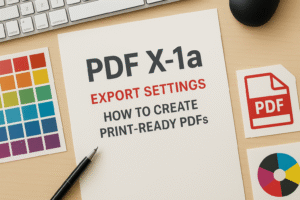
Export formats and final checks
Save your final file as a high-quality PDF with fonts embedded and images at full resolution rather than sending native design files that might not display correctly on different systems. Enable crop marks and bleed settings in your PDF export options so the print shop knows exactly where to trim your flyers. Review your exported PDF at 100 percent zoom to catch any unexpected font substitutions, missing images or colour shifts that occurred during export. Request a printed proof from your print shop before approving a full run, especially if you’re ordering hundreds or thousands of flyers.
Final steps for your flyer
You now understand the key differences between A5 and 8.5 x 11 inch flyers and how each format serves specific distribution needs and content requirements. Your next step involves applying these principles to your actual project by choosing the size that matches your budget, message complexity, and distribution method. Review your content draft against the design tips for your chosen format, then prepare your files according to the technical specifications outlined above.
Professional printing transforms your design into physical materials that represent your brand in the real world. Quality matters as much as design when potential customers hold your flyers in their hands. If you need reliable flyer printing with fast turnaround and expert guidance on file setup, Apex Workwear delivers high-quality print products with no minimum orders and free shipping across the Greater Toronto Area. Their team reviews your files before printing to catch issues that could affect your final results.