You want to print a custom magazine for your business, team, or creative project. But finding the right printing service feels overwhelming when you start looking. You need to compare providers, understand format options, navigate pricing structures, and ensure your design files meet technical print specifications. The choices seem endless and the technical requirements can be confusing, especially if this is your first magazine.
Printing a magazine is actually simpler than it looks. With clear steps and the right information, you can design, price, and order professional quality magazines that represent your brand exactly how you want. Canadian printing services offer flexible options for every budget and timeline, whether you need 50 copies or 5,000. Most providers handle the technical details once you understand the basics.
This guide walks you through the complete magazine printing process from start to finish. You’ll learn how to define your goals, plan your format and layout, prepare print ready files, and compare providers to get the best value. By the end, you’ll know exactly what to do to bring your magazine from concept to finished product.
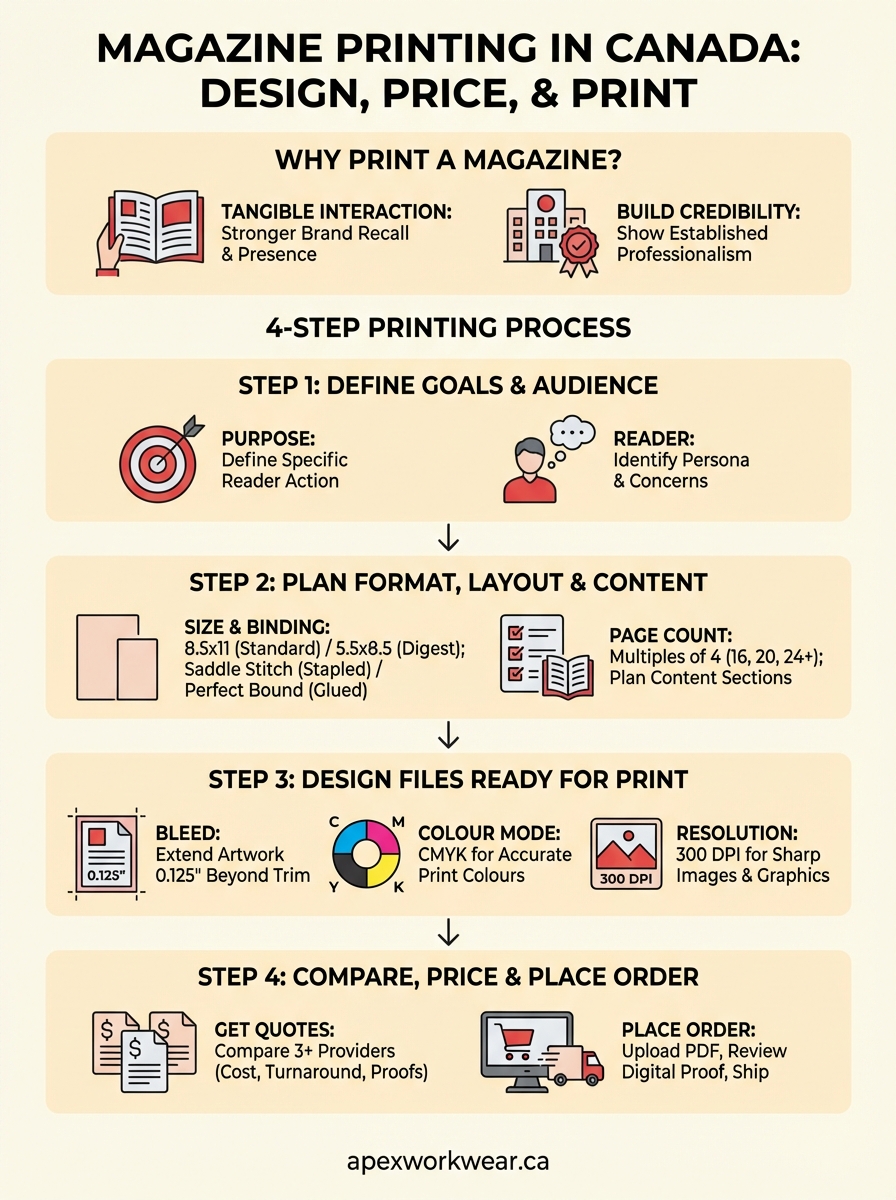
Why print a magazine for your brand
A printed magazine gives your brand physical presence that digital content cannot match. Customers hold your magazine, flip through pages, and keep it on their desk or coffee table for weeks. This tangible interaction creates stronger brand recall than scrolling through a screen. You also stand out from competitors who rely only on digital marketing, showing you invest in quality communication with your audience.
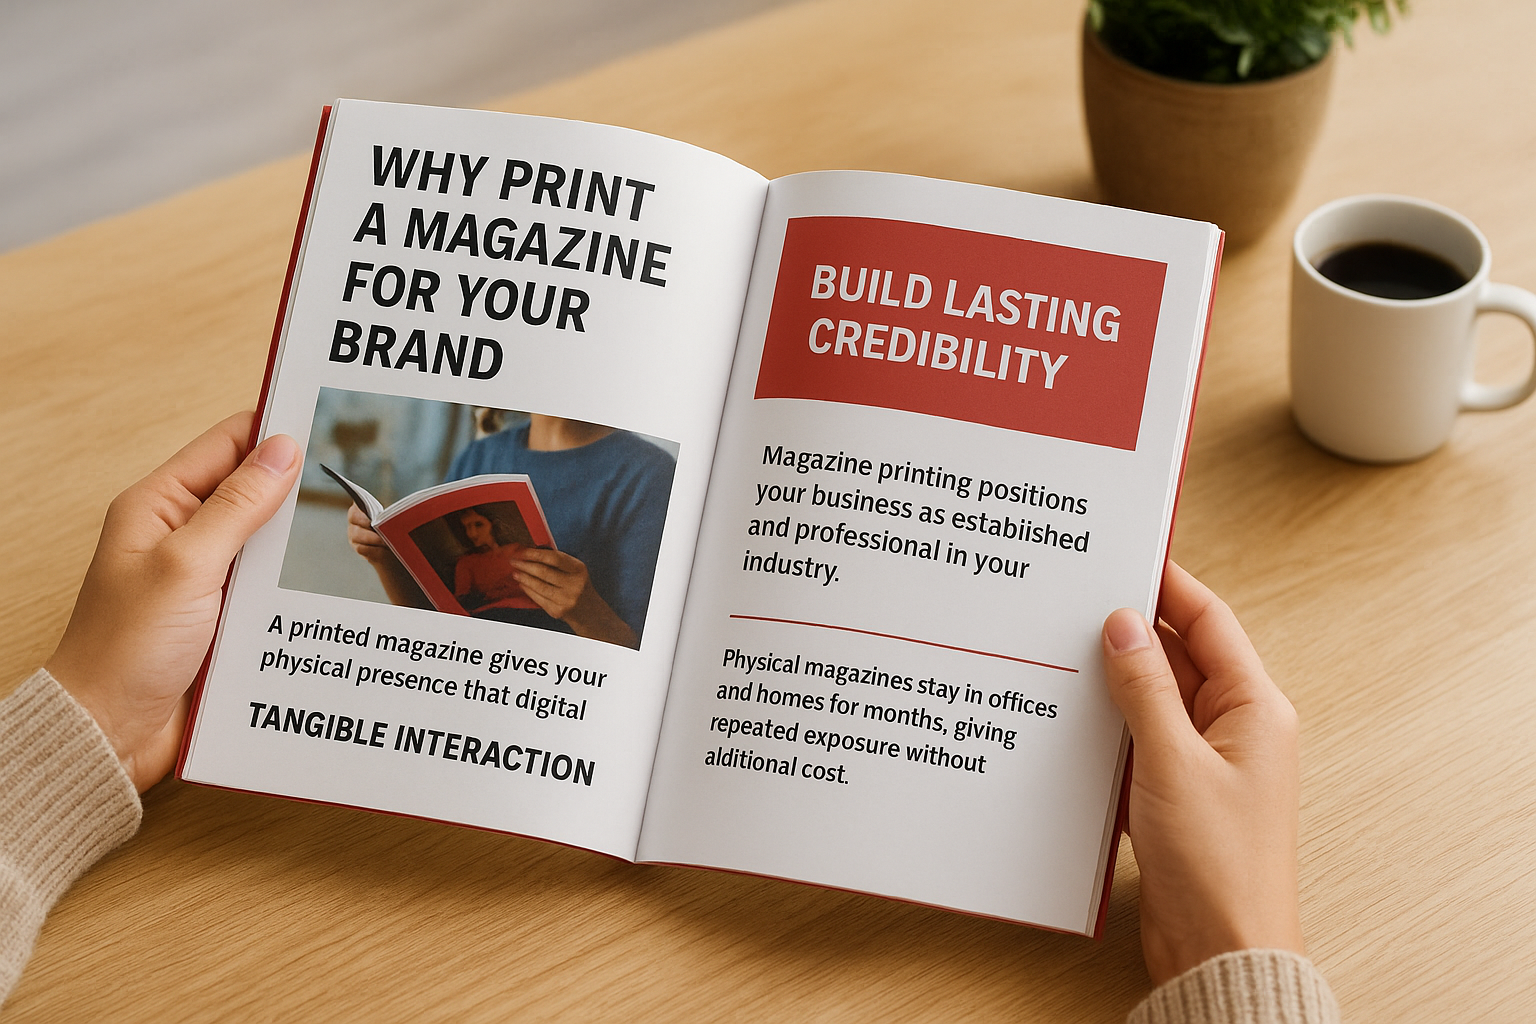
Build lasting credibility
Magazine printing positions your business as established and professional in your industry. When prospects receive a well designed magazine, they see a company willing to invest in substantive content. This immediate credibility boost matters especially for service businesses, consultants, and creative agencies who need to demonstrate expertise before clients commit.
Physical magazines stay in offices and homes for months, giving your brand repeated exposure without additional cost.
Reach audiences digital fatigue misses
Your customers face screen overload from emails, social media, and ads competing for attention every minute. A printed magazine cuts through this noise by offering a welcome break from digital devices. People actually finish reading physical magazines at higher rates than email newsletters, giving your message better chance to land.
Step 1. Define your goals and audience
Start by writing down exactly why you’re creating this magazine and who needs to read it. Your answers shape every decision from page count to paper quality. A customer retention magazine looks completely different from a recruitment tool or event programme.
Clarify your purpose
Ask yourself what specific action you want readers to take after reading your magazine. Do you want them to book a consultation, visit your showroom, or recommend your services? Your goal determines your content strategy and distribution plan. Write one clear sentence that describes your primary objective for this magazine printing project.
Identify your reader
Picture the actual person who will hold your magazine. What does their typical day look like? What problems keep them up at night? What industry do they work in? Create a simple profile with age range, job title, and main concerns. This profile guides your writing tone, design style, and content topics throughout the entire process.

Step 2. Plan format, layout and content
Choose your magazine size and binding before you write a single word or design any pages. These foundational choices control your production costs, reader experience, and content capacity. The most common Canadian magazine printing formats include 8.5" x 11" (US Letter), 8.27" x 11.69" (A4), and smaller sizes like 5.5" x 8.5" for digest formats. Each size serves different purposes and budgets.
Choose your size and binding
Standard 8.5" x 11" format works well for most business magazines because it fits easily in briefcases and file folders. You can opt for saddle stitch binding (stapled spine) for 8 to 40 pages, or perfect bound (glued spine like a paperback book) for 40 to 200 pages. Saddle stitch costs less but looks less substantial than perfect binding.
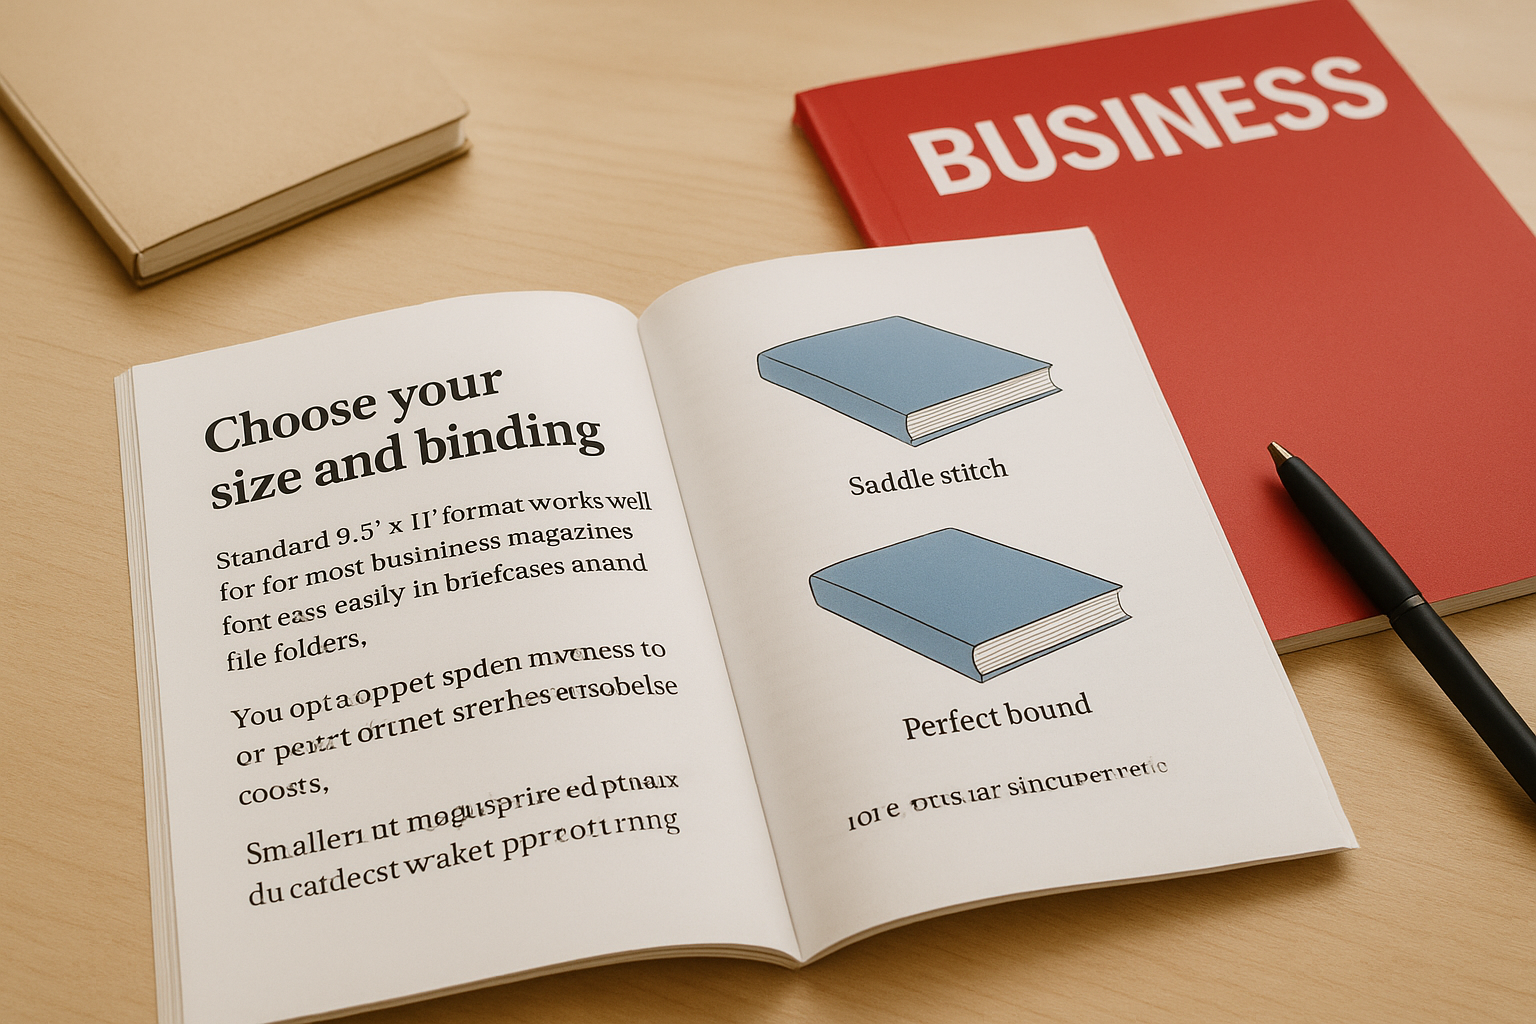
Smaller formats like 5.5" x 8.5" save on paper costs and fit better in bags, making them ideal for event programmes or pocket guides. These work best with 16 to 32 pages to maintain a professional feel.
Decide page count and paper weight
Magazine printing requires pages in multiples of four due to how printing presses work. Plan for 16, 20, 24, 28, or 32 pages to start. Your content volume determines your page count, but remember that white space improves readability. Most business magazines use 70 lb text weight paper for inside pages and 100 lb cover stock for durability.
More pages doesn’t always mean better value. A focused 20 page magazine often delivers stronger impact than a diluted 40 page version.
Map your content sections
Create a simple outline listing every article, feature, and department you need. Assign page counts to each section before you write. Include space for your cover, table of contents, editor’s letter, feature articles, and back cover. This roadmap keeps your writing focused and prevents last minute cutting or padding.
Step 3. Design files ready for print
Your design software and export settings directly determine your print quality and whether the printer accepts your files. Most Canadian magazine printing services require PDF format with specific technical specifications. Getting these details right the first time saves you revision costs and production delays.
Set up your document correctly
Create your design file with bleed area included, which means your artwork extends 0.125 inches (3mm) beyond the trim edge on all sides. This extra space prevents white edges if the cutting process shifts slightly. Set your colour mode to CMYK instead of RGB because printing presses use cyan, magenta, yellow, and black inks, not screen light. RGB colours convert unpredictably and often look duller when printed.

Keep all important text and logos at least 0.25 inches (6mm) away from the trim edge to prevent accidental cutting. Use 300 DPI resolution for all images and graphics. Lower resolution creates blurry or pixelated prints that look unprofessional.
Export with proper specifications
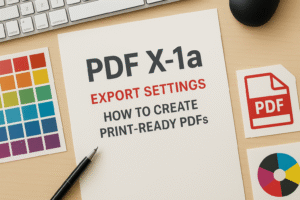
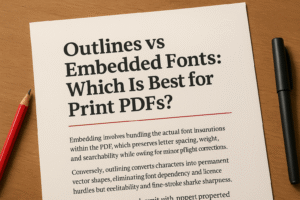
Save your final magazine as a PDF/X-1a or PDF/X-4 file, which embeds fonts and maintains colour accuracy. These formats prevent font substitution problems and ensure your printer sees exactly what you designed. Most design software includes these presets in the export or save dialog.
Your printer needs separate PDF files for the cover and interior pages, each with the correct page count and bleed settings.
Check your PDF properties before uploading to confirm CMYK colour space, embedded fonts, and 300 DPI image resolution. Open the PDF in Adobe Reader and zoom to 200% to inspect image sharpness and text clarity. Blurry elements at this zoom level will print poorly.
Request a digital proof from your magazine printing provider before authorizing production. This final check catches colour shifts, font issues, or layout problems that cost money to fix after printing starts.
Step 4. Compare, price and place your order
Request quotes from at least three Canadian magazine printing providers to compare pricing, turnaround times, and service quality. Each quote should break down costs per unit, shipping fees, and any design review charges. You’ll find significant price variations between providers even for identical specifications, so comparison shopping saves money on every order.
Get specific quotes with your exact specs
Contact printers with your complete specifications including page count, binding type, paper weight, quantity, and desired delivery date. Most Canadian providers respond within 24 hours. Ask each printer these specific questions:
- What is the cost per unit at my quantity?
- Do you offer volume discounts if I increase my order?
- What is your standard turnaround time?
- Is rush production available and what does it cost?
- Are shipping costs included or additional?
- Do you provide a digital proof before printing?
Comparing total project costs instead of just per-unit pricing reveals the true best value for your magazine printing project.
Place your order
Choose the provider that offers the best combination of price, quality samples, and turnaround time for your deadline. Upload your PDF files through their ordering system and select your shipping method. Pay for a digital proof review if available, which costs $20 to $50 but prevents expensive reprints. Most orders ship within 5 to 7 business days, with rush options cutting this to 2 to 3 days for higher fees.
Bringing your magazine to life
You now have the complete process for magazine printing from concept to delivery in Canada. Following these four steps helps you avoid common mistakes that waste money and time on revisions. Your magazine represents your brand in physical form, so invest the effort to get your goals clear, format planned, files prepared correctly, and provider chosen carefully. Each decision builds toward creating your final printed product.
Start your first magazine project small and focused rather than trying to create something massive right away. A well executed 20 page magazine delivers more impact than a rushed 60 page version. Test your design and content with a smaller print run before committing to thousands of copies. Many Canadian businesses start with 100 to 250 copies to gauge audience response before scaling production.
Apex Workwear provides magazine printing services for Canadian businesses with expert design support, competitive pricing, and fast turnaround times. Get your quote within 24 hours and bring your magazine vision to reality with quality printing.