If you’re printing custom apparel, whether for your business, team, or brand, you’ve probably come across Stahls’ DTF transfers as a decoration option. Stahls’ has built a solid reputation in the heat transfer industry, and their UltraColor MAX line is one of the more popular direct-to-film (DTF) products on the market right now.
But before you place an order, you’ll want to understand exactly what you’re getting: how pricing works, what the ordering process looks like, and how to actually press these transfers onto garments without ruining them. Getting any of those steps wrong can mean wasted material and inconsistent results, two things no business owner wants to deal with. At Apex Workwear, we work with custom apparel daily across the GTA and beyond, so we know what matters when it comes to print quality and durability.
This guide breaks down Stahls’ DTF transfers from start to finish, covering costs, how to order, and step-by-step pressing instructions so you can decide whether they’re the right fit for your projects. We’ll also touch on what to watch for and where these transfers work best, so you can make a confident, informed decision.
Why decorators choose Stahls DTF transfers
Stahls’ has been in the heat transfer business for decades, and their DTF line builds on that track record. When you order stahls dtf transfers, you’re buying into a product backed by a brand that has supplied professional decorators for years. That history matters because it translates directly into consistent print quality, reliable support, and a well-documented application process that removes much of the guesswork from pressing.
Print quality that holds up wash after wash
The most common reason decorators keep coming back to Stahls’ is print durability. Their UltraColor MAX transfers use a flexible adhesive layer that bonds tightly to fabric fibres during pressing, which means the design moves with the garment rather than cracking or peeling after a few washes. For anyone producing branded workwear or team uniforms, that longevity directly affects how long a garment looks sharp and professional.
A transfer that fails after ten washes is not a cost-saving option; it is a replacement cost you didn’t budget for.
Colours also hold up well over time. The DTF process lays down vibrant, full-colour prints with fine detail reproduction, making it practical for complex logos, gradient designs, and artwork with multiple colours. You’re not limited to spot colours the way you are with screen printing, so intricate designs come through cleanly without requiring multiple screens or additional setup costs.
Flexibility across fabric types and garments
One practical advantage of DTF transfers is that they work on a wide range of fabrics, including cotton, polyester, blends, and nylon. That flexibility matters if you’re decorating a mixed order where different garments have different fibre content. You can apply the same transfer to a 100% cotton T-shirt and a polyester performance jacket without reformatting your artwork or changing your process.
Dark and light garments both work well with DTF because the process lays a white base layer down first, then builds colour on top. Your reds look red on a black hoodie, not muted or washed out. For contractors and businesses where colour accuracy is non-negotiable on branded gear, this is a real advantage over several competing decoration methods.
No minimum order requirements
Small decorators and business owners particularly appreciate that Stahls’ transfers don’t lock you into large minimum quantities. You can order a single gang sheet or a small batch of individual transfers, which makes the product practical for sample orders, one-off custom pieces, or low-volume branded items. That flexibility also means you’re not tying up cash in excess stock before you know whether a design will get reordered.
For small businesses that need branded workwear in quantities of five to twenty pieces at a time, this no-minimum approach removes one of the traditional barriers to professional-looking decorated apparel without requiring a major upfront commitment.
Stahls DTF pricing in Canada: what you pay for
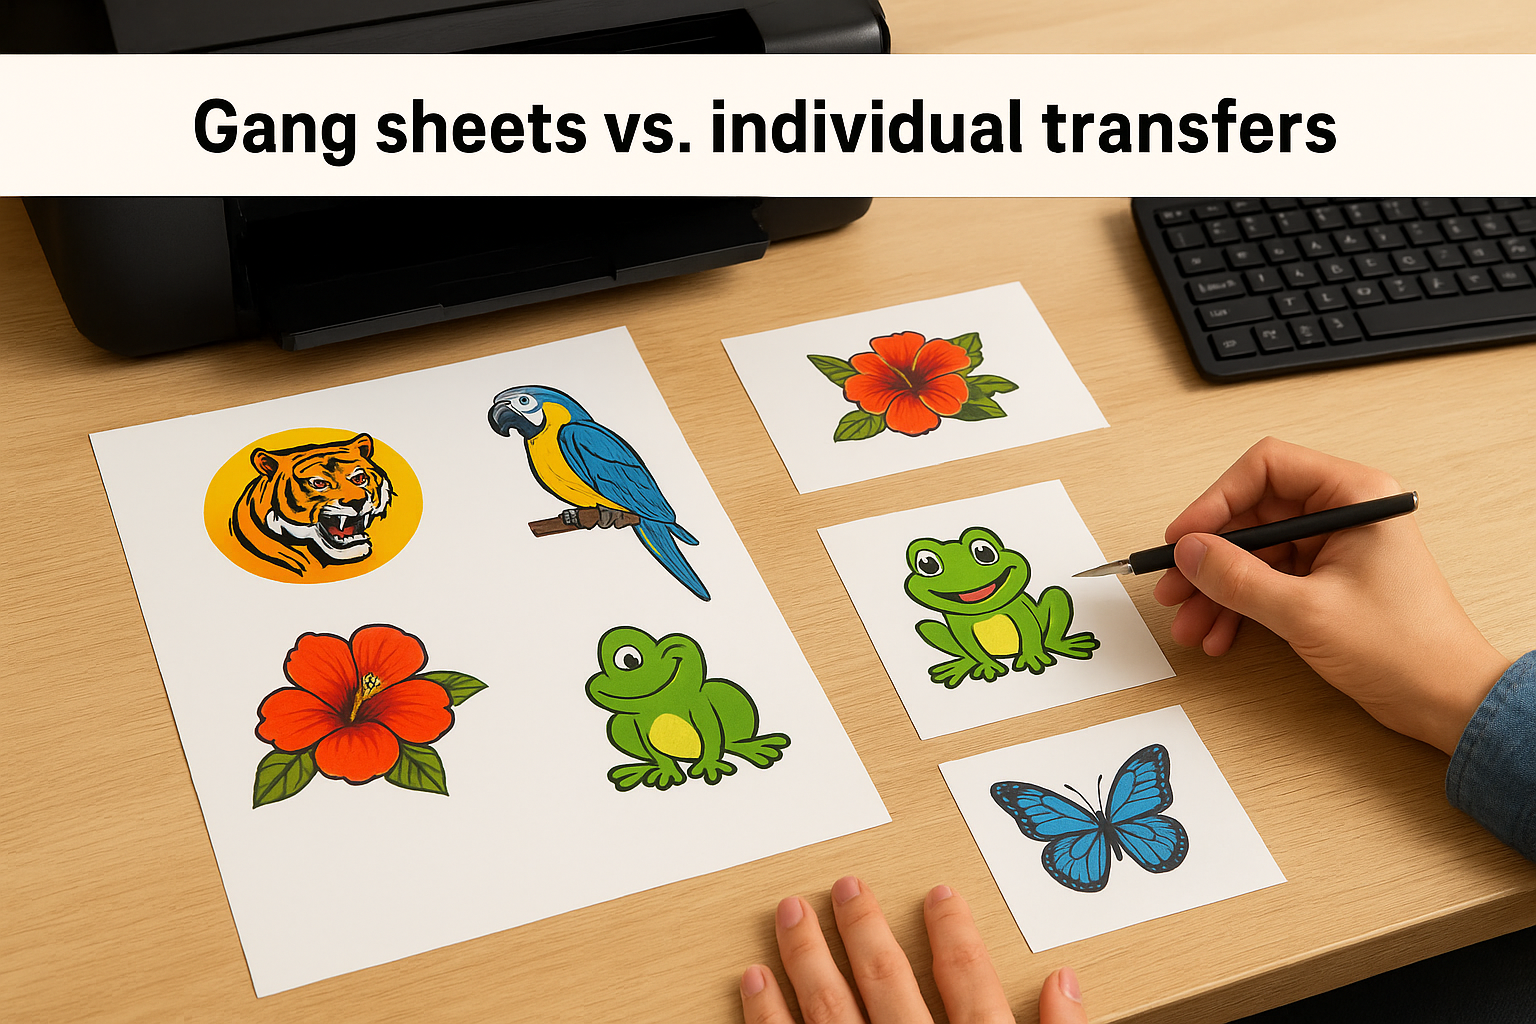
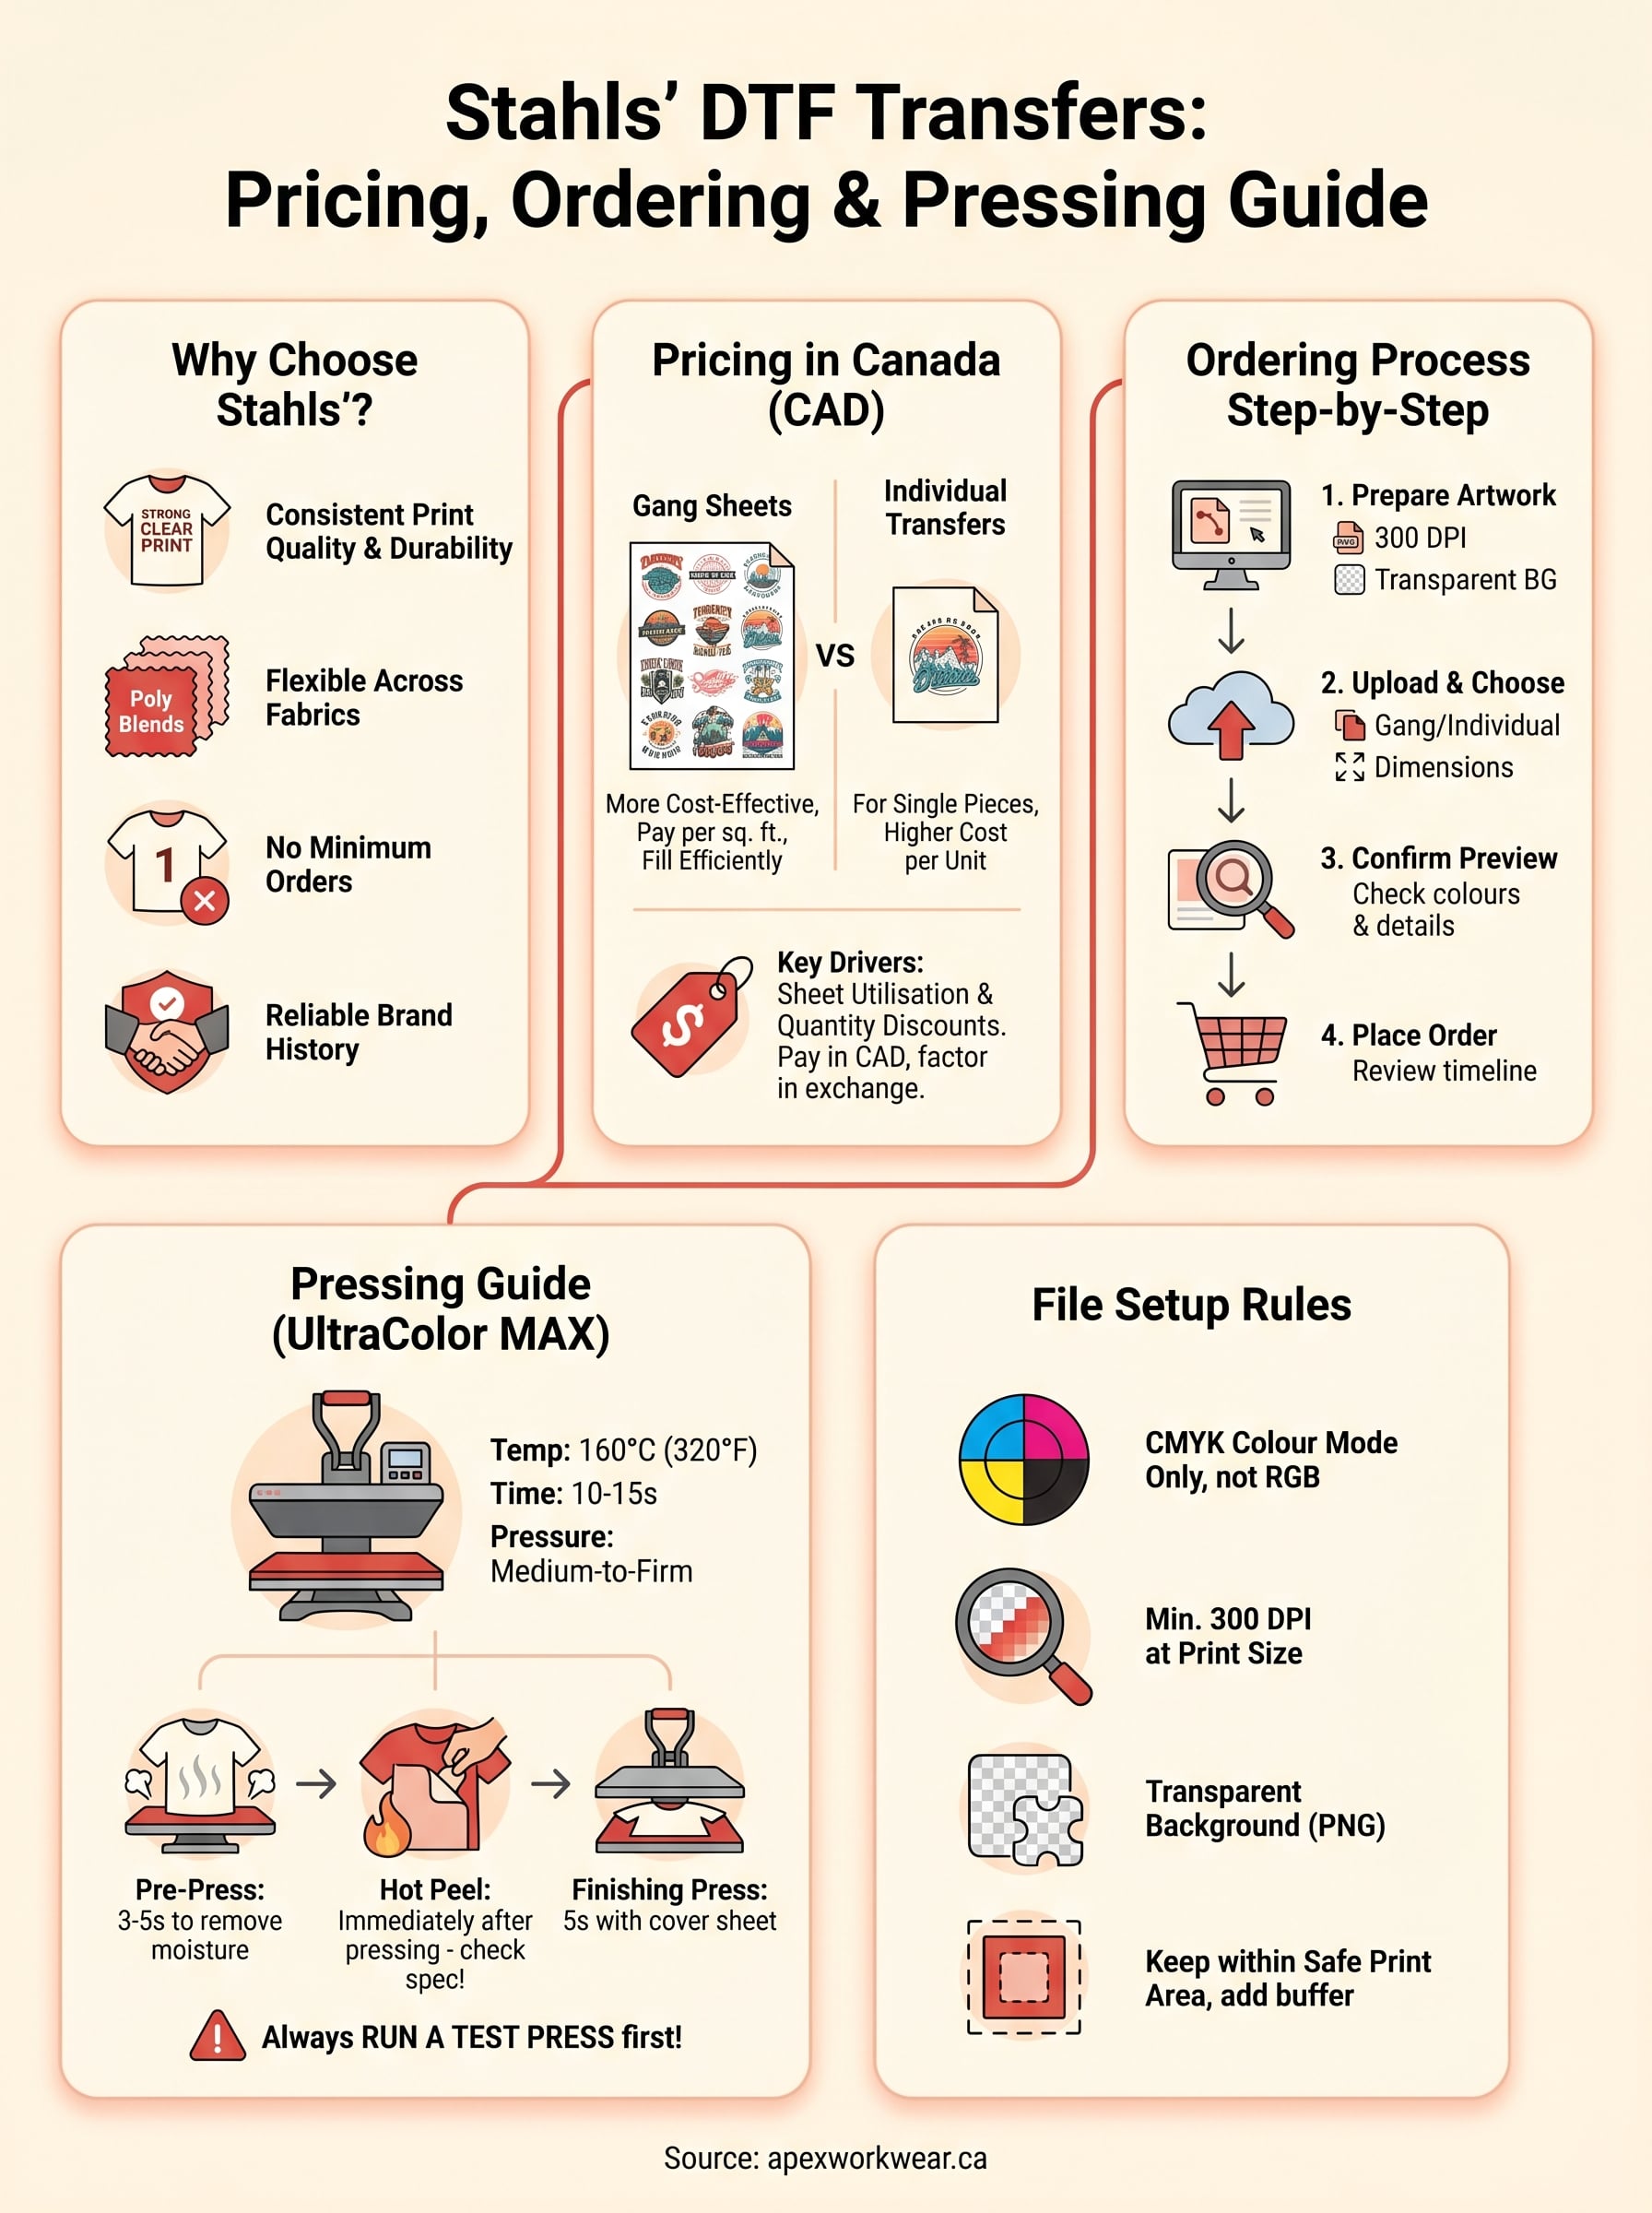
Pricing for stahls dtf transfers in Canada depends on a few key variables: transfer size, quantity ordered, and whether you’re buying gang sheets or individual cut transfers. Gang sheets are the more cost-effective option for most decorators because you pack multiple designs onto a single large sheet and pay per square foot rather than per piece.
Gang sheets vs. individual transfers
Gang sheets give you the most value per dollar if you’re printing multiple designs or sizes in one order. You arrange your artwork to fill the sheet efficiently, and Stahls’ prints the entire sheet as one job. Individual cut transfers cost more per unit but are practical when you only need one or two pieces of a specific design without committing to a full sheet.
Typical gang sheet pricing through Stahls’ runs roughly USD $3 to $5 per square foot depending on quantity, but Canadian buyers pay in CAD and absorb exchange rate fluctuations plus any applicable import duties on cross-border orders. That currency difference adds up quickly on larger orders, so factor it in before committing to a supplier or quoting a client.
If you order regularly, building that currency conversion into your pricing model upfront saves you from undercharging customers later.
What drives the final cost per transfer
Design complexity does not significantly affect DTF pricing the way it does with screen printing, since the process prints full colour in a single pass. What actually moves the price is sheet utilisation. A poorly arranged gang sheet with lots of empty space means you’re paying for area you’re not using, which quietly erodes your margins on every order.
Ordering in higher quantities consistently brings the cost per square foot down, so batching your jobs rather than placing frequent small orders is a straightforward way to improve profitability without changing anything about the product or your process.
How to order UltraColor MAX transfers step by step
Ordering stahls dtf transfers through Stahls’ online platform is straightforward, but a few preparation steps will save you time and prevent delays. Before you click anything, make sure you know your transfer dimensions, quantity, and whether you want a gang sheet or individual cuts, because those choices drive every decision that follows.
Preparing your artwork before you upload
Your file quality determines your print quality, so get this right before you touch the order form. Stahls’ requires vector files or high-resolution raster files at a minimum of 300 DPI at the intended print size. Submitting a low-resolution file does not get flagged immediately in many cases, but it will show up as blurring or pixelation on the finished transfer.
If you’re unsure whether your file meets spec, scale it to 100% on screen before uploading and zoom in to check edge sharpness.
Make sure your artwork uses transparent backgrounds rather than white fills, especially if you’re printing on coloured garments. A white background in your file will print as white on the garment, which is rarely what you intend.
Placing and confirming your order
Once your file is ready, select your product type (gang sheet or individual transfer), enter your dimensions, and upload your artwork. Stahls’ system will generate a preview, and you should check it carefully against your original file before submitting. Pay particular attention to colour representation and any fine text, since small issues are easier to catch at the proof stage than after printing.
After checkout, you’ll receive an order confirmation email with estimated production and shipping timelines. If your order requires any file corrections, Stahls’ will contact you, which can add time, so submitting a clean, correctly formatted file on the first attempt keeps your production schedule on track.
How to press Stahls DTF transfers without mistakes
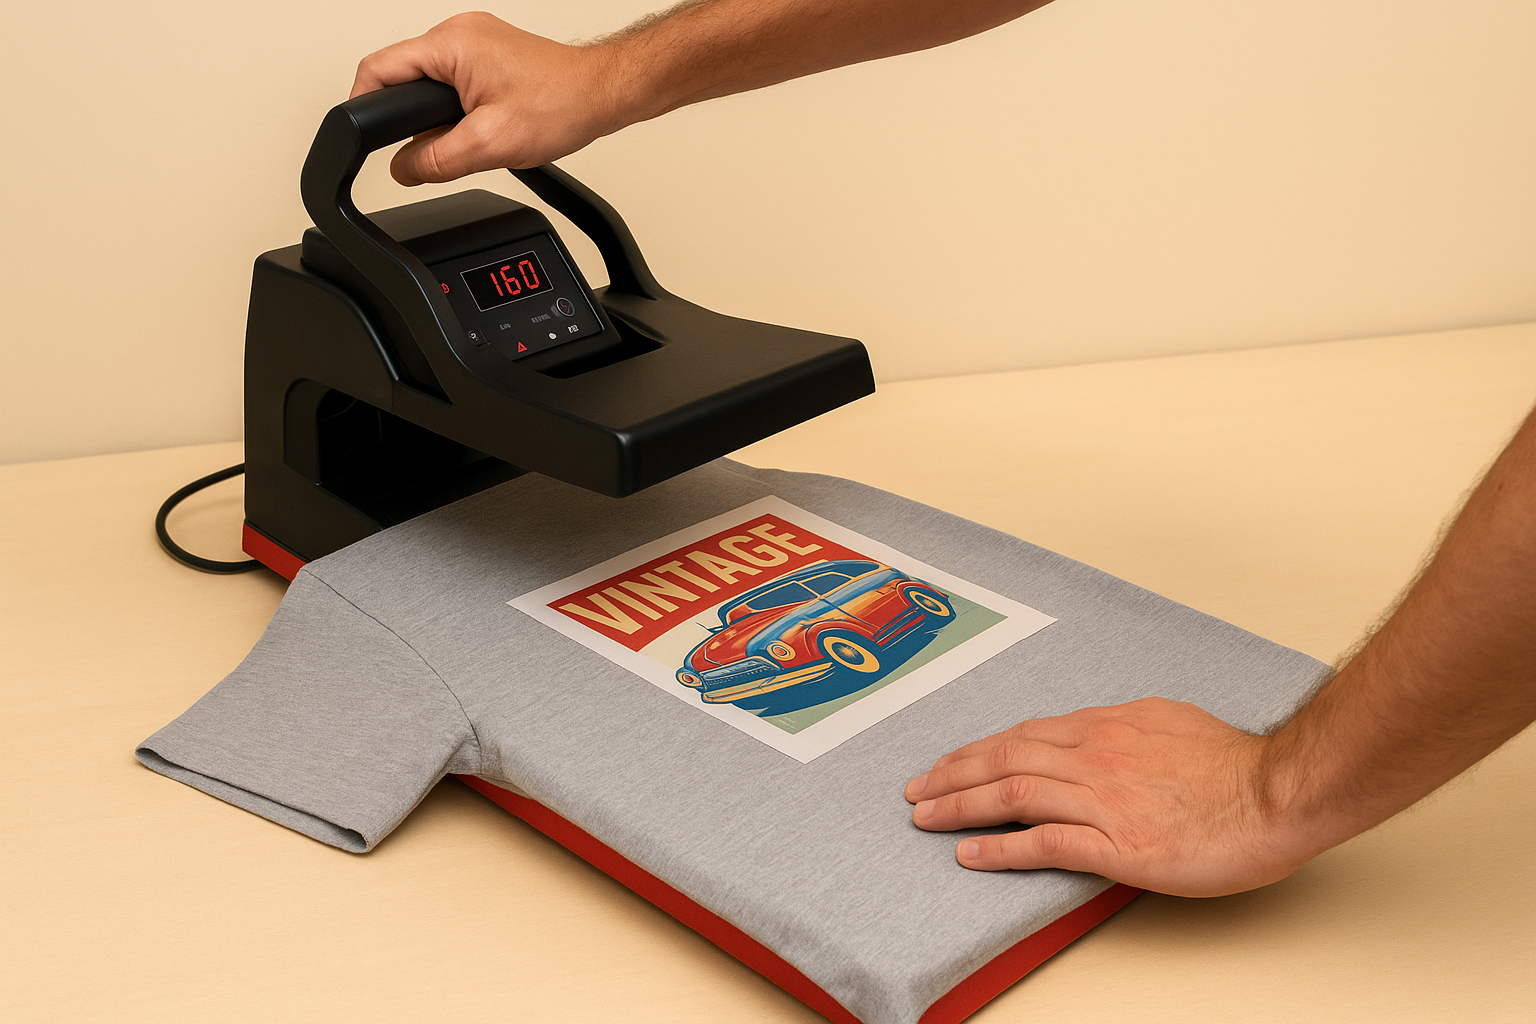
Pressing stahls dtf transfers correctly is where the process either succeeds or fails. Even a high-quality transfer will peel, crack, or lift if your heat press settings are off, so dialling in the right temperature, pressure, and time before you press a full batch is not optional. It is the step that protects your work and your reputation with clients.
Getting your heat press settings right
Stahls’ recommends pressing UltraColor MAX transfers at 160°C (320°F) with medium-to-firm pressure for approximately 10 to 15 seconds. These numbers are a starting point rather than a guarantee, because heat presses vary in how evenly they distribute temperature across the platen. Always run a test press on a scrap piece of the same fabric before committing to a full production run, particularly when switching between garment types.
A single test press on scrap fabric costs you nothing; a batch of misprinted garments costs you the entire job.
Pre-pressing your garment for three to five seconds before applying the transfer removes moisture and wrinkles, which gives the adhesive a clean, flat surface to bond to. Skipping this step is one of the most consistent causes of partial adhesion and bubbling around design edges.
Peeling and finishing the transfer
Hot peel or cold peel instructions vary depending on which Stahls’ product you ordered, so check the specific transfer spec sheet before you start. UltraColor MAX is generally a hot peel product, meaning you lift the film immediately after pressing rather than waiting for it to cool down. Peeling too slowly or letting the transfer cool completely can cause the film to drag colour with it, leaving gaps in your design.
After peeling, flip the garment over and apply a finishing press for five seconds with light pressure, using a silicone or cover sheet on top. This final pass flattens the ink layer and noticeably improves wash durability on the finished piece.
File setup rules that prevent printing issues
File preparation is where most printing problems actually start, long before your transfer reaches the press. Getting your artwork right the first time means fewer back-and-forth corrections with the supplier, faster production, and finished transfers that match what you designed. Submitting a poorly prepared file for stahls dtf transfers is one of the most common reasons orders get delayed or come back looking different from the original artwork.
Colour mode and resolution requirements
Your file must be in CMYK colour mode, not RGB. Screens display colour in RGB, which can make artwork look vivid on your monitor, but DTF printers output in CMYK. Submitting an RGB file means the printer’s software converts the colours automatically, and that conversion rarely produces the exact shades you intended. Convert your files to CMYK yourself before uploading so you control what the final output looks like.
Resolution is equally important. Set your file to a minimum of 300 DPI at the actual print size. A file that looks sharp at thumbnail size may be significantly under-resolution when printed at 12 inches wide. Scale your artwork to 100% before exporting and zoom in to check that edges on text and fine details are crisp rather than blurry or pixelated.
Checking your file at full size before export takes two minutes and catches most resolution problems before they cost you a reprint.
Transparency and bleed settings
Transparent backgrounds are mandatory for any design going onto a coloured or dark garment. A white fill behind your artwork will print as a solid white box on the final transfer, which is almost never what you want. Save your file as a PNG with a transparent background rather than a JPEG, since JPEGs do not support transparency and will flatten your background to white automatically.
Keep your artwork within the safe print area specified by the supplier and avoid placing critical design elements at the very edge of your transfer dimensions. A small buffer of at least 3mm between your design and the trim edge prevents any slight cutting variation from clipping part of your artwork on the finished transfer.
Next steps
You now have a complete picture of stahls dtf transfers: what they cost in Canada, how to order them properly, how to press them without issues, and what file setup mistakes to avoid before you even upload. Applying all of this consistently will save you time, reduce reprints, and keep your finished garments looking exactly the way you designed them.
If you’d rather skip the sourcing and setup entirely and work with a Canadian print partner who handles the production for you, that’s exactly what we do. Apex Workwear offers custom apparel printing across the GTA and beyond, with no minimums on many products, fast turnaround, and design support built in. You bring the idea; we handle the rest.
Ready to get started? Visit Apex Workwear for custom apparel and print products and request a free quote within 24 hours.