You need labels printed and someone has told you to grab an Avery label template, but you are staring at a product number on a sheet of stickers with no idea where to find the matching file. It happens to almost every small business owner at some point, usually right before a shipping deadline or a big order of address labels needs to go out.
The fix is simpler than it looks. Avery publishes free templates for every label size it sells, and you can pull them into Microsoft Word or Avery’s own design software in minutes, provided you know your product number and where to look. This guide walks through exactly that, so you spend less time hunting and more time printing.
We will cover how to find the correct template using your Avery product code, how to customise the layout with your logo, text, and branding, and how to get a clean print run without smudged edges or misaligned rows. If your batch is too large or the design needs a professional finish, we will also point out when it makes more sense to send the job to a local print shop instead.
What you need before choosing a template
Before you download anything, gather a few basics. Grabbing the wrong template wastes an entire sheet of labels, and Avery stock isn’t cheap when you’re buying it by the box. Check your label packaging first, because the product number is printed right on the box or on the sheet backing itself, usually as a five-digit code like 5160 or 8160.
Decide which software you’ll use to edit the template. Avery offers its own free Design & Print tool, which works entirely in your browser and is the fastest option if you just need to drop in text and a logo. If you’d rather work in a program you already know, Avery also publishes templates formatted for Microsoft Word, which gives you more control over fonts and spacing if your design needs to match existing branding materials.
Know your product number and your software before you open a single template file, and the rest of the process takes minutes instead of hours.
Have your artwork ready too. That means your logo file (ideally a PNG with a transparent background), your exact business name and address as it should appear, and any colour codes you need to match. If you’re printing for a client or a specific event, confirm the quantity now, since some Avery sheets only hold 10 labels while others hold 80, and that changes how many sheets you need to buy.
Finally, check your printer. Laser and inkjet printers use different Avery product lines for the same label size, so printer type matters as much as label size when you’re matching a template to physical stock. Printing a laser-only sheet through an inkjet printer often causes smearing or poor adhesive performance, so confirm compatibility before you buy a full box.
Step 1. Find your Avery product number
Every Avery template ties back to a specific product number, so this is the one detail you cannot skip. Flip over the label sheet or check the box it came in, and you’ll spot a four or five-digit code printed near the barcode, something like 5163 or 8460. That number tells you the exact size, shape, and layout of the labels on the sheet, and it’s the search term you’ll use to pull up the right template.
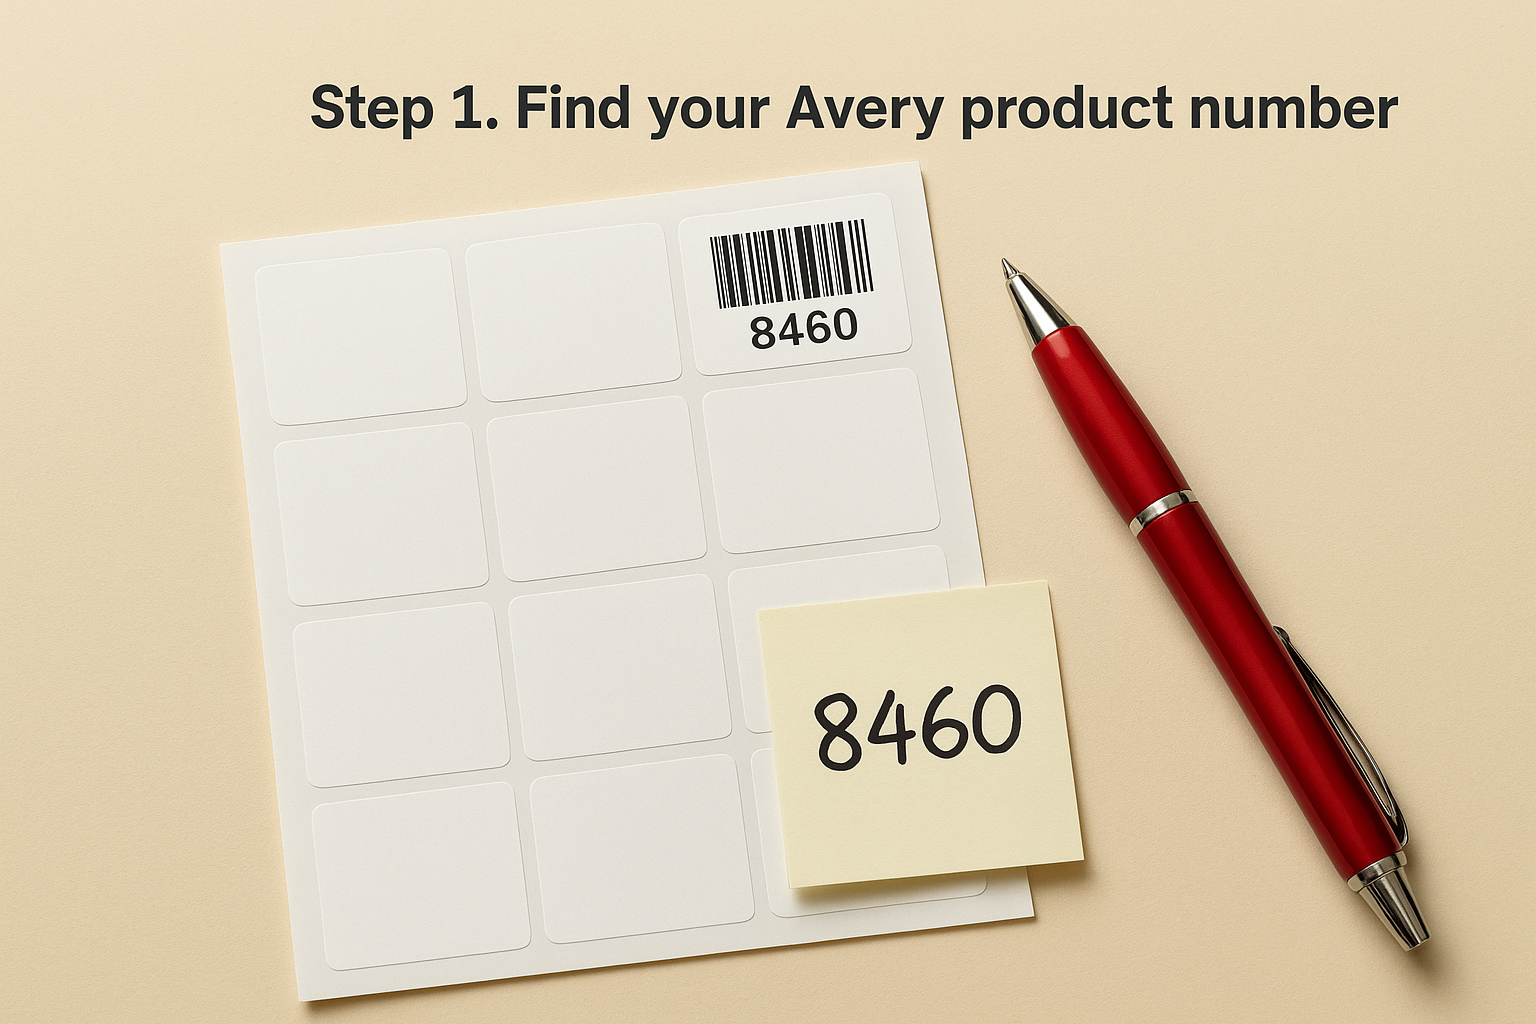
If the packaging is long gone, don’t guess. Measure a single label with a ruler (width and height in millimetres or inches), count how many labels sit on one sheet, and note whether the corners are square or rounded. Avery’s own product finder tool lets you search by these measurements and returns the matching product number in seconds.
Get the product number wrong and every template you download afterwards will be wrong too.
Write the number down somewhere obvious, your phone notes app works fine, since you’ll need it again when you open Word or the Design & Print tool in the next step.
Step 2. Download the matching template
With your product number in hand, head to Avery’s template site or open the Design & Print tool and type the number straight into the search bar. Skip generic label templates from other sites, since sizing even a millimetre off will throw every row out of alignment once you print. Avery’s own files are built to match its stock exactly, which is the whole point of using the product number in the first place.
You’ll usually see two download options: a blank Word template (.doc or .docx) or an online design you can edit directly in your browser. Pick Word if you want full control over fonts and want to reuse the file for future batches. Pick the browser tool if you just need something printed today.
The right download always starts with the product number, never with a search for "label template" alone.
Once downloaded, open the file and confirm the label grid matches your sheet before you add a single line of text. Count the rows and columns on screen against your physical sheet. If they match, you’re ready to start customising.
Step 3. Customise your label design
Open your downloaded template and start with the text box for the first label only. Type your business name, address, or product details exactly as you want them to appear, then check the font size against the label’s physical dimensions, since anything smaller than 8pt often becomes unreadable once printed. Most templates link every cell in the grid, so whatever you type in label one copies automatically to the rest of the sheet.
Adding logos and colour
Drop your logo into the template as a PNG with a transparent background, then resize it to leave at least 2mm of white space around the edges. Bleed and margins matter here too: Avery templates already account for the safe printing zone, so resist the urge to stretch your design to the very edge of each label, since printers rarely cut or print with pixel-perfect precision.
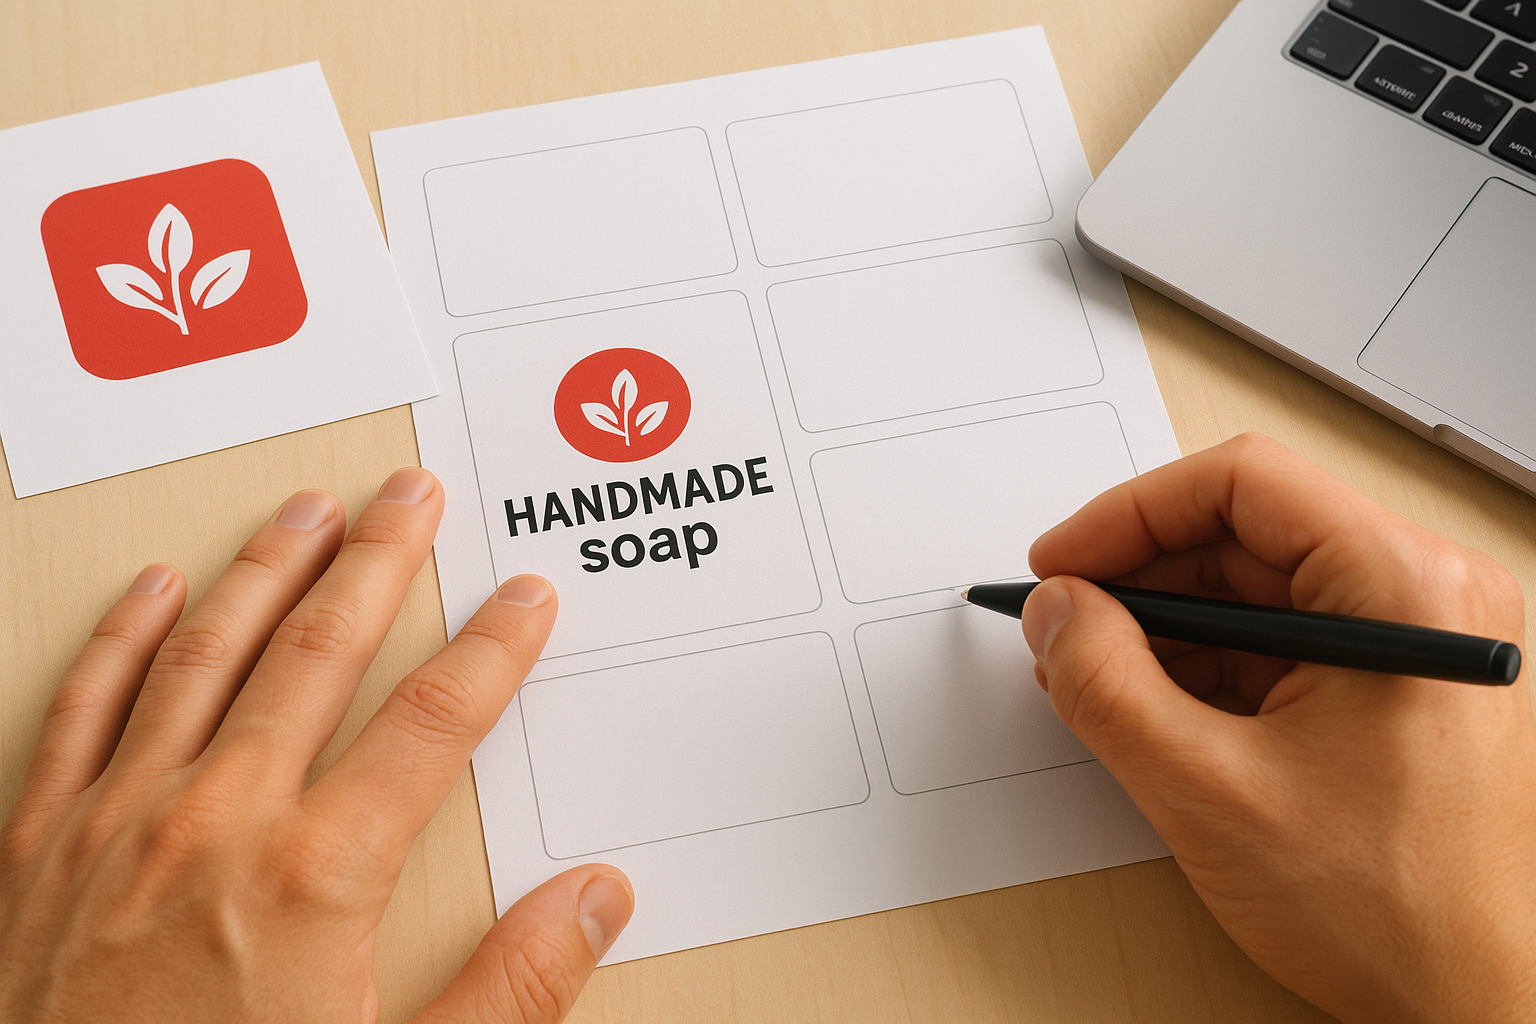
A design that looks perfect on screen but ignores the template’s margins will print crooked or clipped on the sheet.
Save a copy of the finished file before printing anything. That way, if you need matching labels next month, you’re not rebuilding the layout from scratch, just updating the details and printing again.
Step 4. Print a test sheet and check alignment
Before you load a full sheet of Avery stock, run your design on a plain sheet of paper first. Hold the printed page up against an unused label sheet and check whether the text lines up with each label’s boundaries. This one habit saves entire sheets of stock, since Avery labels cost far more than the printer paper you’d waste testing on.
Checking your printer settings
Open your print dialog and confirm the paper size is set to match your label sheet, usually letter size in Canada, and make sure any "scale to fit" or "shrink to fit" option is switched off. Those settings resize your layout automatically and throw off the alignment your avery label templates were built for.
A test print on plain paper always costs less than a ruined sheet of real labels.
Once the test page lines up, load one real label sheet and print a single copy. Check for:
- Text sitting fully inside each label, not spilling onto the backing
- Logos printed with sharp edges, not smeared or faded
- Rows staying straight across the full sheet, not drifting sideways
If everything checks out, you’re clear to print the full batch.
From blank template to finished labels
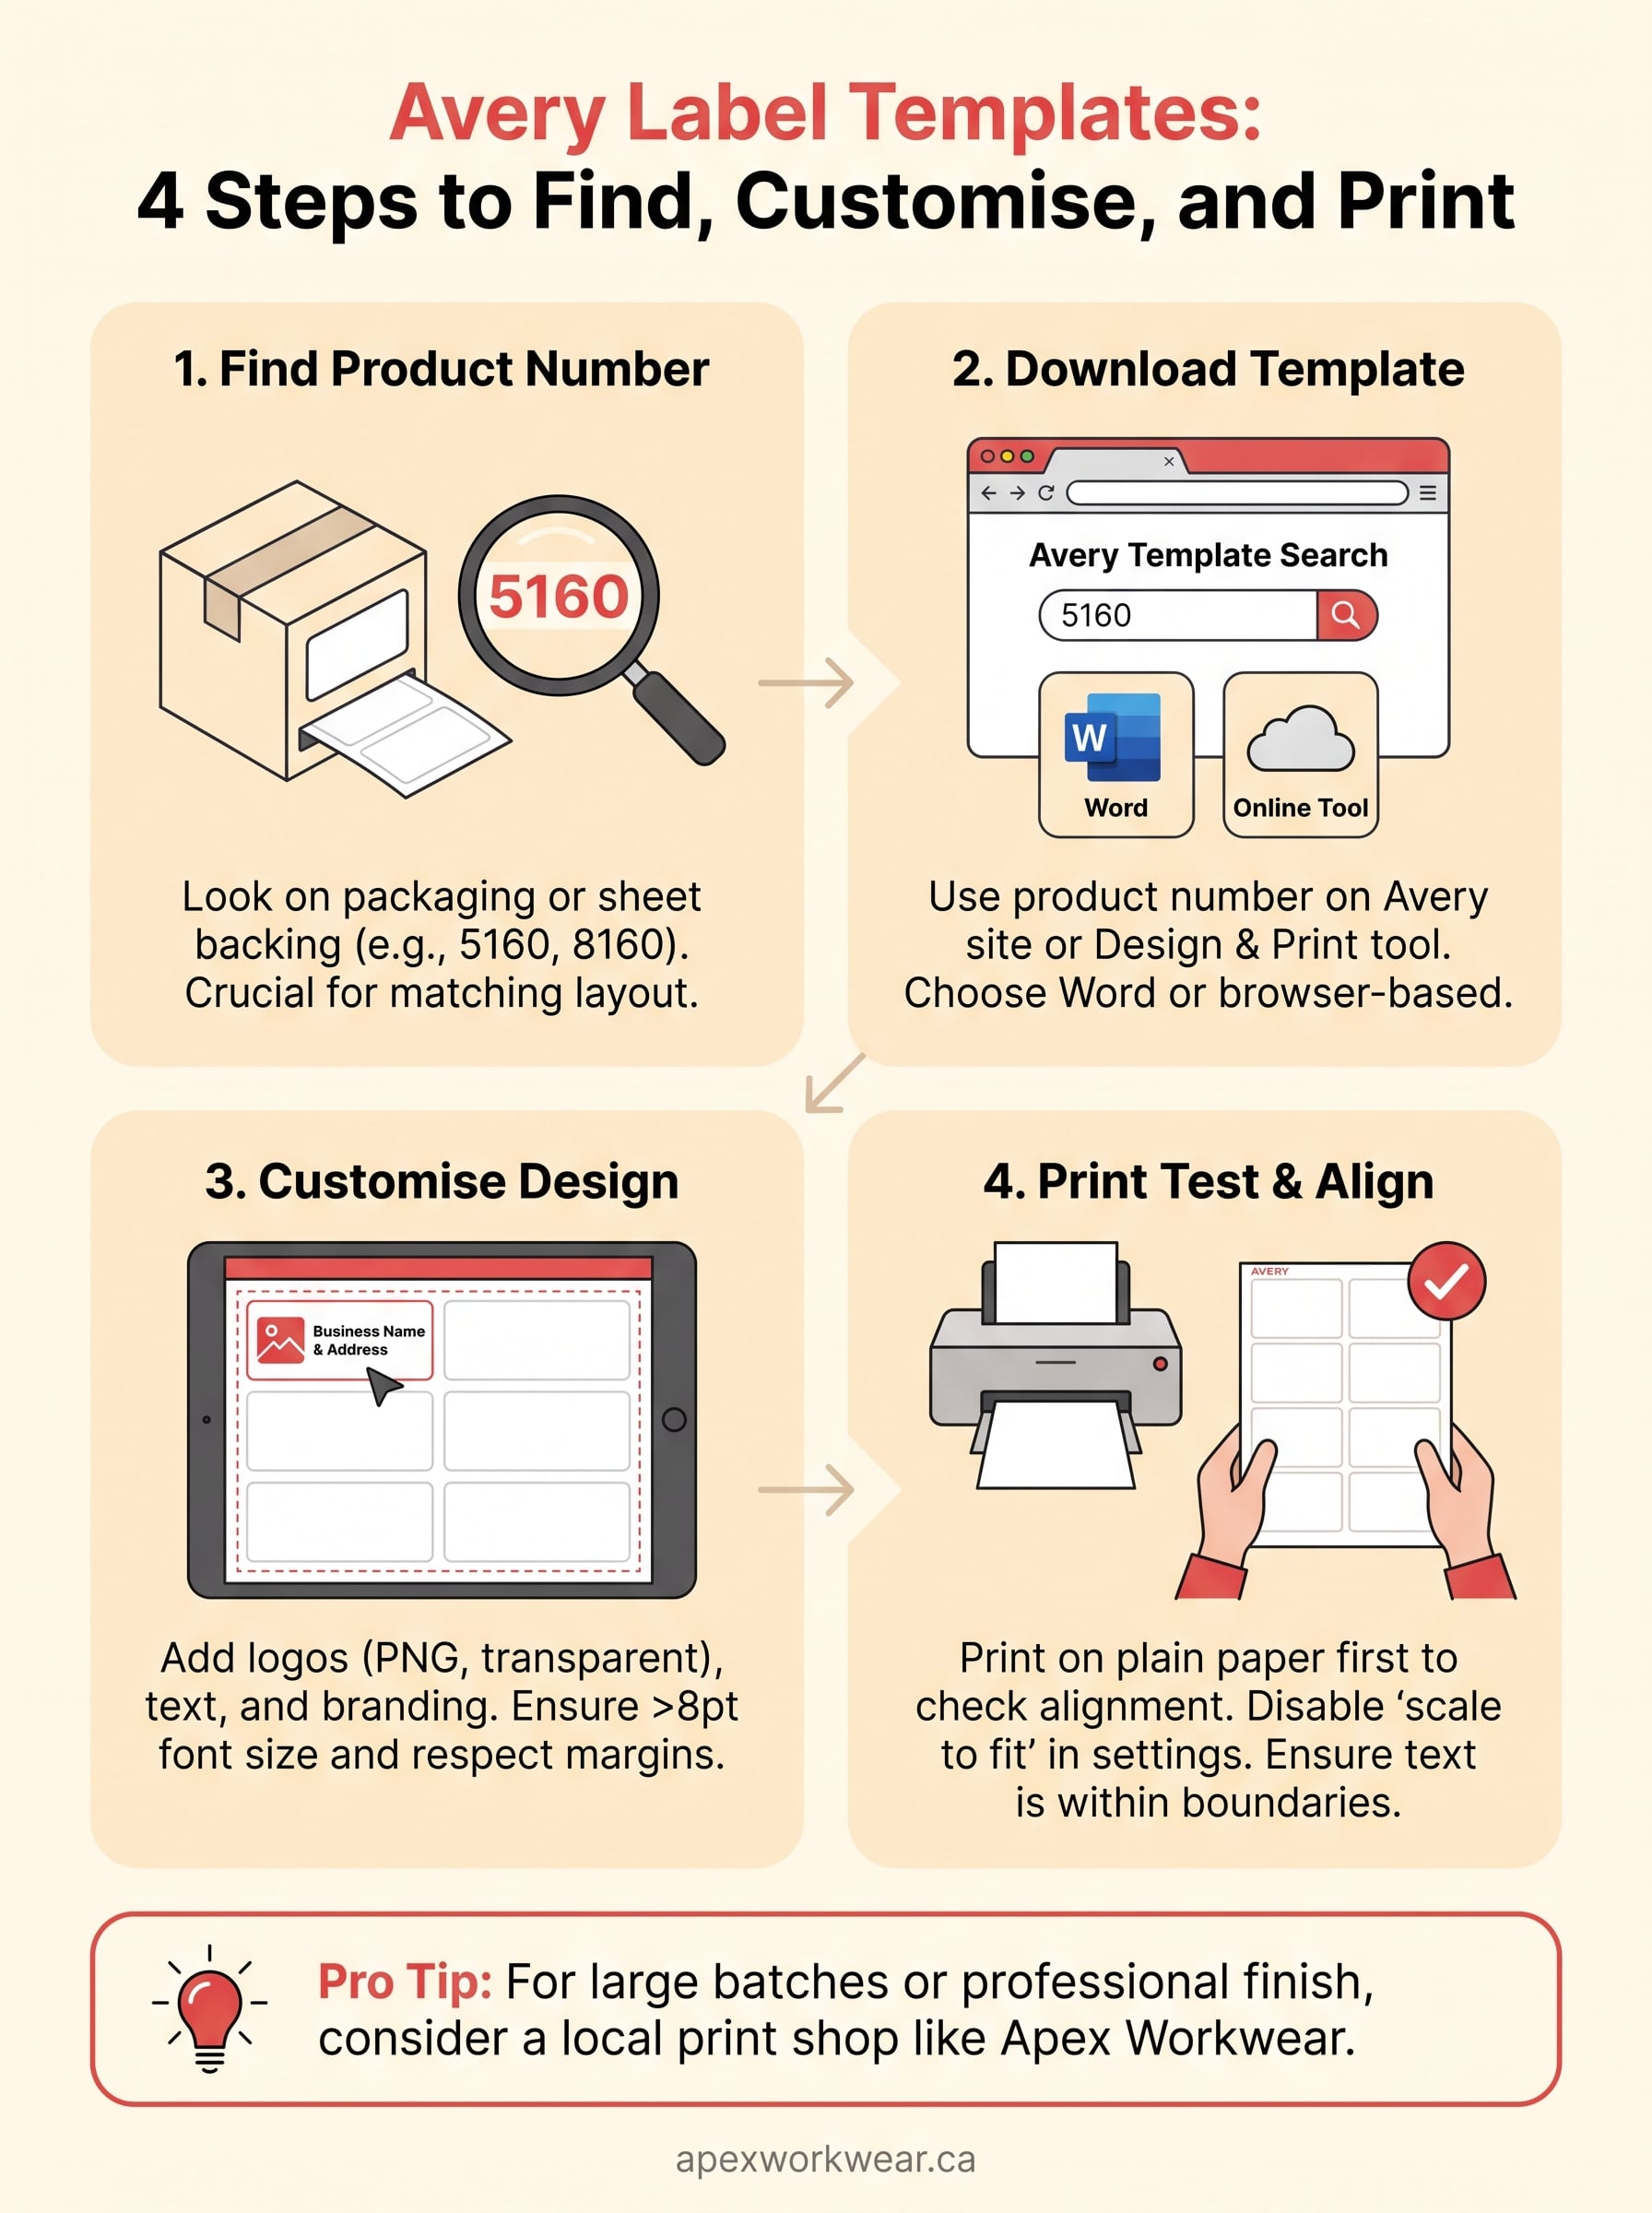
Getting from a blank Avery template to a finished sheet of labels comes down to four things: the right product number, a template that matches it exactly, a design that respects the margins, and a test print before you commit real stock. Skip any one of those steps and you end up reprinting a batch you already paid for.
For small runs, address labels, or one-off projects, this DIY approach works well and costs almost nothing beyond the label sheets themselves. But once you need hundreds of labels with consistent branding, tighter registration, or a finish that holds up outdoors, printing at home on an inkjet starts to show its limits fast.
That’s where a local print shop earns its keep. If your next batch needs to look sharper and print faster than your home setup allows, get a free quote from Apex Workwear and let a Canadian team handle the run for you.