Spot UV adds a glossy, raised coating to specific areas of a printed piece, think a logo that catches the light on an otherwise matte business card. The effect looks premium, but it only works when your file is built correctly. A proper spot UV file setup means creating a separate layer or channel that tells the printer exactly where to apply that coating. Get it wrong, and you’ll end up with misaligned gloss, wasted materials, and a reprint bill nobody wants.
At Apex Workwear, we produce custom print products right here in Canada, business cards, presentation folders, postcards, and more. Our team reviews every file before it goes to press, and spot UV jobs are where we see the most setup mistakes. Incorrect overprint settings, missing spot colour swatches, and flattened layers account for the majority of delays and reprints we encounter.
This guide walks you through the complete file setup process, step by step, in Adobe Illustrator, InDesign, and Photoshop. Whether you’re a designer preparing files for a client or a business owner building your own artwork, you’ll have everything you need to submit a print-ready spot UV file, no guesswork, no back-and-forth.
What you need before you start
Before you touch any layers or swatches, confirm that you have the right tools and file specifications in place. A solid spot UV file setup starts well before you open your design software. Jumping in without checking these basics first is the fastest way to submit a file that comes back for corrections, which delays your entire print job.
Software and file format
You need vector-based design software for most spot UV work. Adobe Illustrator and InDesign handle spot colour swatches natively, which makes the process significantly more straightforward. Photoshop works too, but it requires a separate channel-based approach that is covered in Step 5. Make sure you’re working in a format your printer accepts, which is almost always a layered PDF or an editable native file (.ai or .indd).
Submit only PDF/X-1a or PDF/X-4 files unless your printer specifically asks for something different.
Specifications to confirm with your printer
Every printer has slightly different technical requirements, so ask before you build your file. Collecting these details upfront prevents you from rebuilding your artwork from scratch halfway through the process.
| Specification | Typical requirement |
|---|---|
| Document colour mode | CMYK only |
| Resolution (raster elements) | 300 dpi minimum |
| Bleed | 3 mm on all sides |
| Spot UV layer name | "Spot UV" or "Die Line" |
| Overprint setting | Overprint fill ON |
| File format | PDF/X-1a or PDF/X-4 |
Your print supplier should provide a spec sheet or template if you ask. If they don’t have one available, use the table above as your starting checklist before you open the file.
Step 1. Finalise the CMYK base artwork
Your base artwork needs to be complete and fully approved before you add any spot UV elements. Treat this layer as the finished print file. Any changes made after you build the spot UV mask will likely throw off the alignment between your coating and the artwork underneath, which defeats the entire purpose of the effect.
Lock down colours and resolution
Convert your file to CMYK colour mode before you do anything else. A spot UV file setup built on an RGB document will produce colour shifts when the printer converts it, and those shifts are unpredictable. Set your image resolution to 300 dpi minimum for any raster elements, then confirm that bleed extends at least 3 mm beyond the trim edge on every side. Run a quick check across the whole document before moving on.
Flatten any transparency effects on your base artwork before you start building the spot UV layer.
- Colour mode: CMYK
- Resolution: 300 dpi minimum
- Bleed: 3 mm on all sides
- Status: fully approved before proceeding
Step 2. Build the spot UV mask layer
Once your base artwork is locked, create a new layer directly above it and label it clearly. Most printers expect this layer to be named "Spot UV" or "Varnish" – check your spec sheet for the exact name they require. Keeping this layer separate from your base artwork is what makes the entire spot UV file setup work as it should.
Name your spot UV layer exactly as your printer specifies – a misnamed layer is one of the most common reasons files get rejected at preflight.
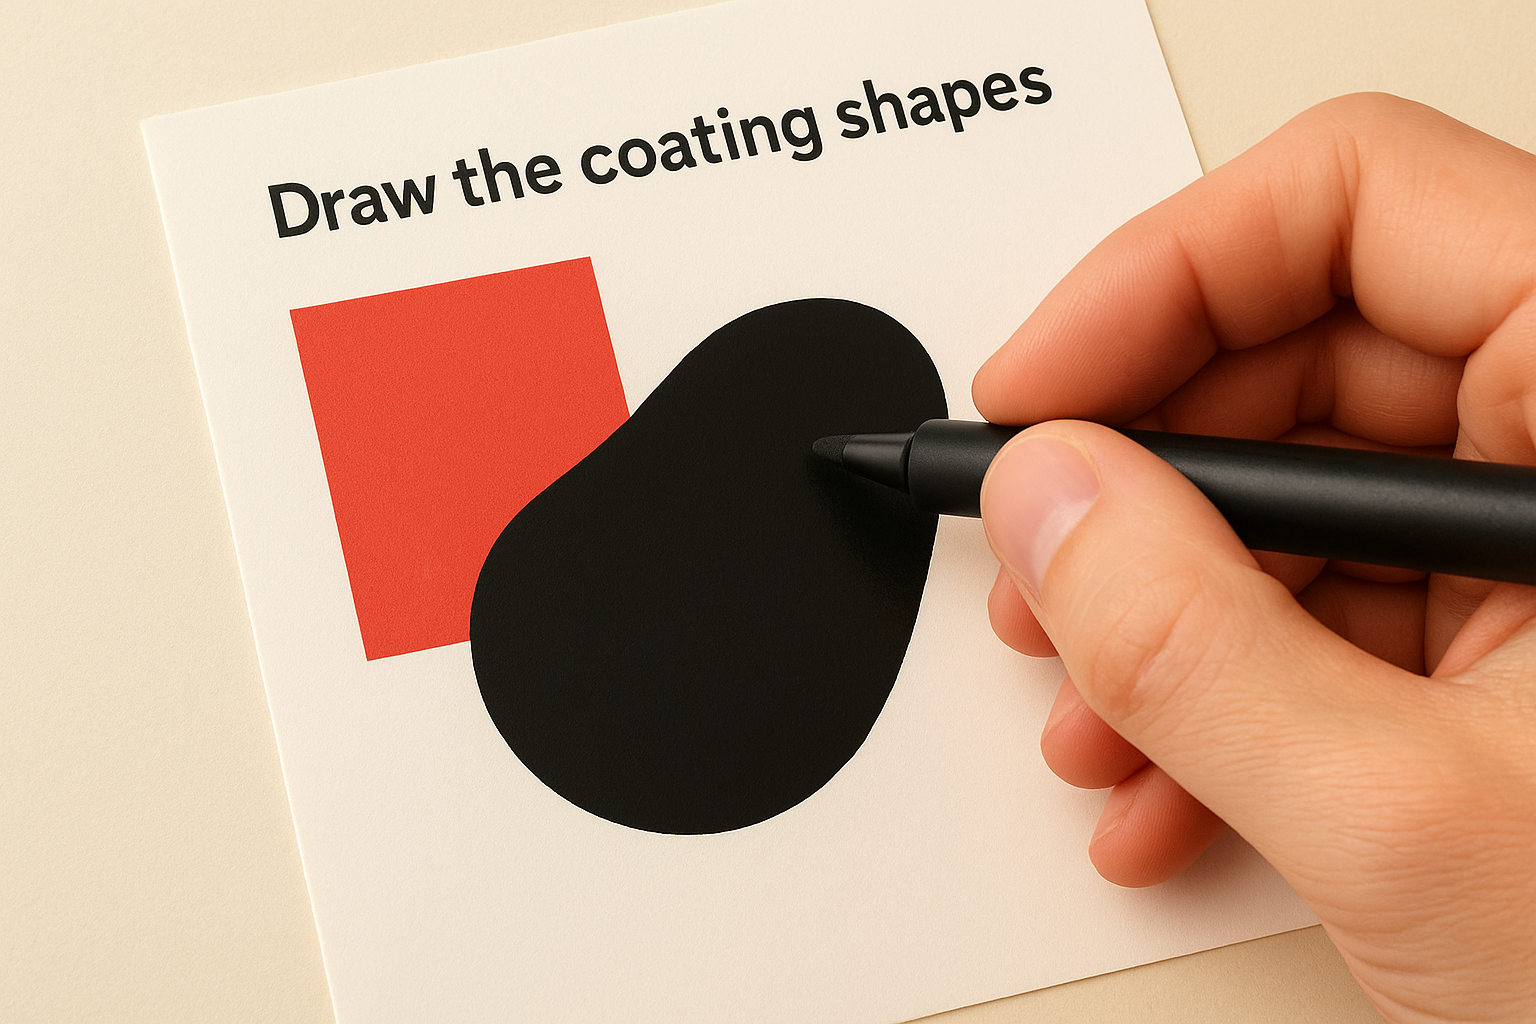
Draw the coating shapes
On your spot UV layer, draw solid shapes over every area you want the gloss coating to cover. These shapes should be 100% filled with a flat colour and have no stroke applied. The fill colour doesn’t matter yet; you’ll replace it with a spot colour swatch in Step 3.
- Fill: 100% flat colour (black works fine at this stage)
- Stroke: none
- Opacity: 100%
- Anchor points: keep paths clean and minimal
Step 3. Create the spot colour and set overprint
With your shapes in place, replace the placeholder fill with a dedicated spot colour swatch. This swatch signals to your printer’s RIP software that these shapes are a coating layer, not a printed ink. Skipping this step is one of the most common spot UV file setup errors we see at preflight.
Create the spot colour swatch
Open your Swatches panel and create a new colour swatch. Name it exactly as your printer specifies, typically "Spot UV" or "Varnish", and set the colour type to Spot Colour, not Process. Using 100% Magenta as the fill value makes the layer easy to identify visually without causing confusion with your base artwork.
Apply this swatch to every shape on your spot UV layer before touching overprint settings.
Turn on overprint fill
Select all shapes on your spot UV layer, open the Attributes panel, and tick Overprint Fill. This tells the press not to knock out the base artwork underneath, which keeps your coating exactly where you placed it.
Step 4. Export, name, and preflight the PDFs
With your spot UV layer complete, you are ready to export. A clean spot UV file setup produces two separate PDFs: one for the CMYK base artwork and one for the spot UV layer alone. Most printers require this split so their RIP software can process each plate independently without confusion.
Label your files clearly so there is zero ambiguity about which PDF is which at the print end.
File naming and export settings
Name your files consistently so they are easy to match. When exporting from Illustrator or InDesign, use PDF/X-1a as your preset and confirm that marks and bleeds are included. Do not flatten layers on export unless your printer specifically requests it.
- Base file:
projectname_CMYK.pdf - Spot UV file:
projectname_SpotUV.pdf
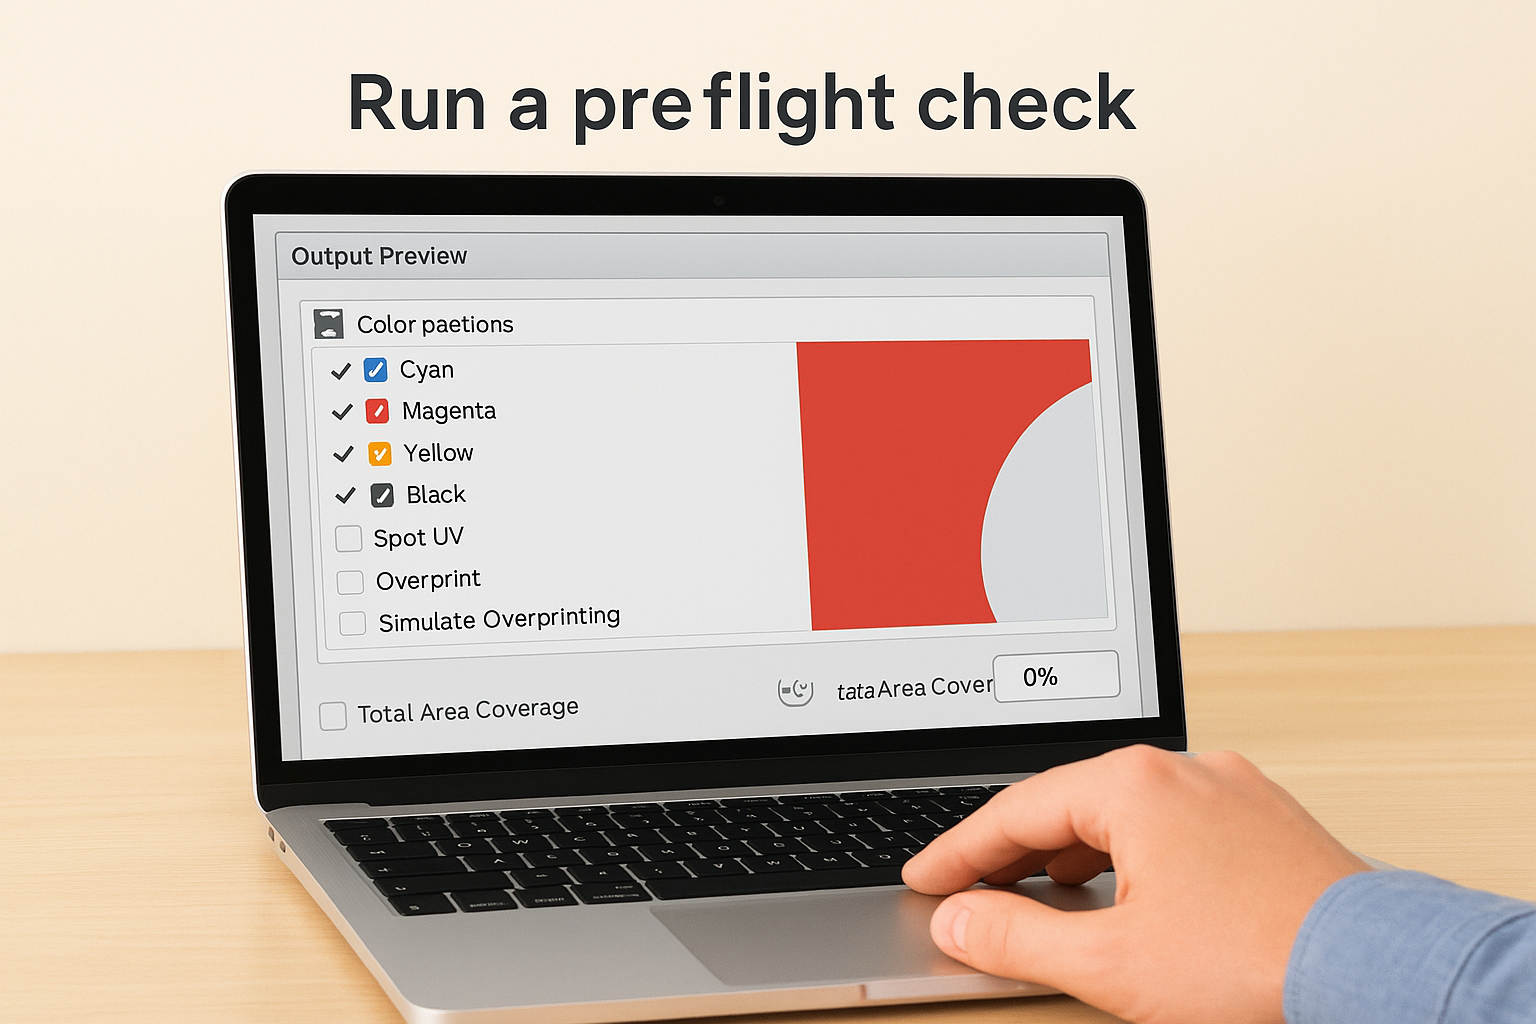
Run a preflight check
Open the exported PDF in Adobe Acrobat and use the Output Preview panel to confirm your spot colour appears as a separate ink plate, distinct from Cyan, Magenta, Yellow, and Black. If it appears as a process colour instead, your swatch was set incorrectly and you need to return to Step 3 before submitting.
Step 5. Software notes for Illustrator, InDesign, Photoshop
Each application handles spot colour swatches slightly differently. The steps in your spot UV file setup stay consistent in logic, but the panels and menus vary, so check the notes below for your specific software before you export.
Illustrator and InDesign
Both applications use the Swatches panel to create spot colour swatches. In Illustrator go to Window > Swatches; in InDesign go to Window > Colour > Swatches. In both cases, set the colour type to Spot, name the swatch exactly as your printer specifies, and turn on Overprint Fill in the Attributes panel.
- Colour type: Spot (not Process)
- Overprint Fill: on via Attributes panel
- Swatch name: must match printer specification exactly
Photoshop uses a channel-based workflow rather than a spot colour swatch, so the process is entirely different.
Photoshop
Create a new spot channel from the Channels panel menu. Name it precisely as your printer requires, set solidity to 100%, and paint the coating areas in white on that channel. Export as a flattened PDF to keep the channel intact.
- Channel name: match printer spec exactly
- Solidity: 100%
- Paint coating areas in white
Ready to send to print
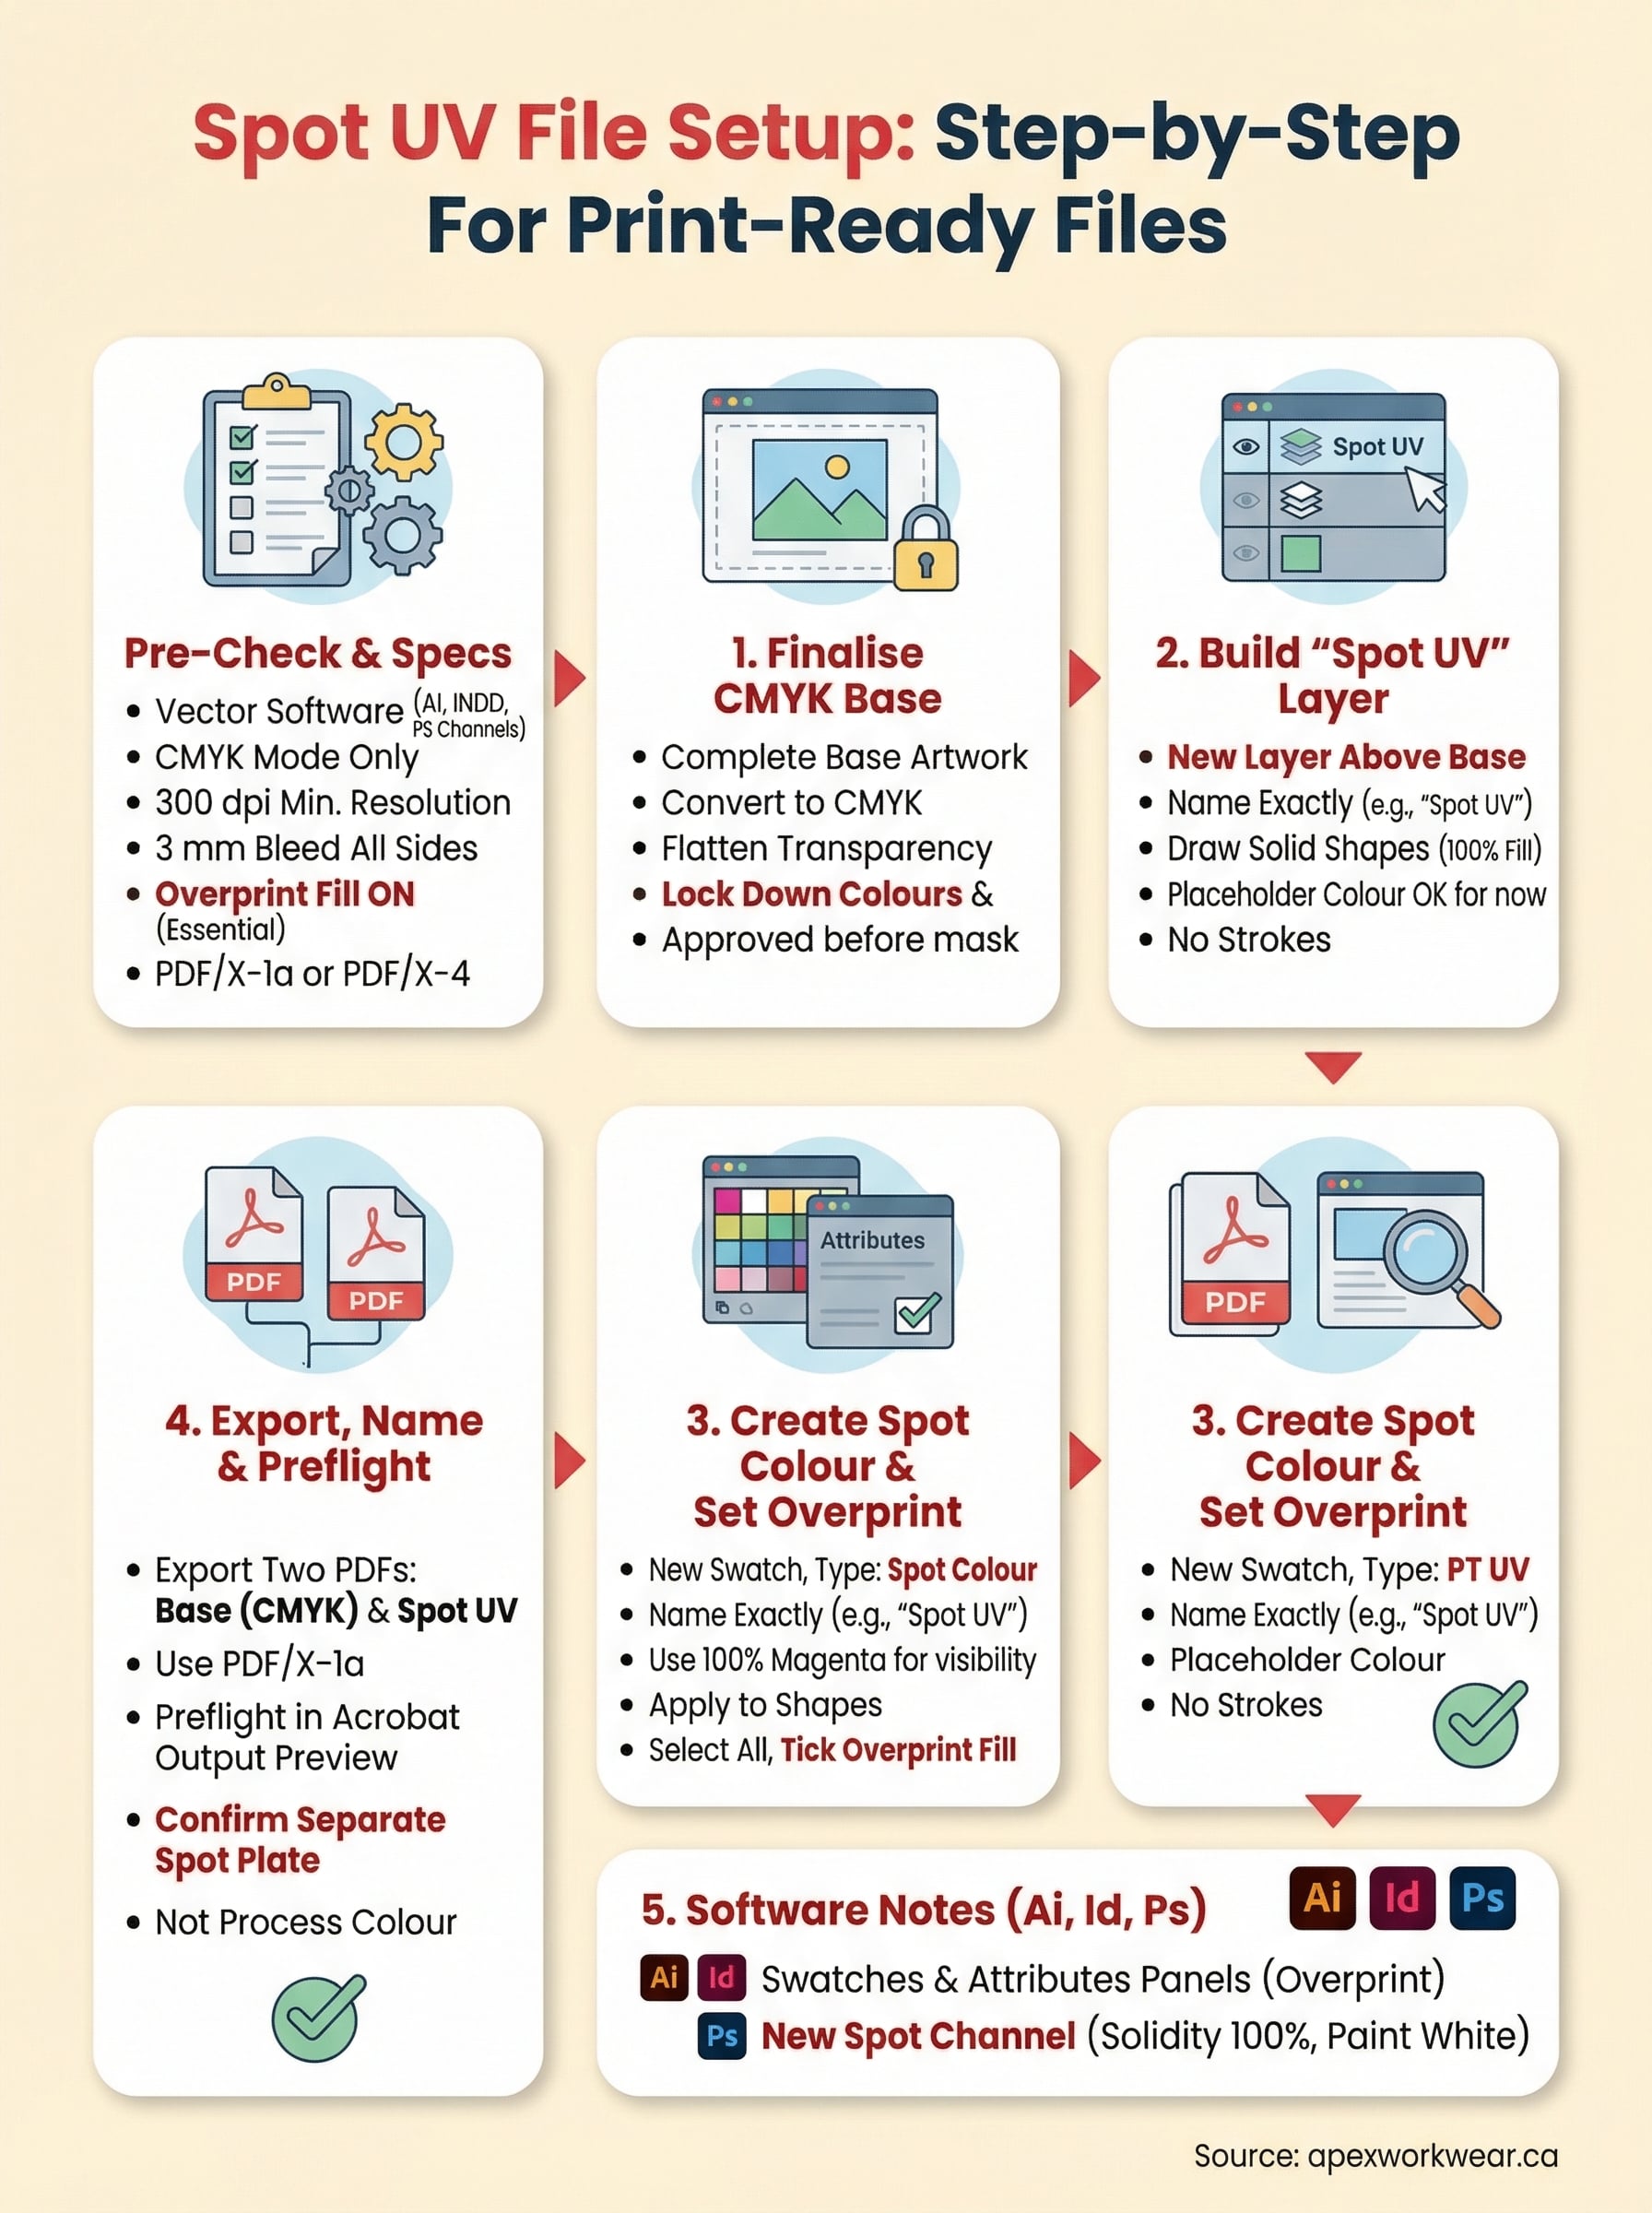
A complete spot UV file setup covers five things: approved CMYK base artwork, a correctly named spot UV layer, a spot colour swatch set to overprint, two clearly labelled PDFs, and a preflight check that confirms your spot colour appears as a separate ink plate. If all five are in order, your file is ready to go.
Before you hit send, do one final review. Check your layer names match exactly what your printer specified, and confirm your overprint setting is active on every shape in the coating layer. A two-minute check here saves you days of back-and-forth and prevents a reprint you did not budget for.
When you’re ready to move forward, the team at Apex Workwear reviews every file before it goes to press, catches setup issues early, and ships most orders within five to seven business days. Upload your files and get a free quote within 24 hours.