You’ve decided you need a yard sign, maybe for a real estate listing, a campaign, a grand opening, or a construction site. Now comes the part that trips most people up: picking the right size. The debate around yard sign sizes (18×24 vs 24×36) is more practical than it sounds, because the wrong choice means your sign either gets ignored or becomes a hassle to install and move.
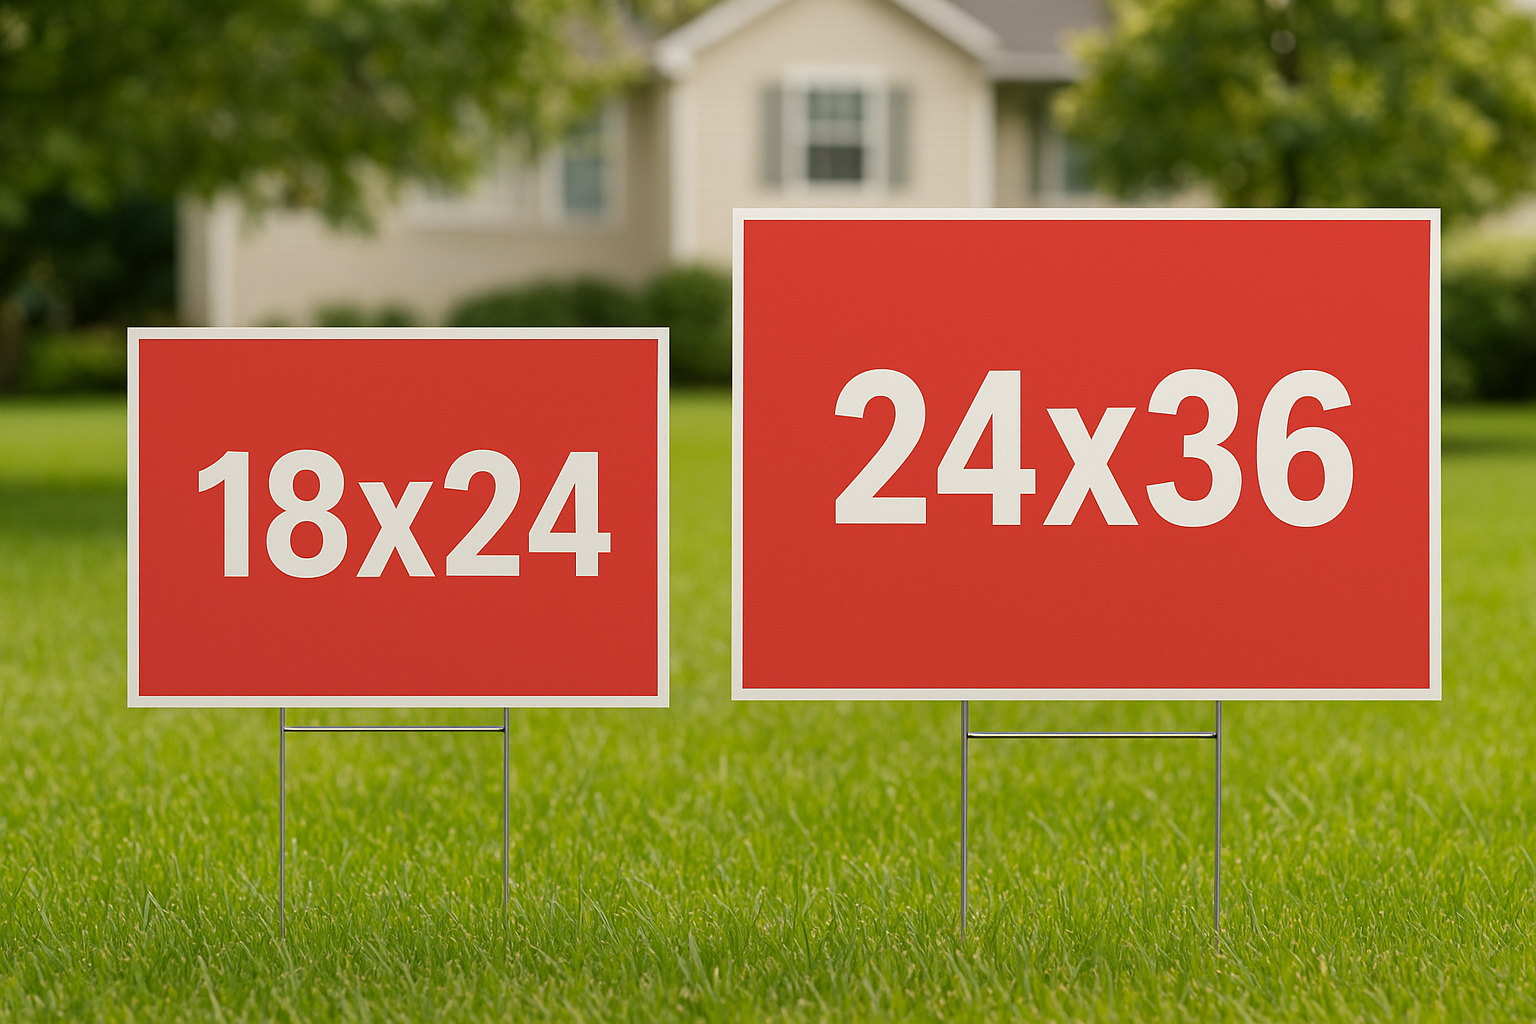
These two sizes dominate the market for good reason. The 18×24 is the classic, go-to option you see on lawns everywhere, while the 24×36 gives you nearly double the print area for situations where visibility matters more than portability. But the best pick depends entirely on where the sign goes, how far away people will be reading it, and what you’re trying to communicate.
At Apex Workwear, we print coroplast yard signs right here in Canada, from single units with no minimums to bulk runs with volume pricing. We’ve helped small businesses, contractors, and event coordinators across the GTA figure out exactly what works for their situation. This guide breaks down the real differences between these two sizes, covering visibility, cost, durability, and use cases, so you can order with confidence instead of guesswork.
Why yard sign size matters for results
A yard sign is a one-shot communication tool. You get a fraction of a second to catch someone’s attention and deliver your message before they drive or walk past. The size of your sign directly controls how early someone spots it and how much information you can fit without everything becoming unreadable. Choosing between the most common yard sign sizes (18×24 vs 24×36) is not a minor detail; it sets the entire performance ceiling for what your sign can actually achieve.
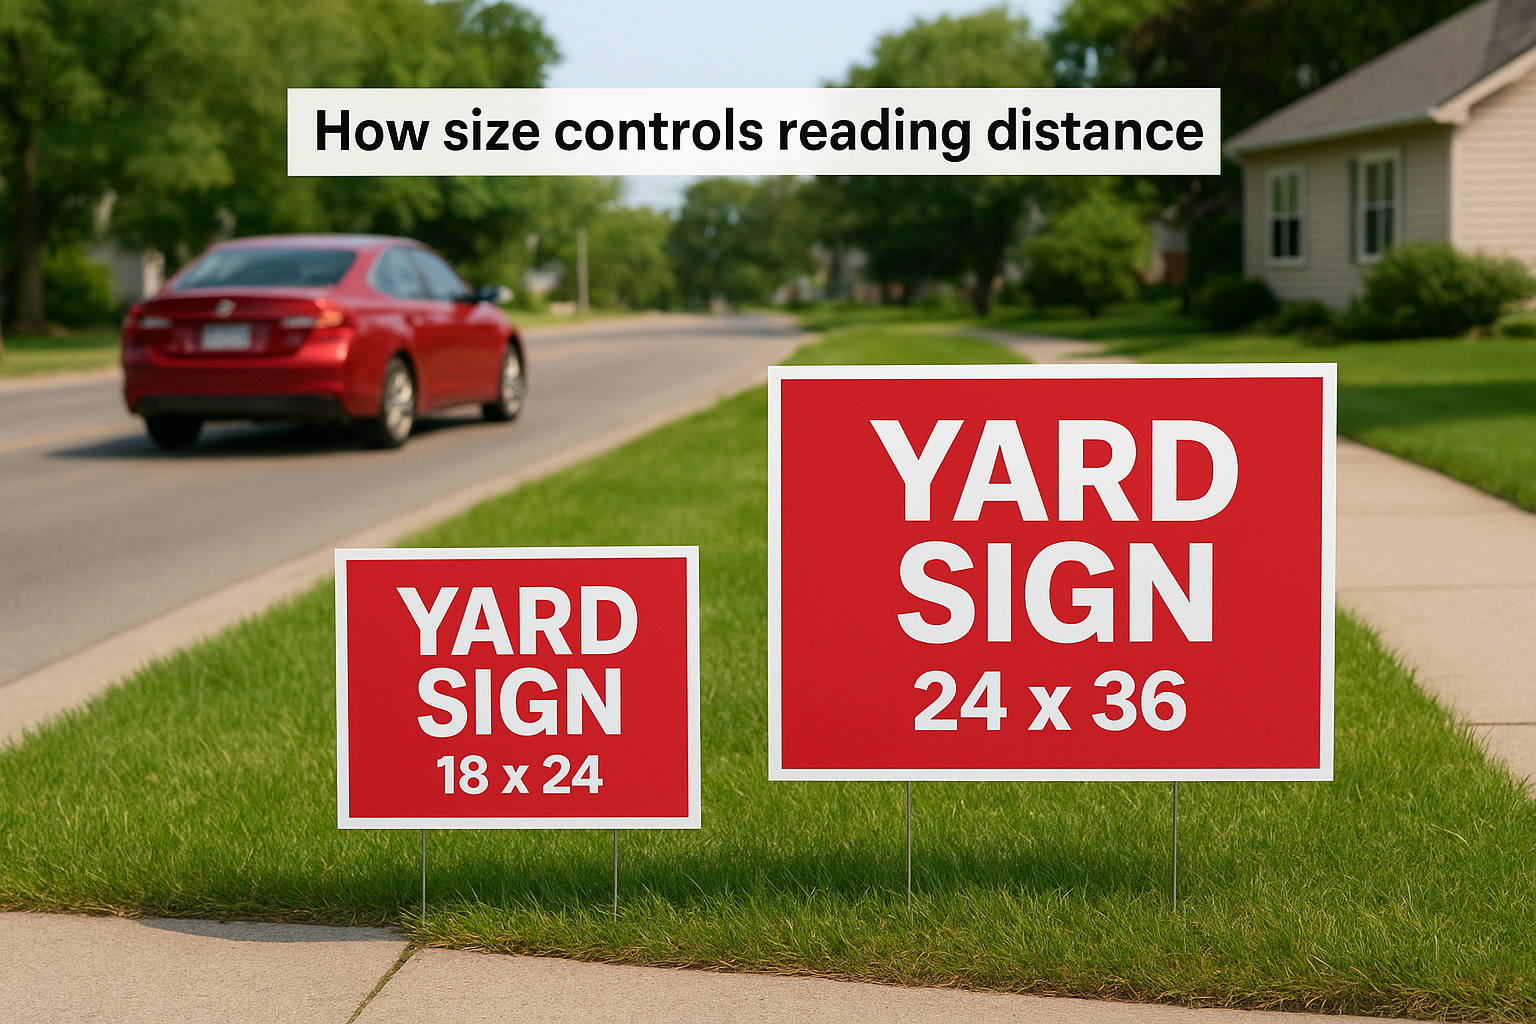
How size controls reading distance
When a driver is moving at 50 km/h, they cover roughly 14 metres per second. That means your sign has about one to three seconds of useful viewing time, depending on placement. Larger signs are readable from a greater distance, not just because the sign itself is bigger, but because every element on it, the text, logo, and phone number, scales up with it.
The standard rule in outdoor advertising is that every 25mm of letter height gives you roughly 3 metres of readability distance.
Smaller signs rely on proximity to compensate for their reduced area. If you place signs in a slow-speed neighbourhood, or right at the edge of a driveway, the 18×24 can still perform well in those conditions. But in a high-traffic corridor with cars moving quickly, you need the extra area of the 24×36 to carry that load.
How size affects what you can say
More physical space does not automatically mean a better sign. Many people fill every centimetre of a larger sign with text, which defeats the purpose of going bigger. A 24×36 gives you room to increase font size dramatically, not to cram in more words. Your sign should still aim for a headline, one key detail like a phone number or URL, and a clear visual element.
An 18×24 forces discipline by limiting how much you can include. That constraint can work in your favour when your message is simple, like a single contact number or a direct call to action. The smaller format pushes you toward clarity, which is often exactly what a yard sign needs.
Why placement and audience change everything
Your sign’s location decides which size serves you better. A residential lawn sign seen by pedestrians and slow-moving traffic performs well at 18×24. A construction site, a busy intersection, or an event entrance benefits far more from the larger 24×36 format, where people need to read quickly from a distance or from a moving vehicle.
Think about who is reading your sign and under what conditions. If your audience is approaching on foot or standing nearby, size matters less than content. If they are driving past at speed, every additional centimetre of sign area translates directly into extra reading time and a higher chance they actually absorb your message before they are gone.
18×24 vs 24×36 at a glance
Before diving into specific use cases, it helps to compare yard sign sizes (18×24 vs 24×36) directly on the numbers. These two formats differ in more than just physical dimensions; they carry different expectations around readability distance, installation effort, and print cost, all of which affect which one makes sense for your situation.
Doubling the print area changes not just visibility but the entire design and placement strategy behind the sign.
Key specs side by side
The table below lays out the core differences between both formats so you can compare them before reading further. Use it as a quick reference when deciding how many of each size to include in your order.
| Feature | 18×24 | 24×36 |
|---|---|---|
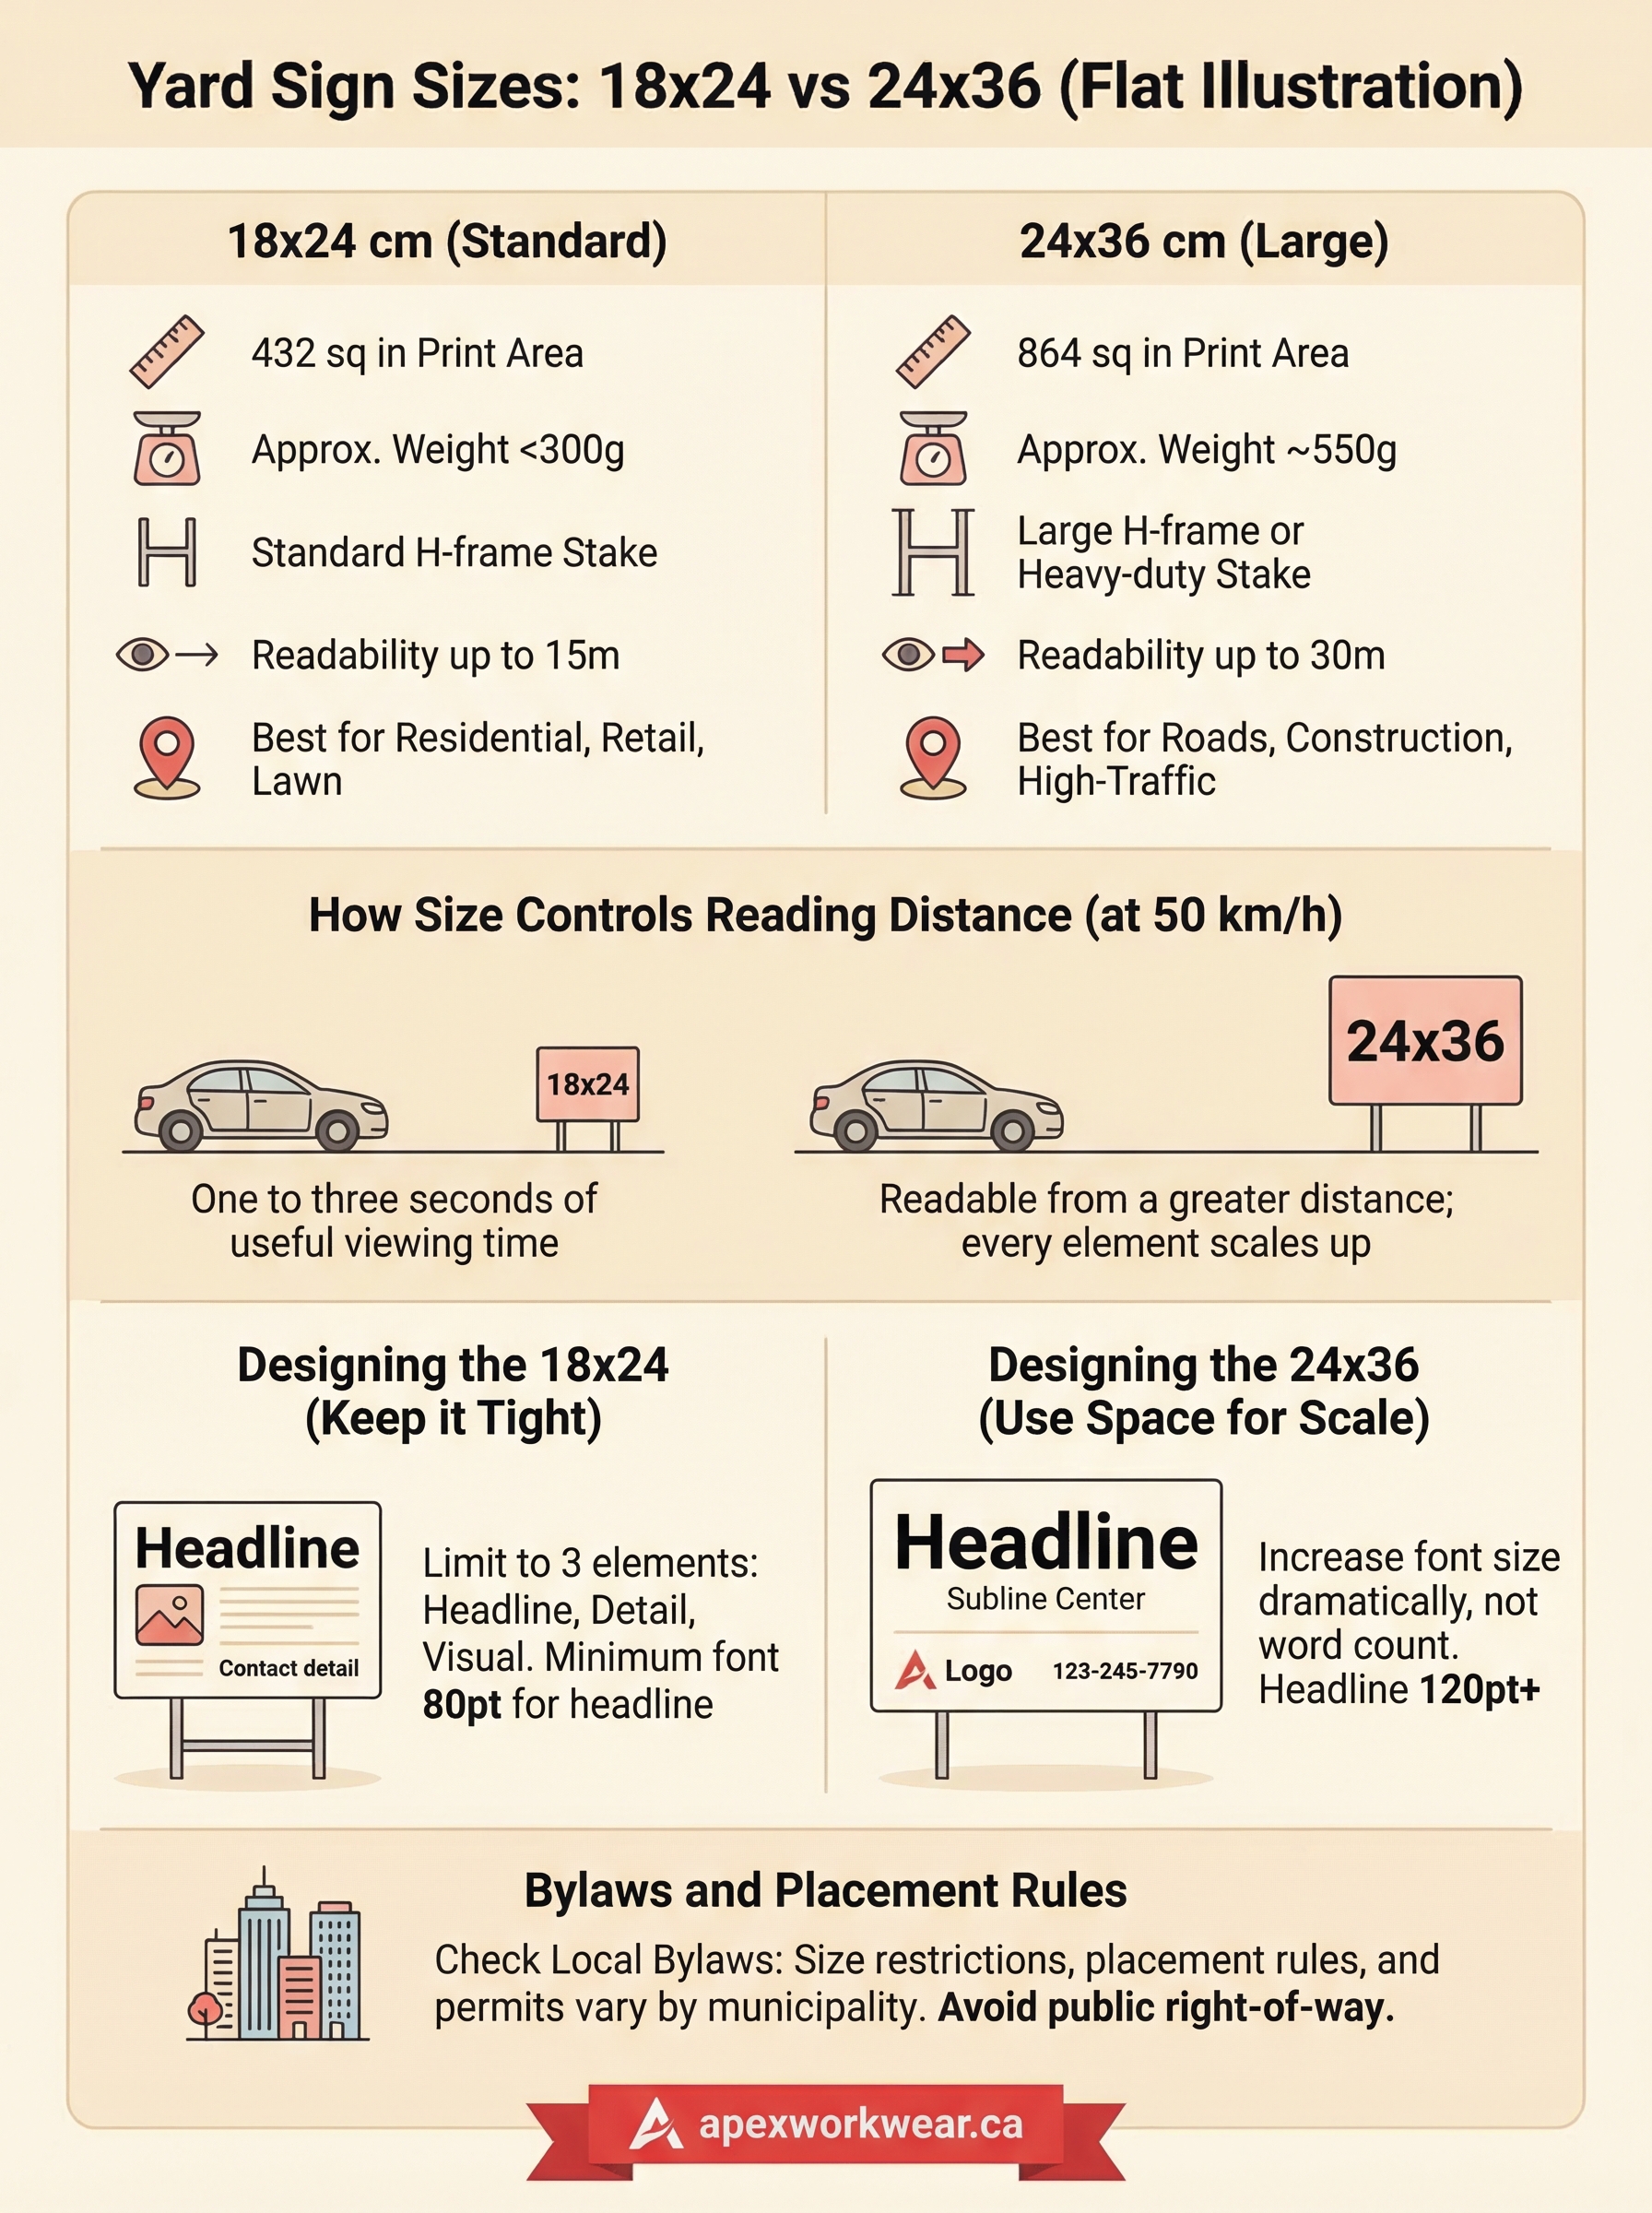
| Print area | 432 sq in | 864 sq in |
| Approximate weight | Under 300g | Around 550g |
| Stake type | Standard H-frame | Large H-frame or heavy-duty stake |
| Estimated reading distance | Up to 15m | Up to 30m |
| Common use | Residential, retail, lawn | Roads, construction, high-traffic |
Where each size fits best
The 18×24 is the default choice for residential placements such as real estate listings, contractor lawn signs, and neighbourhood promotions. It fits a standard H-frame wire stake without modification, stores flat in bulk without eating up much space, and costs less per unit when you are placing multiple signs across a wide area. Its smaller format also encourages tighter, more focused messaging, which is a genuine advantage when your sign needs to communicate one clear thing fast.
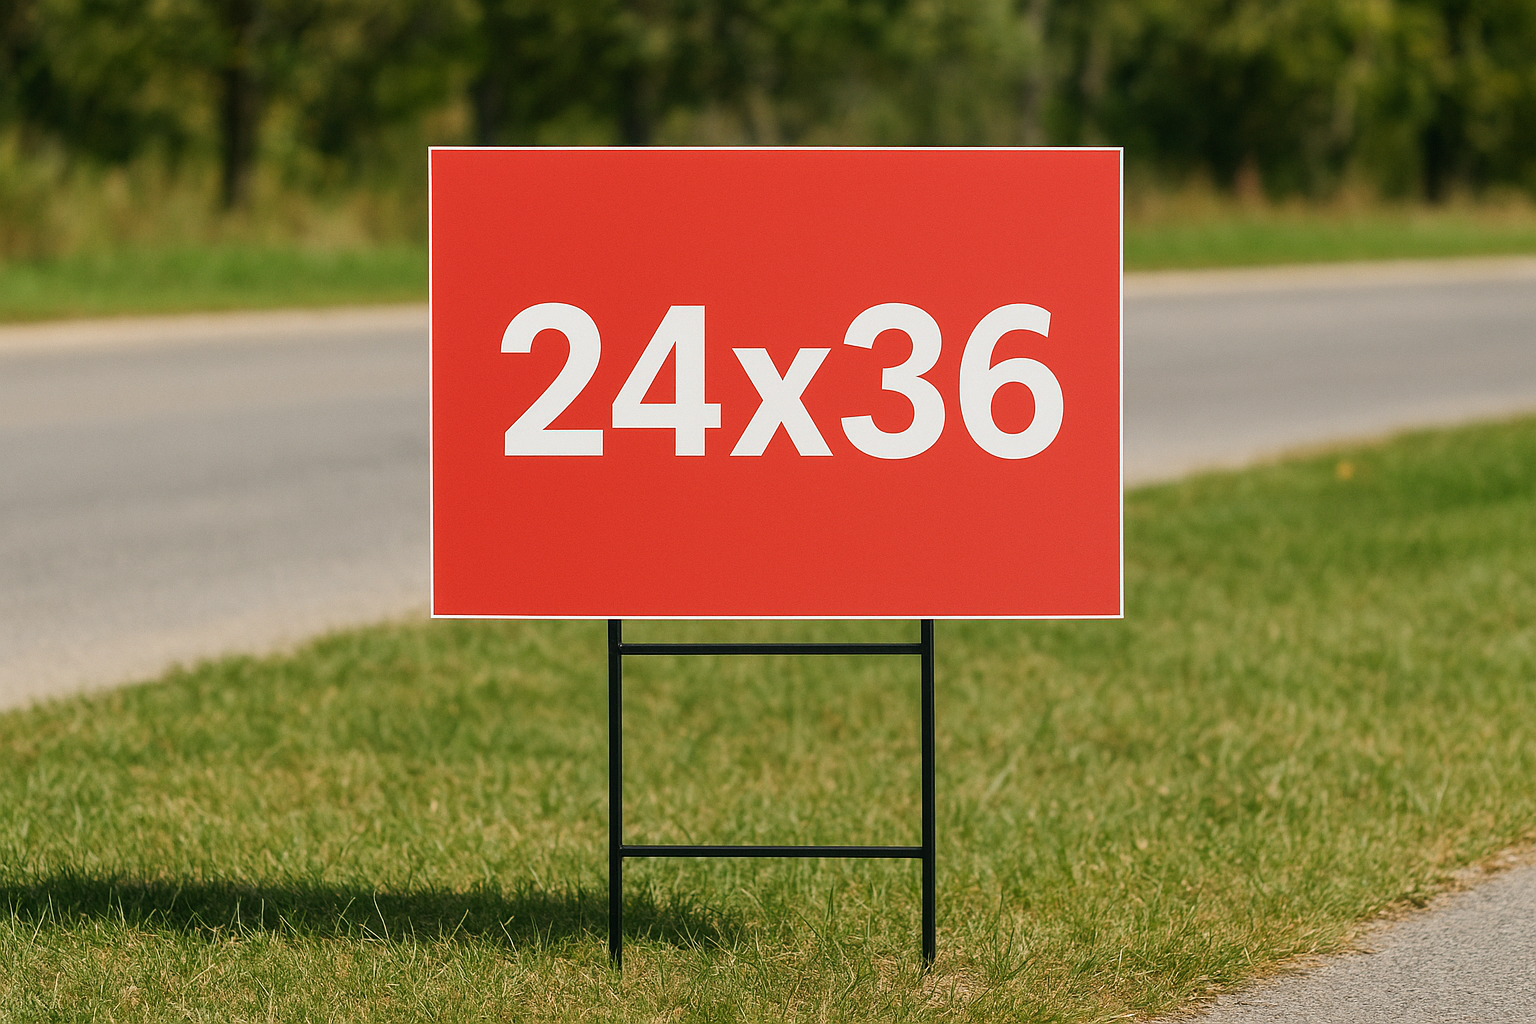
For high-traffic settings where speed and distance are real factors, the 24×36 earns its place. At a busy road, a construction hoarding, or an event entrance, the extra height and width give someone driving at 50 km/h enough time to read your headline and contact detail clearly before they pass. The trade-off is weight, the need for a stronger stake or frame to handle wind, and a higher cost per unit compared to the smaller format.
How to choose based on distance, speed, and location
The single most useful question to ask before ordering is: how far away will your audience be when they first see your sign? That answer determines whether you need an 18×24 or a 24×36 more reliably than any other factor. Speed, traffic flow, and placement location all feed directly into that distance calculation, so work through each one before you confirm your order.
Signs for slow traffic and pedestrian zones
If your sign goes into a residential area where traffic moves at 30-40 km/h, or where people are on foot, the 18×24 handles that environment well. At those speeds, a viewer has three to five seconds of reading time before they pass your sign. That window is enough to absorb a clear headline, a contact number, and a simple visual on a well-designed 18×24.
Lawn signs for real estate listings, contractor promotions, and neighbourhood events all sit in this category. The stakes are standard H-frame wire, the sign is lightweight enough to carry in bulk, and you can place several of them across a neighbourhood without a large cost per unit.
Signs for roads, intersections, and high-traffic sites
When your yard sign sizes (18×24 vs 24×36) decision comes down to a busy arterial road or a construction site, the 24×36 is the right call. At 50-60 km/h, a driver covers your sign’s entire view in roughly two seconds. The additional height and width of the 24×36 give your text enough scale to be readable from 20 to 30 metres out, which means the driver has a real chance of absorbing it before they pass.
Place your 24×36 signs on road-facing boundaries where the full face is visible from at least 25 metres away for maximum impact.
Construction hoardings, event entrances, and high-volume retail locations all benefit from this format. The larger sign holds its own at distance, stays stable in wind when mounted on a heavy-duty frame, and gives your design room to use font sizes that are genuinely readable from a moving vehicle.
How to design each size so people can read it fast
Design decisions that work on a business card will fail completely on a yard sign. Your audience has seconds at most, so the layout needs to deliver one clear message at the right scale before they move on. The rules shift depending on which of the two yard sign sizes (18×24 vs 24×36) you are working with, because the available area changes what you can realistically fit without killing readability.
Designing the 18×24: keep it tight
The 18×24 gives you 432 square inches to work with, which sounds like plenty until you factor in margins, a logo, and a phone number. Your best approach is to treat this format as a three-element sign: a bold headline, one supporting detail like a URL or number, and a visual element. Nothing else belongs on it. Use a minimum font size of 80pt for your headline so it reads clearly at 10 metres, and leave at least 15mm of clear margin on all sides.
Limiting your 18×24 to three design elements forces the clarity that makes yard signs actually work.
Keep your colour contrast strong by pairing a dark background with light text, or the reverse. Avoid gradient fills or background images that compete with your text. A clean, flat colour behind your headline does more for readability than any decorative element you could add.
Designing the 24×36: use the space for scale
The temptation with a 24×36 is to fill the extra room with more information, but that approach wastes the entire advantage of going larger. Use the additional space to increase your font sizes significantly, not your word count. Your headline should sit at 120pt or above, making it legible from 20 to 25 metres away.
Your layout on a 24×36 can support a headline, a short subline, a logo, and a contact detail without feeling crowded, as long as each element has breathing room around it. Keep line spacing generous and avoid stacking more than four lines of text in total.
Materials, stakes, and frames that fit each size
The material you choose and the hardware you use to mount your sign directly affect how long it survives outdoors. Both yard sign sizes (18×24 vs 24×36) are most commonly printed on 4mm coroplast, a corrugated plastic sheet that handles rain, wind, and sunlight without warping or fading. Thicker 6mm coroplast is available for situations where a sign will face repeated handling or harsh seasonal weather.
Coroplast thickness and when to upgrade
Standard 4mm coroplast works well for short campaigns lasting a few weeks. It stays rigid in moderate wind and resists moisture effectively. For signs that will stay up through a full season or get moved frequently between locations, 6mm coroplast holds its shape better and is far less likely to crack at the stake slots after repeated installation and removal.
Choose 6mm coroplast if your sign will be installed and removed more than three or four times during the campaign.
Hardware that works with 18×24
The 18×24 fits a standard H-frame wire stake, which is the most widely available and least expensive mounting option in Canada. Wire H-frames push directly into soft ground without any tools and hold a sign securely in moderate wind. Each 18×24 typically requires one H-frame, making bulk campaigns straightforward to pack, transport, and deploy across a neighbourhood.
A basic wire H-frame weighs under 200g and stores flat, so you can carry twenty or thirty units in a single bag without significant bulk or added weight.
Hardware that works with 24×36
The 24×36 is heavier and catches considerably more wind, which means a standard H-frame is often not enough for open or exposed locations. You need a large H-frame or a heavy-duty step stake sized for the 24-inch width, as these provide a wider, more stable base that resists tipping in gusty conditions.
For semi-permanent placements at construction sites or road-facing locations, a metal frame with ground anchors on both sides is the most reliable option. This setup keeps the sign flat against the wind rather than letting it flex and pull free.
Cost, quantity, and ordering tips for Canada
Understanding the cost difference between yard sign sizes (18×24 vs 24×36) helps you plan your campaign budget before you place an order. The 24×36 typically costs 30 to 50 percent more per unit than the 18×24, reflecting the larger material usage and the heavier stakes required. That gap narrows at higher quantities, but it is still a real consideration when you are calculating total spend across a multi-location campaign.
What you pay per unit and how quantity affects price
Single-unit pricing on coroplast signs is noticeably higher than bulk pricing, regardless of size. If you need ten or more signs, your per-unit cost drops considerably, and at quantities of 25 or above, the savings become significant enough to change how you approach the campaign entirely. Many businesses running a neighbourhood promotion order extra units at bulk pricing rather than reordering later at single-unit rates, since the upfront cost is lower than paying rush shipping fees on a second order.
Order at least 10 units to unlock meaningful bulk pricing discounts, even if you do not need all of them immediately.
Storing unused coroplast signs flat in a dry space keeps them in reusable condition for your next campaign, so overordering slightly at a bulk rate often makes financial sense.
Ordering tips specific to Canada
When ordering in Canada, turnaround time and shipping costs are two factors that trip up a lot of buyers who use international print suppliers. At Apex Workwear, all production happens in Canada, which means you are not waiting on cross-border shipping or paying import duties on your order. Most orders ship within five to seven business days, with rush options available if your campaign launch date is tight.
If you are in the Greater Toronto Area, free local shipping is available on eligible orders, which cuts the landed cost of your signs further. Before placing your order, confirm your artwork is set up at the correct dimensions and resolution so your proof comes back ready to approve without delays.
Bylaws and placement rules that affect size choices
Before you commit to a specific format in the yard sign sizes (18×24 vs 24×36) debate, check what your local municipality actually allows. Canadian cities and towns regulate temporary signs closely, and size restrictions appear in most bylaws, meaning the choice between formats may already be made for you depending on where the sign goes.
Municipal sign bylaws in Ontario and the GTA
Ontario municipalities each set their own temporary sign rules through local bylaws, and the details vary significantly from one city to the next. In many GTA communities, residential zones allow temporary signs up to a maximum of 0.5 to 1.0 square metres, which puts the 24×36 (approximately 0.56 square metres) right at the upper edge of what is permitted, and in some zones over it entirely. The 18×24 (approximately 0.28 square metres) fits comfortably within most residential limits.
Check your municipality’s sign bylaw before ordering, because printing a non-compliant size wastes your entire budget.
Beyond size, bylaws typically regulate how many signs you can place per property, how close they can sit to a road or sidewalk, and how long they can remain up before you need to remove them. Election signs in particular face tight timelines and proximity rules near polling stations. Contact your local planning or licensing office to confirm the current rules before your campaign goes live.
Private property versus public right-of-way
Placing a sign on private property with the owner’s permission is almost always straightforward, but crossing onto a public boulevard or road allowance changes the rules immediately. Most Ontario municipalities prohibit signs in the public right-of-way entirely, regardless of size. Enforcement is inconsistent, but fines are real, and bylaw officers can remove your sign without notice if it sits on public land.
For construction sites and commercial properties, your permit requirements change again. Signs above a certain area often require a formal temporary sign permit, with fees and approval timelines that can add days or weeks to your campaign planning. Factor that in early so your sign order and your permit approval arrive at the same time.
Final checklist and next steps
Before you place your order, run through these key decisions one more time. Confirm your placement location and reading distance first, then match that to either the 18×24 or the 24×36. Check your local municipality’s temporary sign bylaw to verify that your chosen size is actually permitted where you intend to install it. Make sure your artwork uses the correct dimensions and a minimum resolution of 300 DPI so your proof comes back clean without revision delays.
When you are ready to order, choose 4mm coroplast for short campaigns and 6mm if your signs will be installed and removed repeatedly over a longer period. Order enough units to hit a bulk pricing tier, since the per-unit savings outweigh the cost of carrying a few extra signs in storage. If you are in the GTA and want fast Canadian production with no minimum order requirements, visit Apex Workwear to get a quote within 24 hours.