
If you’ve ever seen embroidery that looks like it’s literally rising off the fabric, flowers with petals you could almost pick, insects with wings that cast tiny shadows, you’ve likely encountered stumpwork embroidery. It’s one of the most distinctive and visually striking needlework techniques ever developed, with roots stretching back to 17th-century England. Unlike flat embroidery, stumpwork builds upward, creating three-dimensional forms using padding, wire, and layered stitching.
At Apex Workwear, we work with embroidery daily to produce custom apparel for businesses and teams across Canada. While our production methods are modern, understanding traditional techniques like stumpwork gives real context to the craft behind every stitch. It also helps our customers appreciate what’s possible with needle and thread, and why embroidery remains such a respected form of branding and artistry.
This article breaks down what stumpwork embroidery actually is, how it originated, the materials and techniques that define it, and why it still captures the attention of textile enthusiasts and professionals alike. Whether you’re a curious beginner or someone exploring embroidery for custom projects, you’ll walk away with a solid understanding of this remarkable craft.
Why stumpwork embroidery stands out
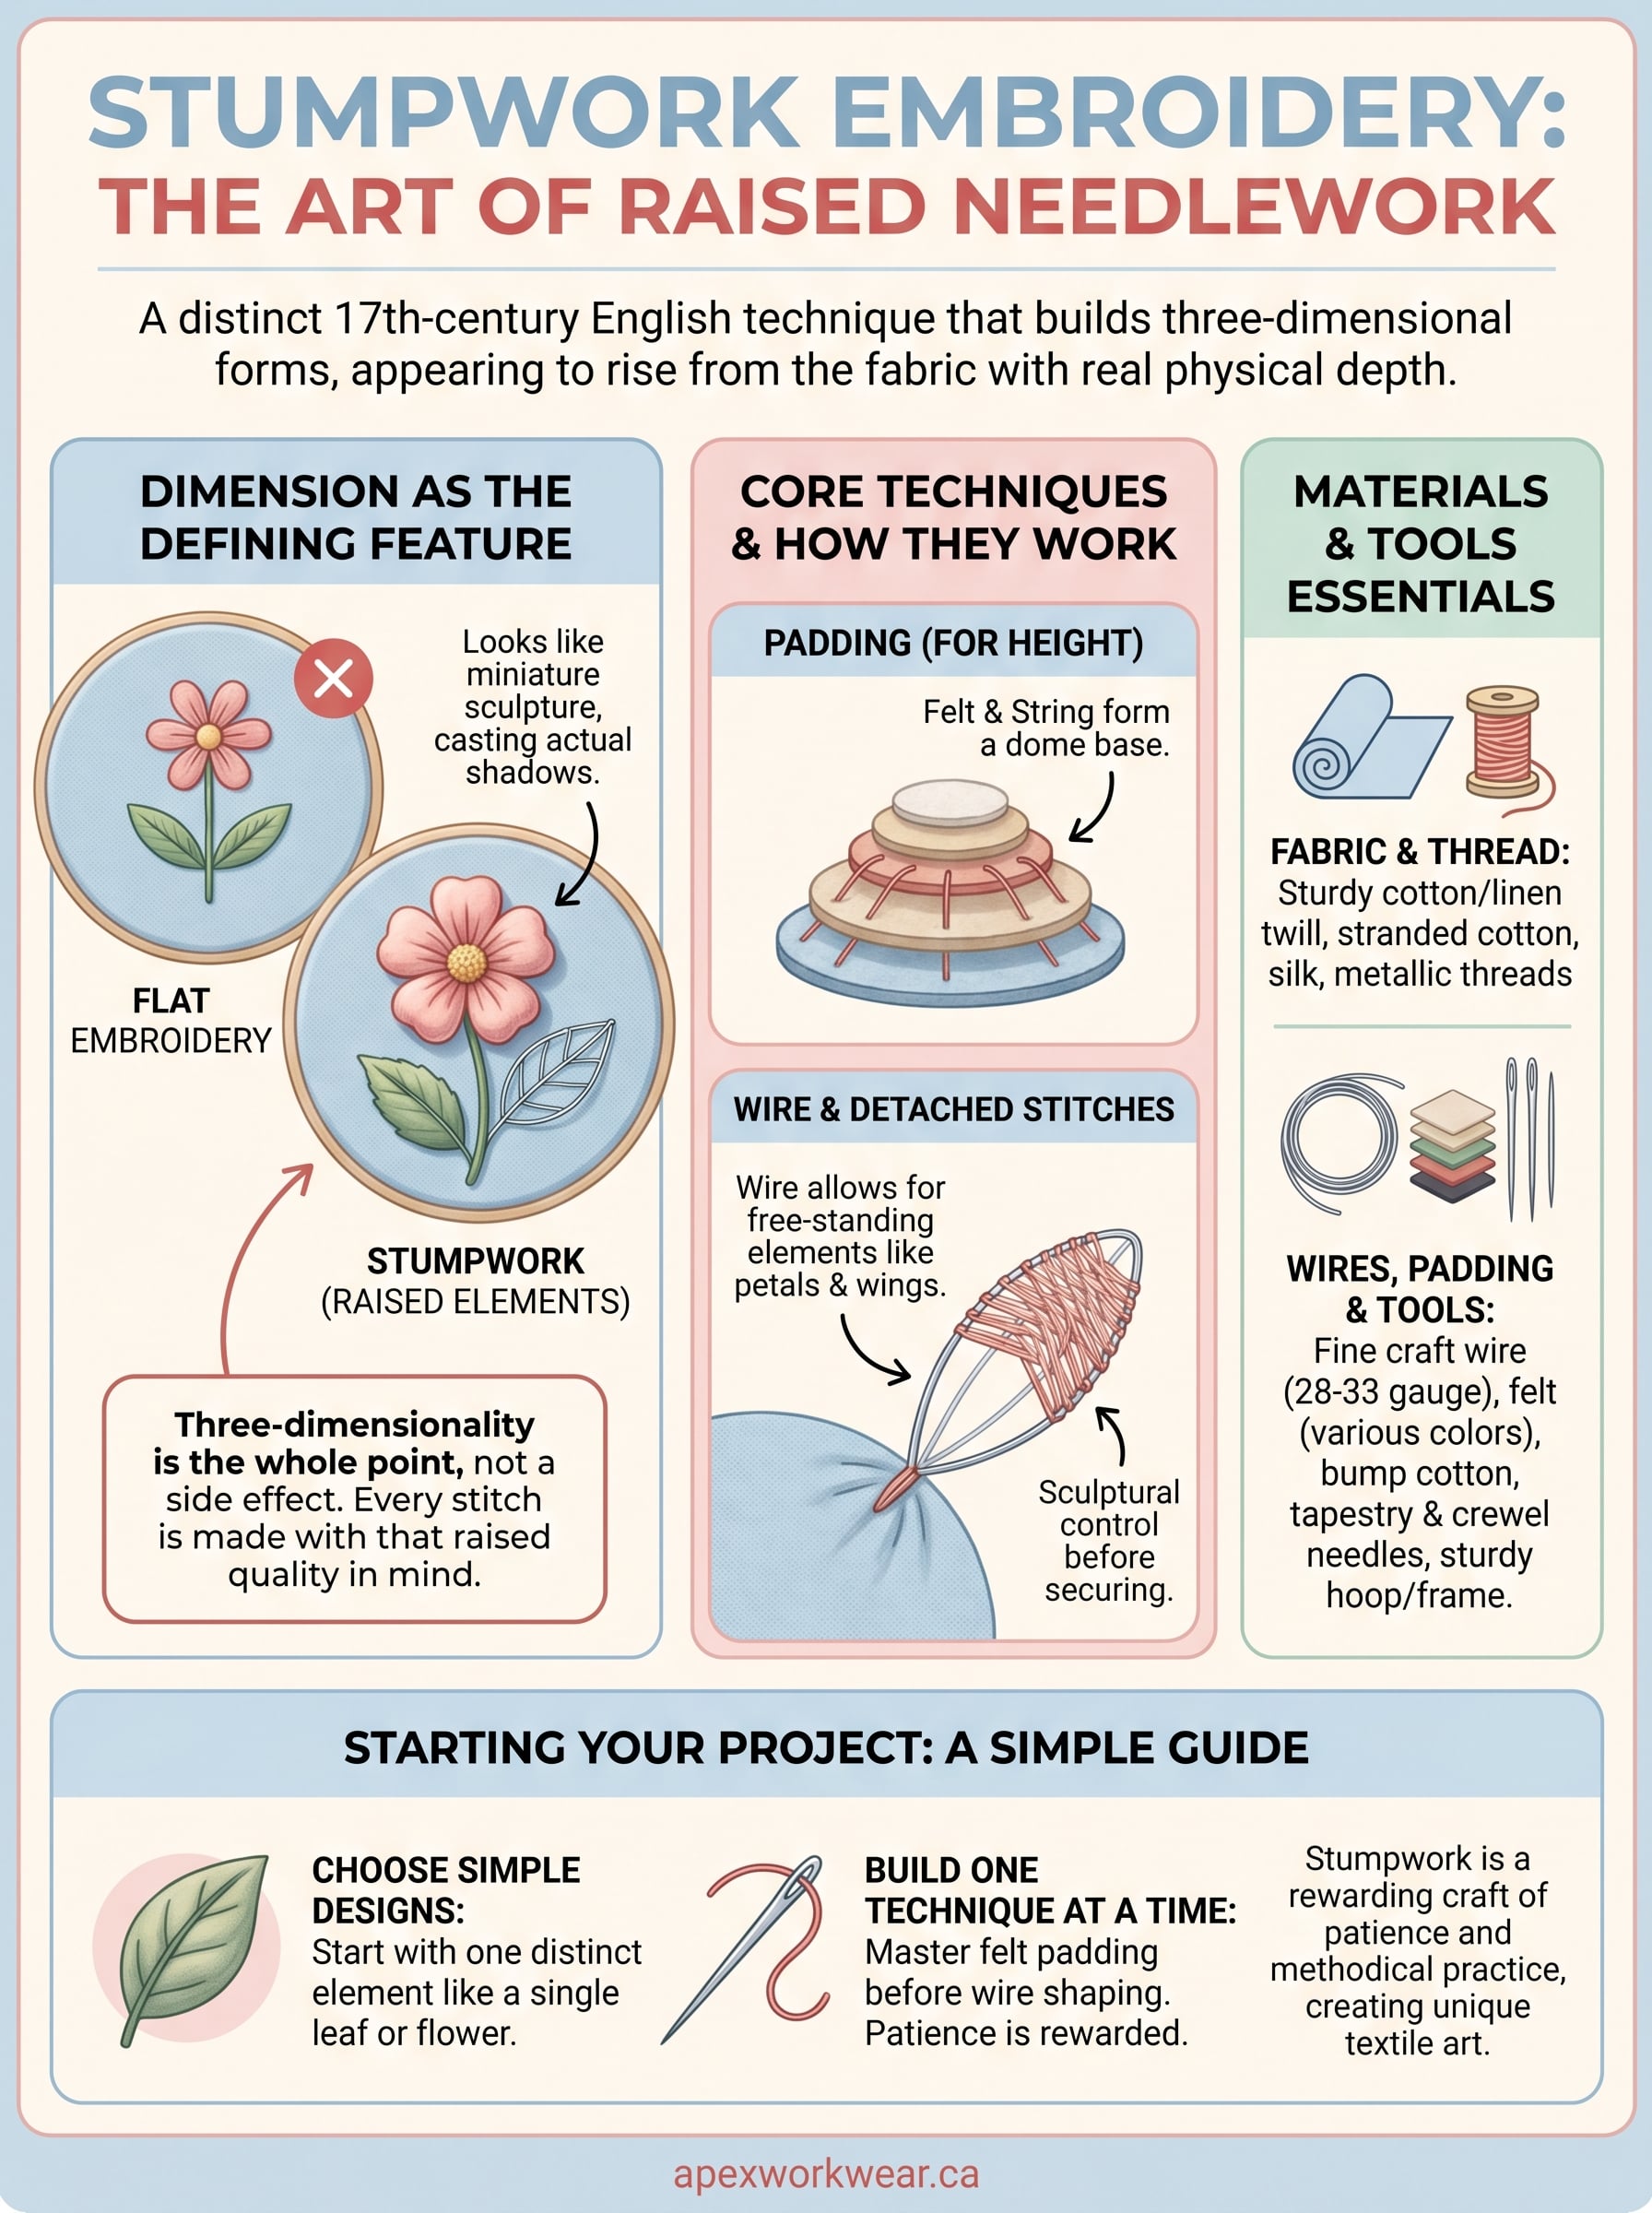
Most embroidery sits flat against the surface of a fabric. Stumpwork embroidery breaks that rule completely. It builds outward from the fabric, creating raised elements that have real physical depth. A flower petal might be stitched over a padded form, detached and shaped so it curves away from the background. An insect’s wing might be worked over wire and attached at one edge so it hovers above the cloth. The result looks far closer to miniature sculpture than traditional needlework.
Stumpwork is one of the few embroidery techniques where the finished piece casts actual shadows on the fabric beneath it.
Dimension as the defining feature
What makes stumpwork genuinely different is that three-dimensionality is the whole point, not a side effect. Every design decision, from which stitches to use to how much padding to apply, is made with that raised quality in mind. You are not just decorating a surface; you are building a small world on top of it. That distinction changes how you plan, stitch, and finish every piece.
Flat embroidery and stumpwork can appear together in the same design, and many pieces use that contrast deliberately. Flat background elements set the scene, while raised foreground details such as petals, figures, or animals pull the eye forward. That layered composition gives stumpwork an almost theatrical depth that flat stitching alone simply cannot replicate.
Why embroiderers and collectors value it
Stumpwork demands a broader range of skills than most embroidery styles require. You need to understand padding, wire shaping, and multiple stitch types all at once. That complexity is a large part of what makes completed stumpwork pieces so highly regarded by collectors and needlework enthusiasts. When you hold a finished stumpwork panel, the level of craft behind it is immediately visible.
The origins of stumpwork and its name
Stumpwork embroidery reached its peak popularity in 17th-century England, particularly between 1650 and 1700. Young women, often as young as ten or eleven, created elaborate panels and caskets as part of their needlework education. The style drew on Continental European raised-work traditions, particularly from Italy and Flanders, but England shaped it into a distinct pictorial form with complex figures, landscapes, and symbolic imagery.
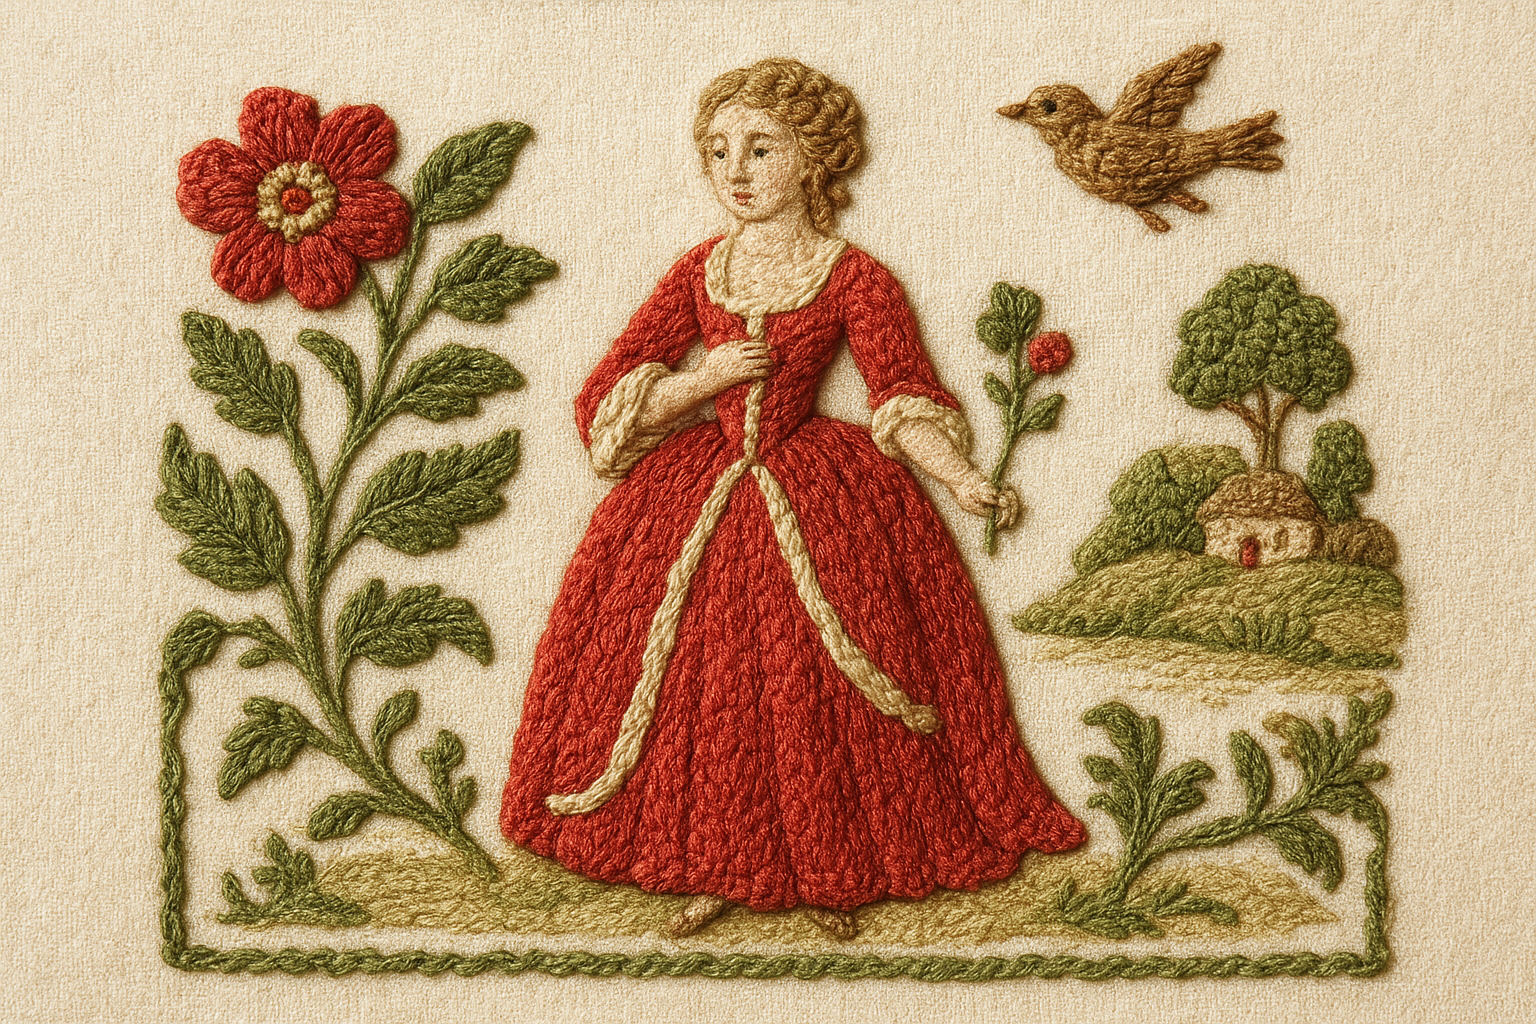
The name "stumpwork" likely comes from the wooden stumps and moulds that stitchers built beneath raised elements to give them their three-dimensional form.
Where the name actually comes from
Understanding what is stumpwork embroidery partly means understanding its name. The exact origin of the term is debated among textile historians. Most evidence points to the padded forms called stumps that stitchers constructed beneath raised sections to build up their characteristic shape. Some historians also connect it to the German word "stumpf," meaning blunt or stubby, referencing the dense, packed quality of the raised areas. Worth noting is that the word "stumpwork" is a relatively modern label; in the 17th century, practitioners simply called it raised work or embossed embroidery.
The core techniques that create 3D effects
Stumpwork relies on a handful of specific techniques that work together to push elements off the fabric surface. Understanding these methods is central to understanding what is stumpwork embroidery at a practical level. Each technique contributes a different layer of dimension, and most finished pieces combine several of them within a single design.
The three-dimensional quality of stumpwork comes not from any single stitch, but from layering padding, wire, and specialised stitching in sequence.
Padding to build height
Felt padding is one of the most common ways stitchers raise an area of a design. You cut multiple layers of felt in decreasing sizes, stack them, and stitch them down to form a dome-shaped base. Common padding materials include:
- Felt for soft, rounded mounds
- String or yarn for raised lines and stems
- Bump cotton for larger, fuller forms
Wire and detached stitches
Wire allows you to create free-standing elements like petals and wings that attach at one edge and extend outward from the fabric. You couch wire into a shape, fill it with buttonhole or woven stitches, then detach the element from the background and position it on your piece.
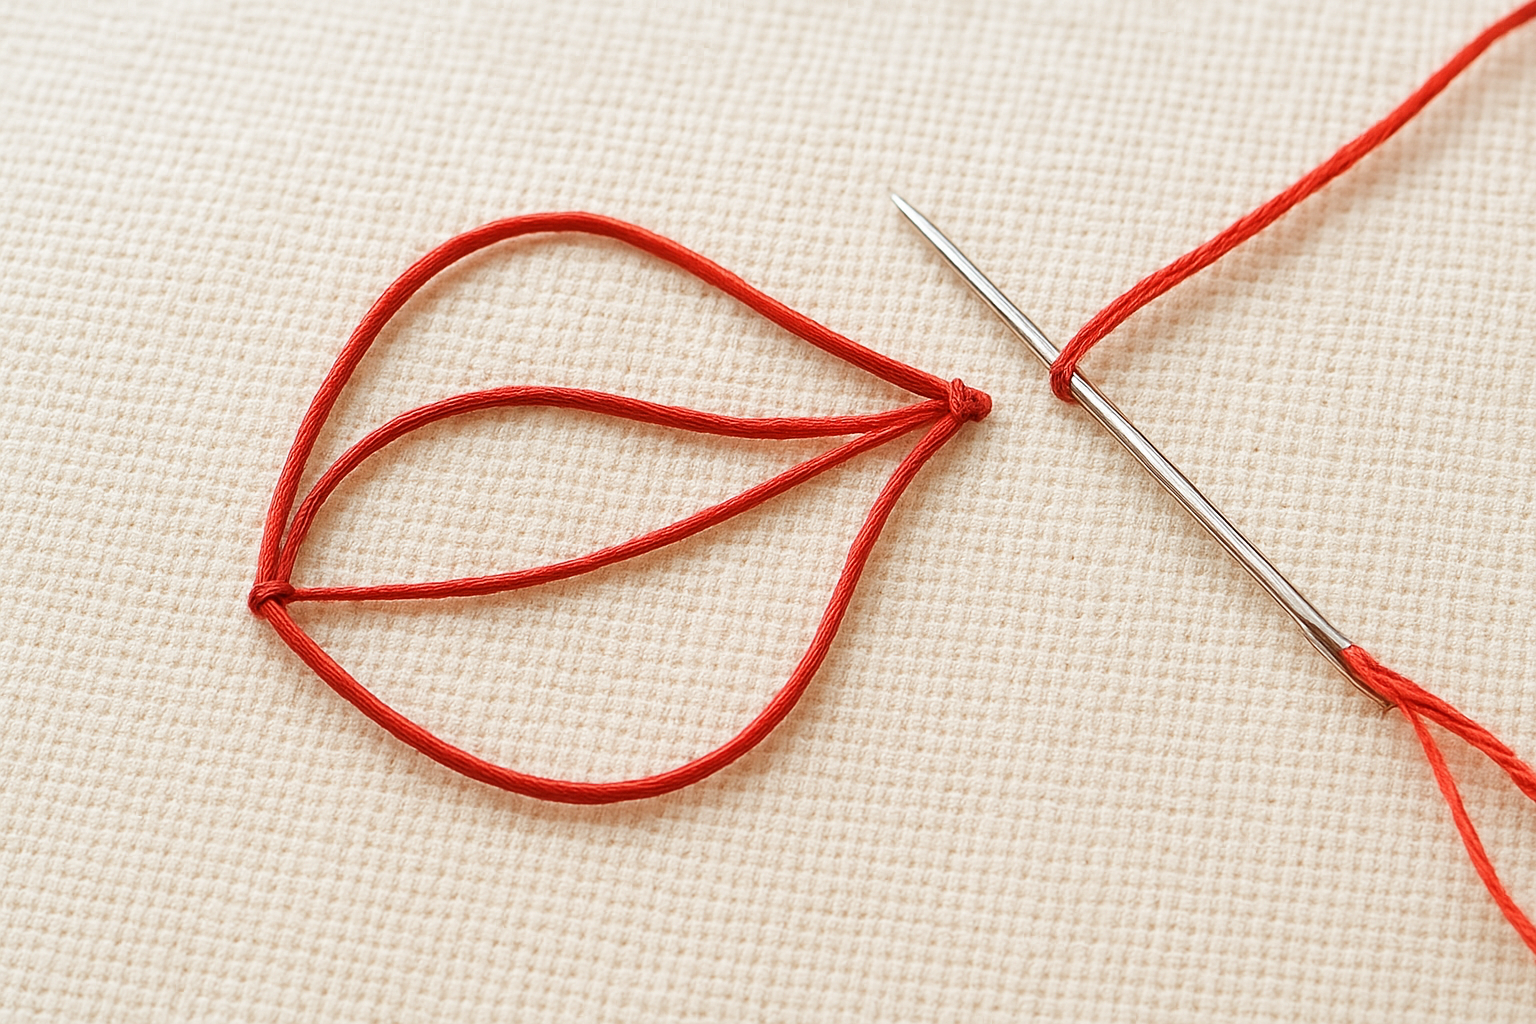
That free-standing approach is what gives stumpwork its sculptural character, letting you control the angle and spread of each element before securing it permanently in place.
Materials and tools you need for stumpwork
Getting the right materials before you start matters more in stumpwork than in most embroidery styles. Because what is stumpwork embroidery fundamentally about is building physical dimension, the supplies you choose directly affect how well your raised elements hold their shape and stay in place over time.
Choosing the right wire gauge and fabric weight before you begin saves significant rework later in the project.
Fabric and thread choices
Your background fabric needs to be sturdy enough to support the weight of padded and wired elements without distorting or puckering. Most stitchers use cotton or linen twill stretched tightly over a frame. Many also back their fabric with a second layer of calico or cotton muslin to add extra stability before they begin stitching. For thread, stranded cotton, silk, and metallic threads all work well depending on the texture and finish you want on each element.
Wires, padding, and tools
Fine craft wire (typically 28 to 33 gauge) is essential for shaping detached petals and wings. For padding, you will need felt in several colours to avoid show-through beneath your stitching, plus bump cotton or string for stems and raised lines. Use a tapestry needle for most counted work and a sharp crewel needle when stitching through padding layers. A sturdy hoop or slate frame rounds out your core toolkit.
How to start your first stumpwork project
Before you pick up a needle, choose a simple design with clear, distinct elements such as a single flower or a small leaf cluster. Understanding what is stumpwork embroidery conceptually is one thing, but attempting an elaborate pictorial scene on your first project will leave you frustrated rather than energised. Start small, keep your colour palette tight, and focus entirely on getting one raised element right before you add any complexity.
A single well-executed raised petal teaches you more about this craft than a complicated scene attempted too soon.
Build one technique at a time
Work through felt padding before wire shaping so you understand how each method behaves on its own, without the added complexity of combining them. Stitch a simple padded leaf first, assess how it sits against the fabric, then move on to a wire-edged detached petal as your next challenge.
Following a structured sequence keeps your progress clear and prevents the frustration of combining techniques you have not yet practised separately. Once you can produce one clean raised element with confidence, you are ready to introduce a second technique into the same design and begin building pieces with genuine dimension.
A simple wrap-up and where to go next
Stumpwork embroidery is a craft built entirely around dimension. It uses padding, wire, and layered stitching to push elements off the fabric surface, creating pieces that look closer to miniature sculpture than flat needlework. That quality sets it apart from virtually every other embroidery style, and it explains why what is stumpwork embroidery remains such a frequent question from people encountering this technique for the first time.
Your path forward is clear. Start with a single padded element, build your skills one technique at a time, and let each completed piece grow your confidence before you attempt more complex designs. The craft consistently rewards patience and methodical practice above all else, and the results speak for themselves once you get that first raised element right.
If you want to see what quality embroidery looks like on professional custom apparel, explore custom embroidered workwear at Apex Workwear and find out what embroidery can do for your team or brand.