You’ve got a trade show, a storefront launch, or a conference booth coming up, and you need something that grabs attention without cluttering the space. That’s where retractable banner printing comes in. It’s a self-contained display that pulls up out of a base, stays upright on its own, and rolls back down for storage when the event is over.
If you’re searching for this, you probably want to know exactly what you’re ordering and how the process works before you commit. A retractable banner stand is the hardware, and the printed vinyl or fabric graphic that slides into it is the actual banner. Together they give you a professional, standing banner that sets up in under a minute and travels well between venues.
In this article, we’ll walk through what retractable banners are made of, the sizes and stand types available, and how banner printing with stand options compares to other display formats, including what a printed banner is and how to order one. We’ll also cover what you need to prepare before placing an order, so your design comes out sharp and your stand arrives ready to use, produced right here in Canada.
Why retractable banners are worth the investment
Many business owners assume a standing banner printing order is a one-time expense for a single event, but that’s not how the maths works out. A quality retractable banner stand holds up for years of repeated use, so the real cost per event drops every time you set it up again. Compare that to ordering fresh posters or foam boards for every trade show, and the retractable option pays for itself within two or three outings.
A banner you use fifty times costs less per event than a poster you use once.
Built to survive dozens of setups
Quality hardware matters here. Cheap stands jam, tear the graphic, or won’t stay upright under a fan or open door, while a well-made banner stand printing package uses a spring-loaded or ratchet mechanism rated for thousands of retractions. The vinyl or fabric graphic itself is laminated or coated to resist scuffing, creasing, and fading under trade show lighting, so it still looks sharp after a full season of shows.
Fast setup means less staff time wasted
One person can pull a retractable banner out of its bag, unfold the base, and lock the pole in place in under a minute, with no tools and no assembly instructions to hunt for. That matters when you’re setting up a booth before doors open or turning a room around between sessions. Staff who’d otherwise be wrestling with zip ties and easel stands can spend that time greeting customers instead.
How it stacks up against other display formats
| Display type | Setup time | Reusable? | Typical cost over 10 events |
|---|---|---|---|
| Retractable banner | Under 1 minute | Yes, years of use | Lowest |
| Pop-up fabric display | 5-10 minutes | Yes, but bulkier to transport | Moderate |
| Foam board on an easel | 2-3 minutes | No, reprint each time | Highest |
| Paper poster, taped up | Instant, but fragile | No | Highest |
Seen against that table, the case for retractable banner stand printing is straightforward: lower long-term cost, faster setup, and a display that survives being packed into a car boot and hauled to the next venue. It’s also why so many contractors, agencies, and event coordinators across the GTA treat one good stand as standard kit rather than a one-off purchase, alongside other portable displays for Canadian events.
How to order your retractable banner online
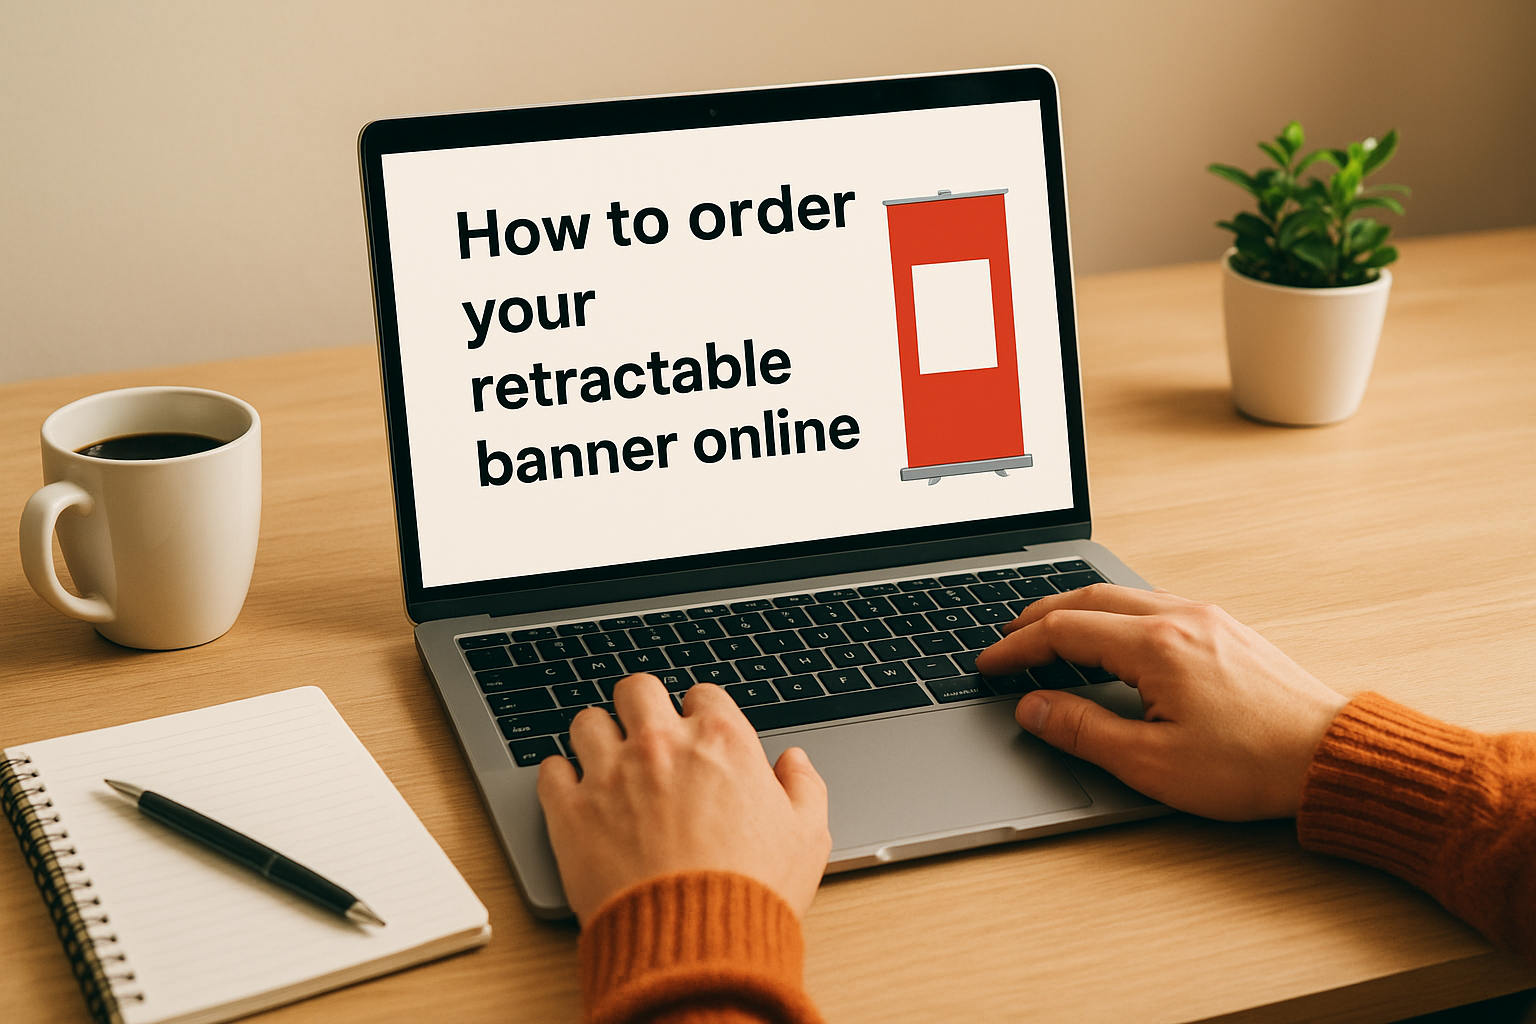
Ordering a retractable banner stand printing package doesn’t need to be complicated, and you don’t need design software or printing experience to get it right. Most Canadian print shops, including Apex Workwear, run the process through a simple online quote form, so you can go from idea to finished stand without ever leaving your desk.
The typical order flow
Getting your banner made usually follows the same handful of steps, whether you’re ordering one stand for a storefront or a dozen for a conference circuit:
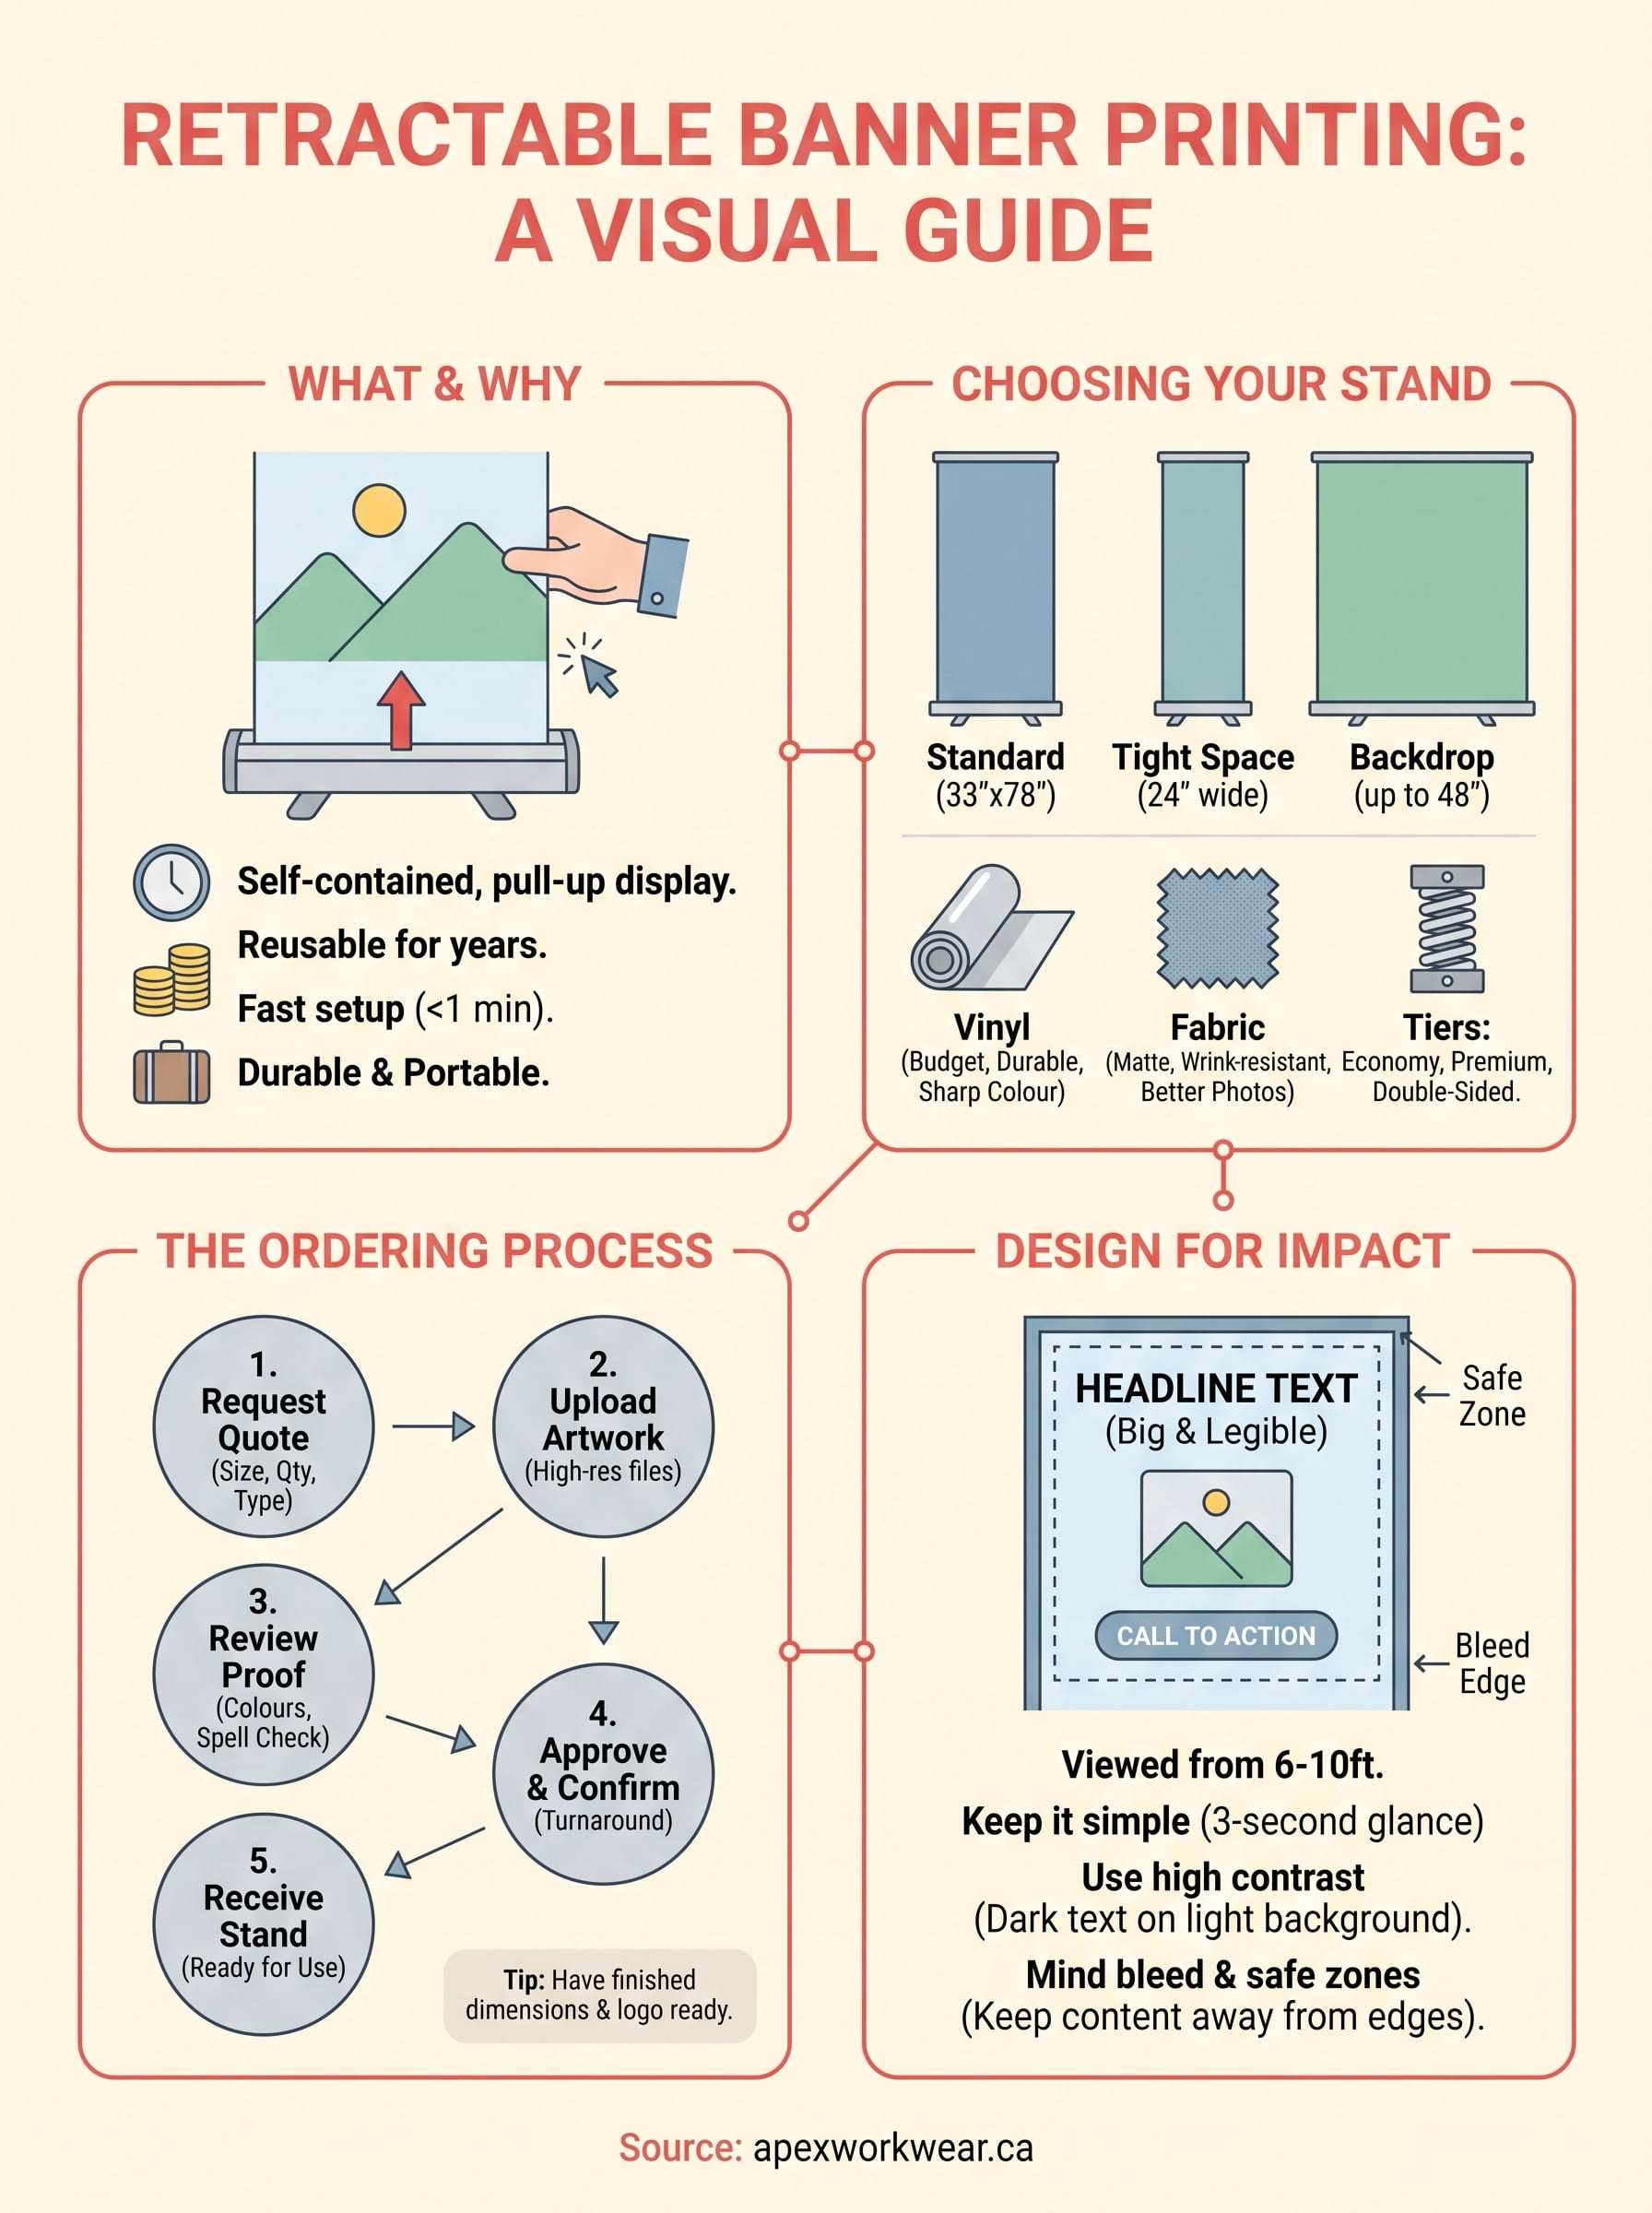
- Request a free quote by describing your size, quantity, and stand type; most shops, including Apex Workwear, reply within 24 hours, seven days a week.
- Upload your artwork, or ask for design help if you’re starting from a logo and some text.
- Review a digital proof before anything goes to print, checking colours, spelling, and layout.
- Approve the proof and confirm turnaround, choosing rush banner printing in a single day if your event is close.
- Receive your stand, typically shipped within 5-7 business days, with free local delivery across the GTA on eligible orders.
What to have ready before you submit
Before you fill out that quote form, gather your finished dimensions, a rough idea of stand style (economy, premium, double-sided), and your logo files in the highest resolution you have. Vector files such as AI or EPS print the cleanest, but a high-resolution PNG or PDF works fine for most jobs. If you’re missing any of that, don’t stall the order over it: reputable print partners will flag gaps in your file and offer basic layout fixes at no extra charge, so a rough draft is often enough to get the quote process moving while the finer design details get sorted out during proofing.
Choosing the right size, material and stand
Size is the first decision, and it depends entirely on where the banner will stand. A 33" x 78" banner is the industry standard for trade show aisles and retail entrances, while an 24" wide option suits tighter corners or a reception desk. Wider formats, up to 48" across, work well for backdrops behind a speaker or registration table. Measure the actual spot the stand will occupy, not just the room, since a banner that’s too wide for a booth aisle becomes a tripping hazard rather than a display.
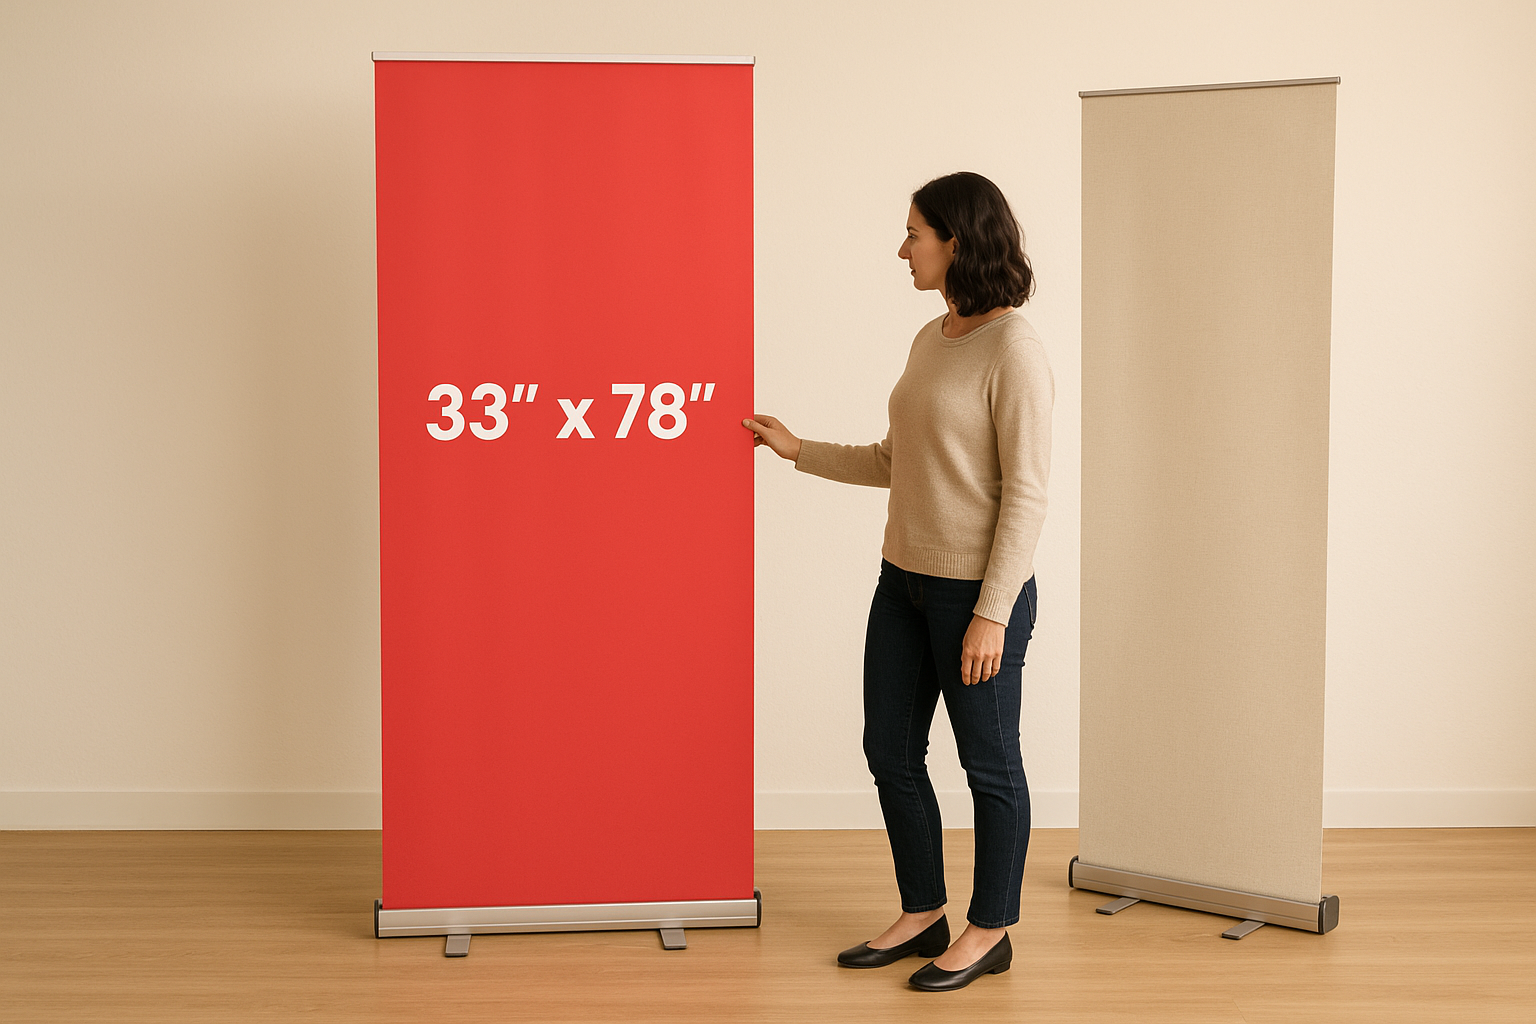
Pick the size for the space it stands in, not the space you wish you had.
Vinyl or fabric, and why it matters
Material choice affects both look and durability. Printed vinyl banners are the budget-friendly default for stand up banner printing, with a slight sheen and sharp colour reproduction that suits logos and bold text. Printed fabric graphics cost a bit more but give a matte, wrinkle-resistant finish that photographs better under harsh trade show lighting, which is why agencies booking multiple shows a year often upgrade.
Matching the stand to how often you’ll use it
Hardware quality should match how hard you’ll use the stand. Economy stands suit a single launch event or a short-term promotion, while premium retractable mechanisms handle years of daily retraction without jamming.
| Stand tier | Best for | Mechanism |
|---|---|---|
| Economy | One-off events, tight budgets | Basic spring, moderate lifespan |
| Premium | Frequent trade shows, storefronts | Reinforced spring, thousands of retractions |
| Double-sided | Walkways, open floor plans | Dual graphic, viewable from both sides |
Regardless of tier, confirm the base width matches your chosen graphic size, since a mismatched pairing is the most common ordering mistake buyers make.
Design tips for a banner that grabs attention
A retractable banner gets seen for two or three seconds as someone walks past, so your design has to work at a glance, not a read. Standing banner printing rewards simplicity: one headline, one image, one call to action, and the same practical tips for designing large-format artwork apply here. Cram in a paragraph of service descriptions and a pricing list, and you’ve built something nobody actually reads on their way to the coffee station.
If someone can’t read your banner in three seconds, they won’t read it at all.
Keep text big and legible
Most banners get viewed from six to ten feet away, so text needs to hold up at that distance. Aim for headline text at least two inches tall, and skip thin or decorative fonts that blur under fluorescent lighting. Stick to two typefaces at most: one for your headline, one for supporting details like a website or phone number.
Watch your bleed and safe zones
Retractable banner stands typically clip a small margin at the top and bottom to hold the graphic in the mechanism, so anything critical needs to sit well inside the edges, following the usual safe margin rules for print design. Follow this rough guide when laying out your file:
- Keep logos and text at least 2 inches from the top and bottom edges
- Leave 1 inch of margin on the left and right sides
- Extend background colours and images to the full bleed edge so there’s no white sliver once it’s trimmed
Use contrast and colour deliberately
High contrast between your background and text does more for visibility than any font choice. Dark text on a light background, or the reverse, reads clearly from across a room, while pastel-on-pastel combinations disappear under trade show lighting. If you’re unsure how your file will look printed, ask for a digital proof before approving, since screen colours and printed colours don’t always match exactly.
Bringing your banner to life
A good retractable banner comes down to three decisions: the right size for your space, a material that suits how often you’ll use it, and a design that reads clearly in three seconds flat. Get those right, and retractable banner printing stops being a one-off expense and becomes a display you’ll pull out at every event for years. Nail the fundamentals covered here, size, stand tier, bleed margins, and contrast, and you’ll avoid the mismatched pairings and cramped layouts that trip up most first-time orders.
Once you’ve got your dimensions and artwork sorted, the rest is just comparing the best banner printing shops in Toronto and picking a print partner who’ll proof your file properly and ship it on time. Get a free quote from Apex Workwear and have your new stand ready for the next show, storefront launch, or booth setup, produced right here in Canada with no minimum order to worry about.