You’ve got a trade show, a storefront, or a client pitch coming up, and you need something that looks sharp without a crew to set it up. That’s where rollup banner printing comes in. It’s a retractable display that pulls up from a weighted base in seconds and packs down into a case you can carry under one arm.
If you’re trying to work out what makes a good pull up banner, what sizes are standard, and what it should cost in Canada, you’re in the right place. A roll up banner isn’t just a printed sheet on a stand. It’s a specific product with its own materials, mechanisms, and design rules that determine whether it looks professional or amateur once it’s on site.
This article walks through exactly what rollup banner printing involves, from the hardware and material choices to file setup and sizing, then covers how to actually place an order with a Canadian printer, what to expect for turnaround time, and where pricing typically lands depending on quantity and finish.
Why rollup banner printing matters for your business
Most people decide whether your business looks credible within seconds of walking past your booth or storefront. Rollup banner printing gives you a fast, affordable way to control that first impression without hiring a signage crew or committing to a permanent fixture. A well-printed banner does the work of a salesperson standing quietly beside your table, reinforcing your logo, your offer, and your contact details every single time someone glances your way.
A professional presence without the overhead
Compared to a printed backdrop, a vinyl storefront wrap, or a custom-built display wall, a retractable banner costs a fraction of the price and needs zero installation skill. You unzip the case, pull the graphic up, and it locks into place. That simplicity matters most when you’re running a small business and can’t justify paying a contractor every time you need signage for a market, a trade show, or a client meeting.
A banner that sets up in under a minute and packs down just as fast will always earn its place in your marketing budget.
Reusable across dozens of events
Unlike a flyer or a one-off poster, a rollup banner isn’t disposable. Print it once on quality material and it’ll survive a full season of markets, conferences, and pop-up shops. That reusability changes the maths on cost per use. A hundred-dollar banner used at twenty events works out to five dollars per appearance, which beats almost every other advertising channel available to a small operation.
Situations where a roll up banner earns its keep include:
- Trade show booths and vendor markets
- Storefront entrances and sidewalk signage
- Conference registration desks and speaker backdrops
- Client pitch meetings and product launches
- Real estate open houses and pop-up sales events
It travels as easily as it sells
Contractors and event coordinators in particular lean on these displays because they fold down to roughly the size of a golf bag and fit in a car trunk without protective crating. That portability means one banner can move between a job site, a home show, and a client’s office in the same week, doing triple duty for a single upfront cost. For a business that’s constantly on the move, that flexibility often matters more than the display’s size or finish.
For Canadian small businesses weighing where to put limited marketing dollars, rollup banners sit in a sweet spot: low cost, high visibility, and reusable across nearly every setting where you need to look established fast.
How to order rollup banner printing in Canada
Ordering a roll up banner shouldn’t feel like a research project, whether you’re comparing Toronto banner printers or ordering from across the country. Most Canadian printers, including Apex Workwear’s rollup banner printing service, follow a straightforward path from file to finished stand, and knowing the steps in advance saves you a round of back-and-forth emails once your deadline is looming.
The typical ordering process
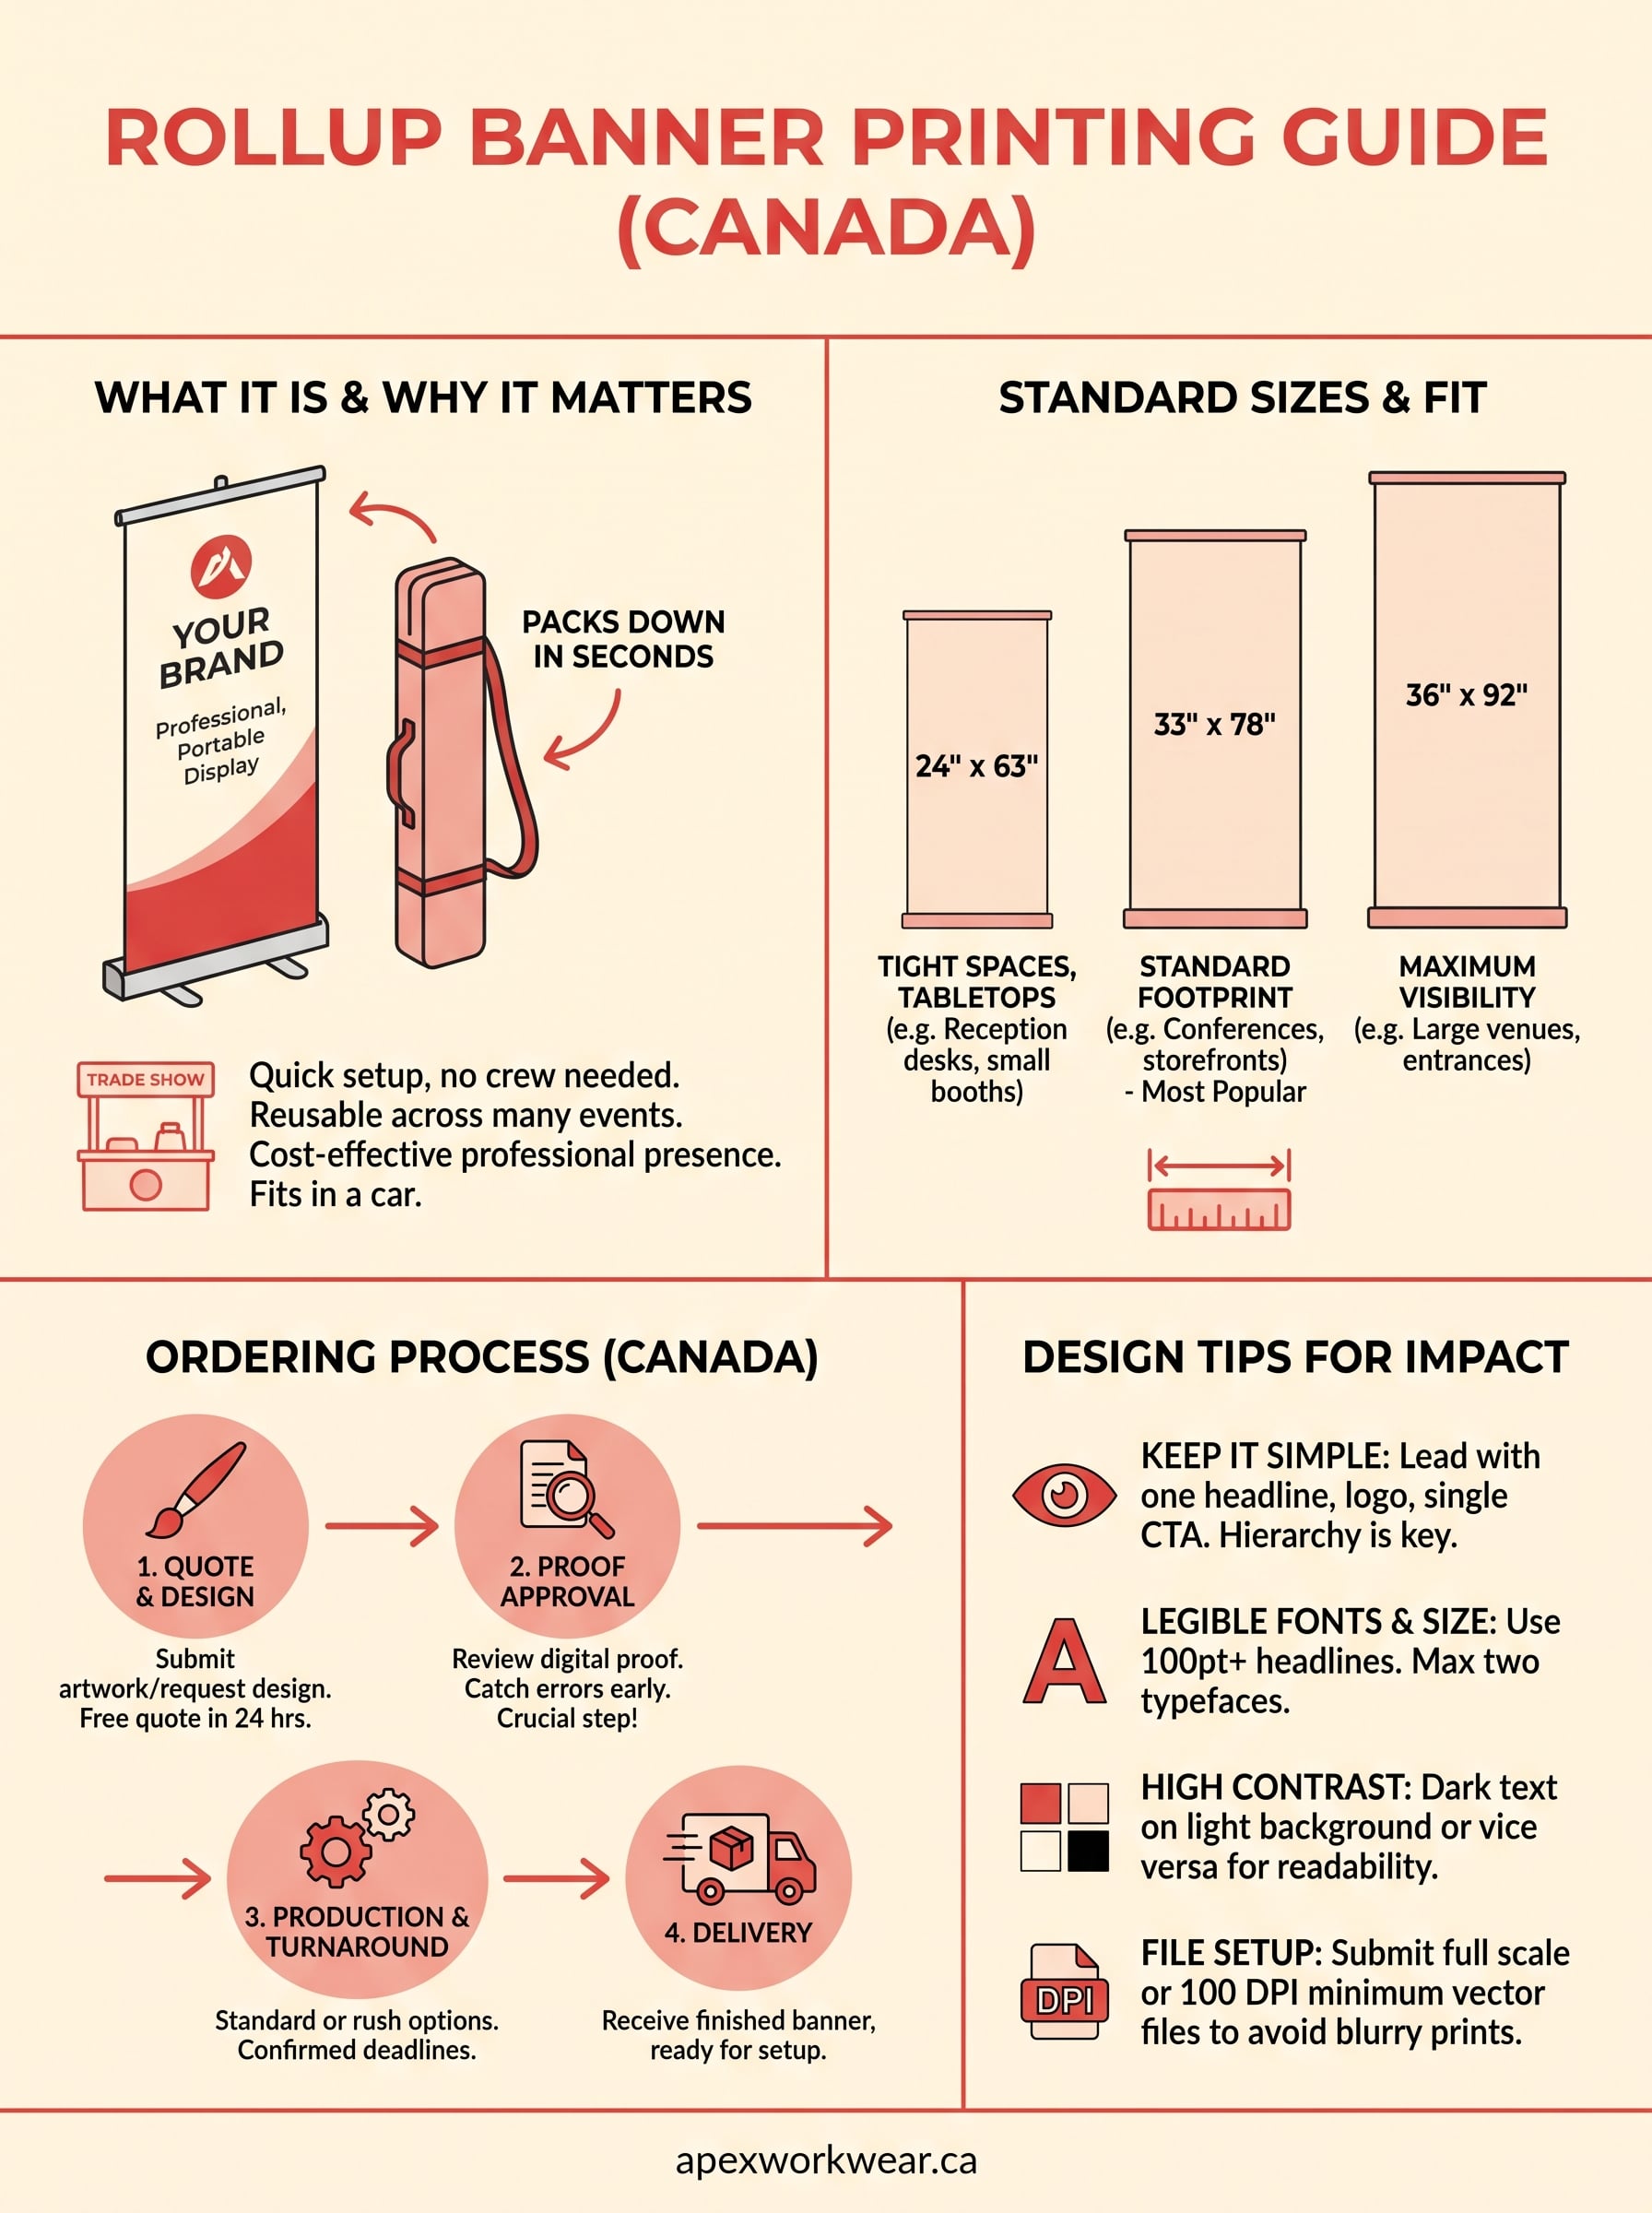
Start by requesting a quote, then move through design review before production begins. Here’s what that sequence looks like in practice:
- Submit your artwork or ask for design help if you’re starting from scratch.
- Get a free quote, usually within 24 hours, covering size, material, and stand type.
- Review a digital proof before anything goes to print, catching spelling or colour issues early.
- Approve the proof and confirm your turnaround time, standard or rush.
- Receive your finished banner, ready to unbox and set up on site.
Approving a digital proof before printing is the single step that prevents the most expensive mistakes.
What to have ready before you order
Providers move faster when you arrive with a few basics sorted. Bring your logo files in vector format if you have them, your brand colours as hex or CMYK codes, and a rough idea of where the banner will be used, since indoor and outdoor placements sometimes call for different stands. Mention your deadline upfront too, because rush production on a pull up banner is almost always possible in Canada, and some shops can even get a banner printed the same day, but only if the printer knows about it before the file goes to the queue.
Businesses that order without minimums, and without waiting weeks for bulk approval, tend to stick with printers who quote fast and communicate clearly at every stage. That responsiveness matters more than a flashy website when your event is a week away.
Choosing the right size and material
Size and material decisions shape how your rollup banner printing performs once it’s actually standing in a room full of people. Get the height wrong and your headline sits below eye level. Get the material wrong and the graphic curls or fades halfway through the season. Neither mistake is expensive to fix upfront, but both cost you credibility once the banner is on site.
Standard sizes and where they fit
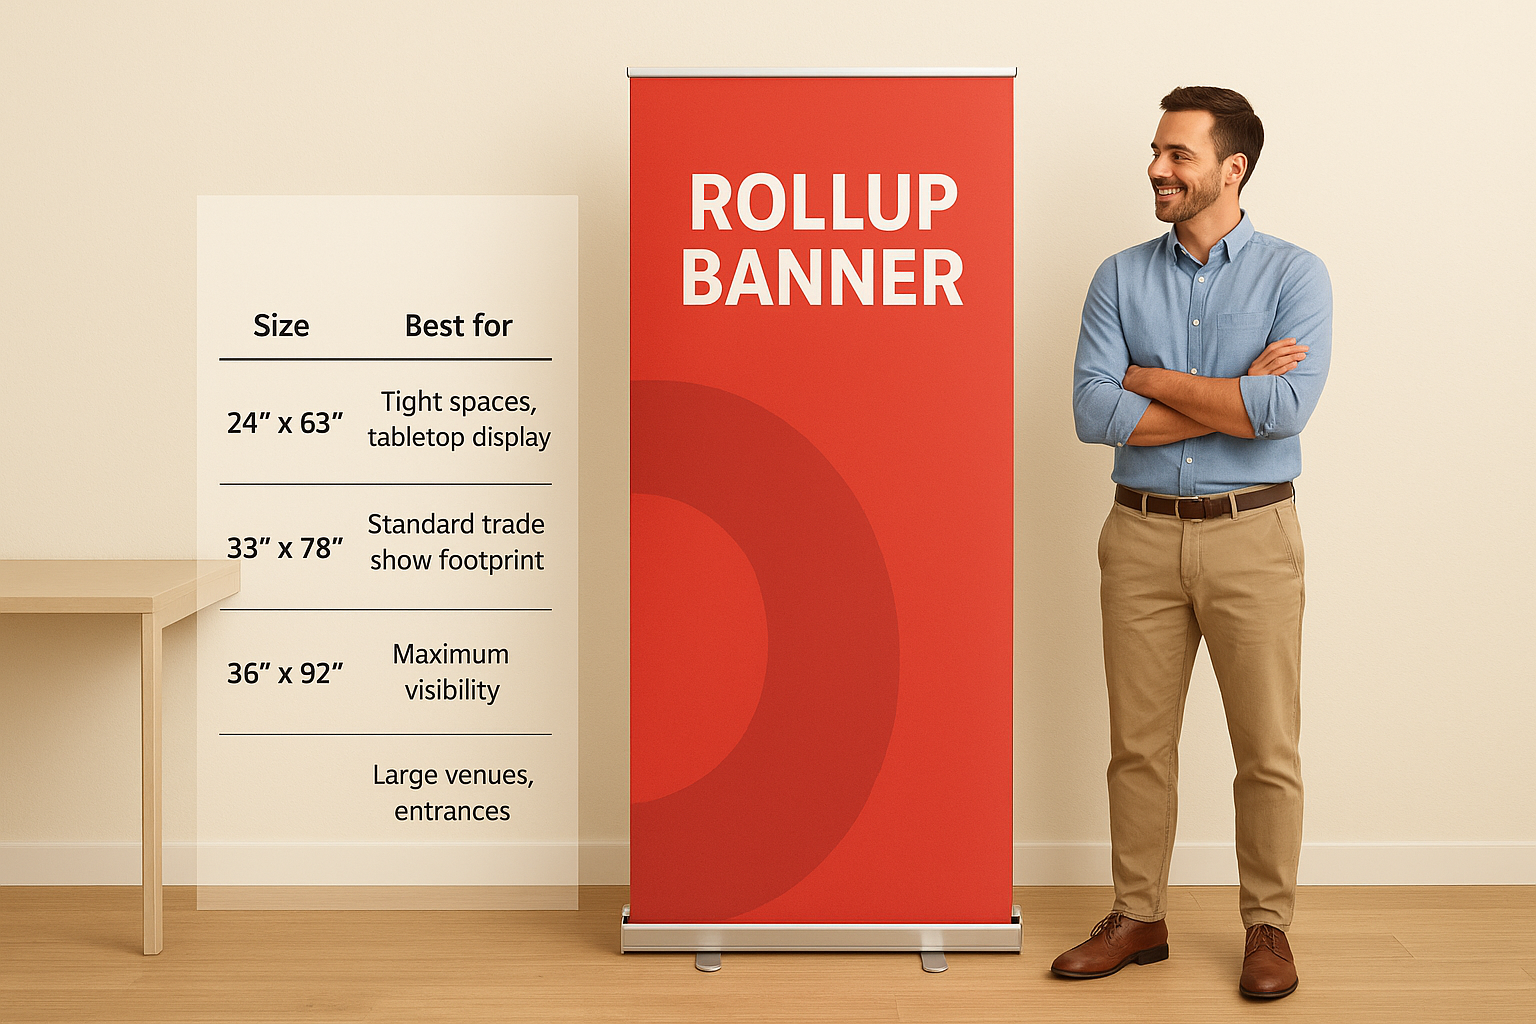
Canadian printers generally stock a handful of proven dimensions rather than offering endless custom widths, and for good reason: these sizes match the stands available and suit most booth or entrance spaces.
| Size | Best for | Typical use |
|---|---|---|
| 24" x 63" | Tight spaces, tabletop displays | Reception desks, small booths |
| 33" x 78" | Standard trade show footprint | Most conferences, storefronts |
| 36" x 92" | Maximum visibility | Large venues, entrances |
Most businesses settle on the 33" x 78" option since it balances visibility with portability, fitting through doorways and into a car trunk without fuss.
Material choices that hold up
Banner material determines how the graphic reads under different lighting and how long it survives repeated setup. Standard matte or satin vinyl banner material handles indoor use well and keeps glare off the print during photos. Blockout material, which prevents light bleeding through from behind, suits banners placed near windows or outdoors.
The right material choice matters more than the graphic design once your banner spends real time outdoors.
For anyone weighing a roll up banner against a full backdrop wall, or against a printed fabric banner, material grade is usually the deciding factor in whether it lasts one season or five.
Rollup banners vs other display options
Comparing a rollup banner against other signage formats makes the trade-offs obvious fast. Banner stands win on speed and cost, but they’re not the right tool for every job, and knowing where they fall short saves you from a display that underperforms on the day.
Weighing your options side by side
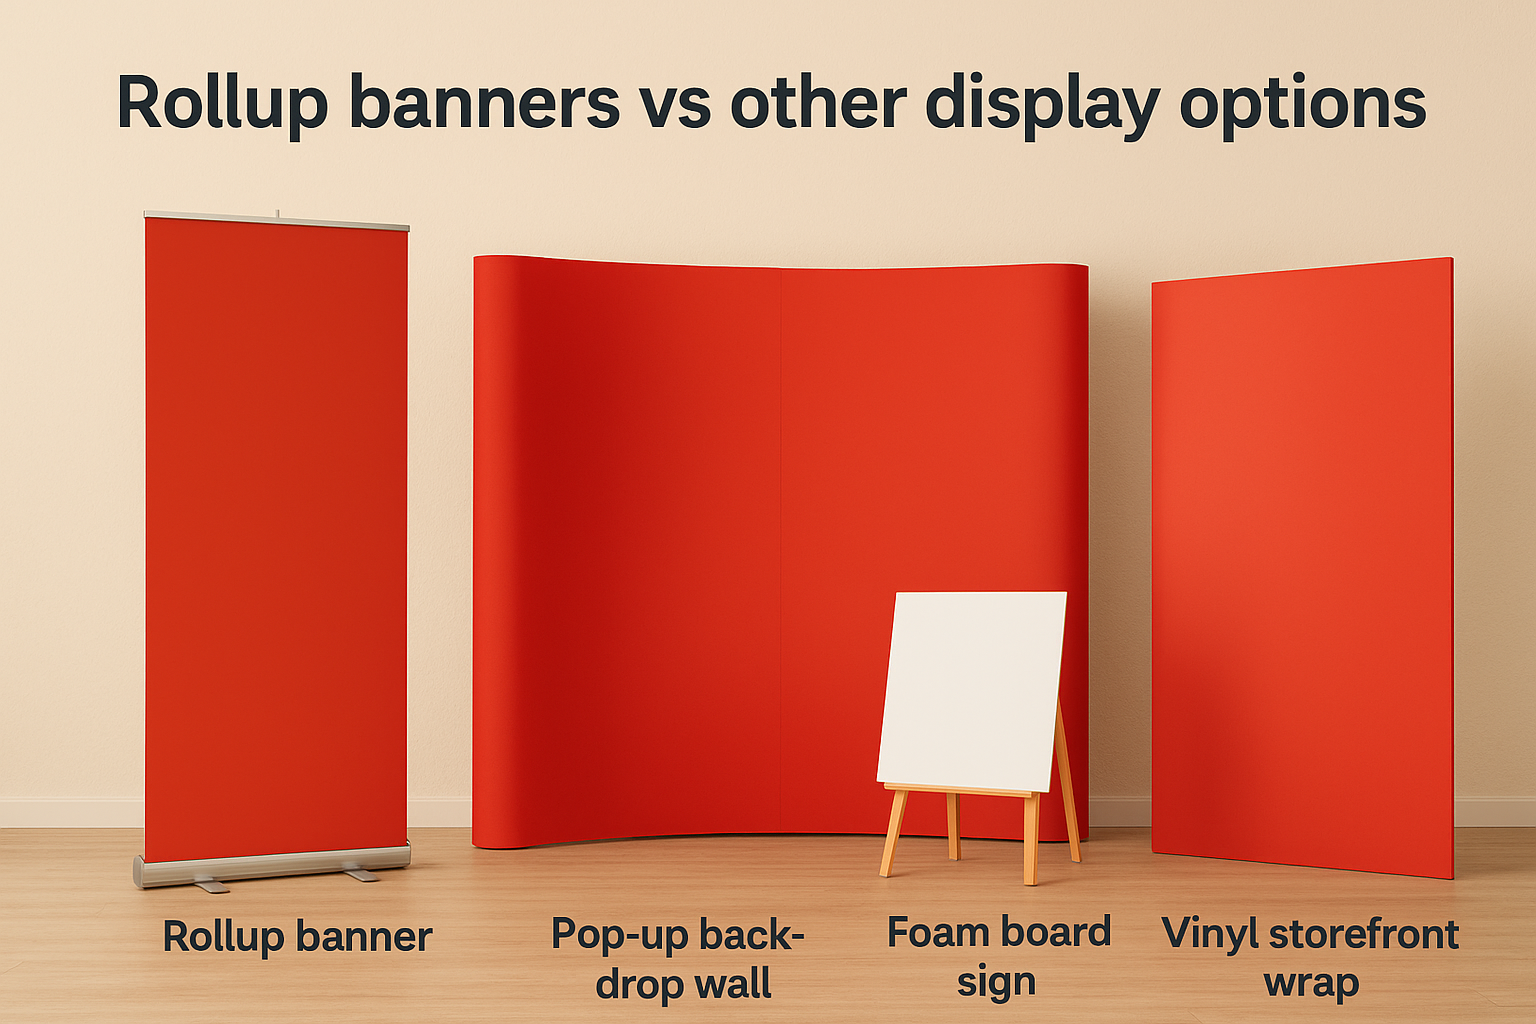
Each display type solves a different problem, so the right pick depends on your setup time, budget, and how often you’ll reuse it.
| Display type | Setup time | Typical cost | Best for |
|—|—|—|
| Rollup banner | Under 1 minute | Low | Trade shows, storefronts, quick pitches |
| Pop-up backdrop wall | 15-30 minutes | Medium-high | Large booths, brand launches |
| Foam board or coroplast sign | 5-10 minutes | Low | Short-term events, directional signage |
| Vinyl storefront wrap | Professional install | High | Permanent locations |
Backdrop walls look impressive at scale, but they need two people and a folding table to assemble, which rules them out for a solo contractor grabbing signage on the way to a job site, so it’s worth comparing the portable display options for Canadian trade shows before you commit. Foam board signs are cheaper still, but they’re rigid, bulky to transport, and rarely reusable once the event ends.
Nothing beats a rollup banner when you need professional signage that sets up alone and packs into a single case.
Storefront vinyl wraps make sense for a fixed location you’re not moving, but they’re overkill for a business that pops up at a different market every weekend. Given that comparison, most small businesses and event coordinators land on a retractable banner as the default choice, keeping bigger formats in reserve for the handful of occasions that genuinely call for them.
Design tips for a banner that gets noticed
A banner only works if someone reads it from across a room, so design tips for this format differ from what works on a flyer or a business card, and the usual rules for designing large format artwork apply here too. You’ve got roughly three seconds to land your message before someone’s attention moves elsewhere, which means every design choice needs to serve readability first and decoration second.
Keep the message simple and the hierarchy clear
Lead with one headline, not three. Your logo, a short tagline, and a single call to action are enough for most rollup banner printing projects. Cramming in a full product list or paragraph of copy guarantees nobody reads any of it. Put your most important word or phrase in the top third of the banner, since that’s the section people see even when a table or crowd blocks the bottom half.
If someone can’t read your headline from fifteen feet away, it’s too small no matter how good it looks up close.
Font size, contrast, and colour choices that carry
Use fonts no smaller than 100 points for headlines and stick to two typefaces at most. High contrast between text and background beats a trendy colour palette every time, so dark text on a light background, or the reverse, will always outperform a subtle two-tone scheme that looks nice on a screen but disappears under fluorescent lighting.
File setup that avoids blurry prints
Submit artwork at full scale, or at minimum 100 DPI at final size, use vector logos wherever possible, and check how DPI works for printing if you’re unsure what your file can handle. A pull up banner file built at low resolution and stretched to fit will print soft and pixelated, and knowing how to avoid blurry prints matters because that mistake only shows up once the banner’s already standing. Send your file early enough for a proof review, since catching a blurry logo on screen costs nothing, but catching it on-site costs a reprint and a missed deadline.
Putting your rollup banner to work
A good rollup banner earns its keep the moment you stop thinking of it as a one-off purchase and start treating it as a standing member of your marketing kit. Get the size right, pick a material that suits where it’ll actually stand, and keep the design simple enough to read from across a room, and you’ve got a display that pays for itself many times over. Once you’ve nailed those basics, rollup banner printing stops being a one-time expense and becomes a reusable asset you pull out for every market, pitch, and trade show on your calendar.
Skip the guesswork and get a straight answer on size, material, and cost for your next event. See how retractable banner printing works at Apex Workwear, request a free quote, and have a proof in your inbox within 24 hours.