Custom stickers are one of the easiest ways to test a brand, promote an event, or add extra margin to your merch line, and Printful stickers are usually the first print-on-demand option people find when they search for a way to make them. But between die-cut options, sizing charts, and Printful’s pricing tiers, it’s easy to get stuck before you’ve even uploaded your artwork.
This guide walks you through the whole process: how to design your sticker file correctly, choose the right sticker type for your product, set a price that actually leaves you profit, and connect your store so orders fulfil automatically. You’ll also see where Printful’s turnaround and shipping costs might matter for Canadian sellers.
We work in custom apparel and print every day at Apex Workwear, so we know how sticker pricing and production decisions play out for small businesses and creators. If you’re weighing print-on-demand against a local Canadian printer for bulk orders, we’ll flag where that comparison matters as we go through each step.
What are Printful stickers and how do they work
Printful is a print-on-demand company that prints, cuts, and ships stickers only after a customer buys one from your online shop. You never hold inventory, and you never touch a printer. Printful stickers get produced on request, packed, and posted straight to your buyer, with your brand on the packing slip rather than Printful’s.
The workflow is simple once you see it laid out. You upload a design, pick a sticker type and size, set your retail price inside your store, and Printful handles the rest whenever an order comes in.
- You connect a store (Shopify, Etsy, WooCommerce, or similar) to your Printful account.
- You create a sticker product using the mockup generator and your artwork.
- A customer buys the sticker on your site.
- Printful prints, cuts, and ships it, then charges your account the base production cost.
- You keep the difference between your retail price and Printful’s cost, minus shipping.
You never print a single sticker yourself, but you still control the design, the price, and the brand experience.
This model suits anyone testing a sticker idea before committing to a bulk run. There’s no minimum order requirement, so you can sell one sticker or a thousand without changing your setup. That’s the main advantage over ordering print runs from a traditional shop: you avoid upfront stock risk entirely.
The trade-off is unit cost. Print-on-demand pricing per sticker is higher than what you’d pay ordering 500 or 1,000 units from a bulk sticker printer, because Printful’s model covers on-demand production, packaging, and per-order fulfilment. If you already know your sticker will sell in volume, batch printing usually wins on margin. If you’re still validating demand, or selling one-off designs across a catalogue of dozens of artworks, the on-demand model removes the guesswork and the warehouse space.
Step 1. Choose your sticker type and material
Before you touch a design file, decide which sticker type fits your product. Printful offers a handful of formats, and each one changes how the sticker looks once it’s stuck on a laptop, water bottle, or product packaging. Picking the wrong shape early means redoing your artwork later, so it’s worth five minutes upfront.
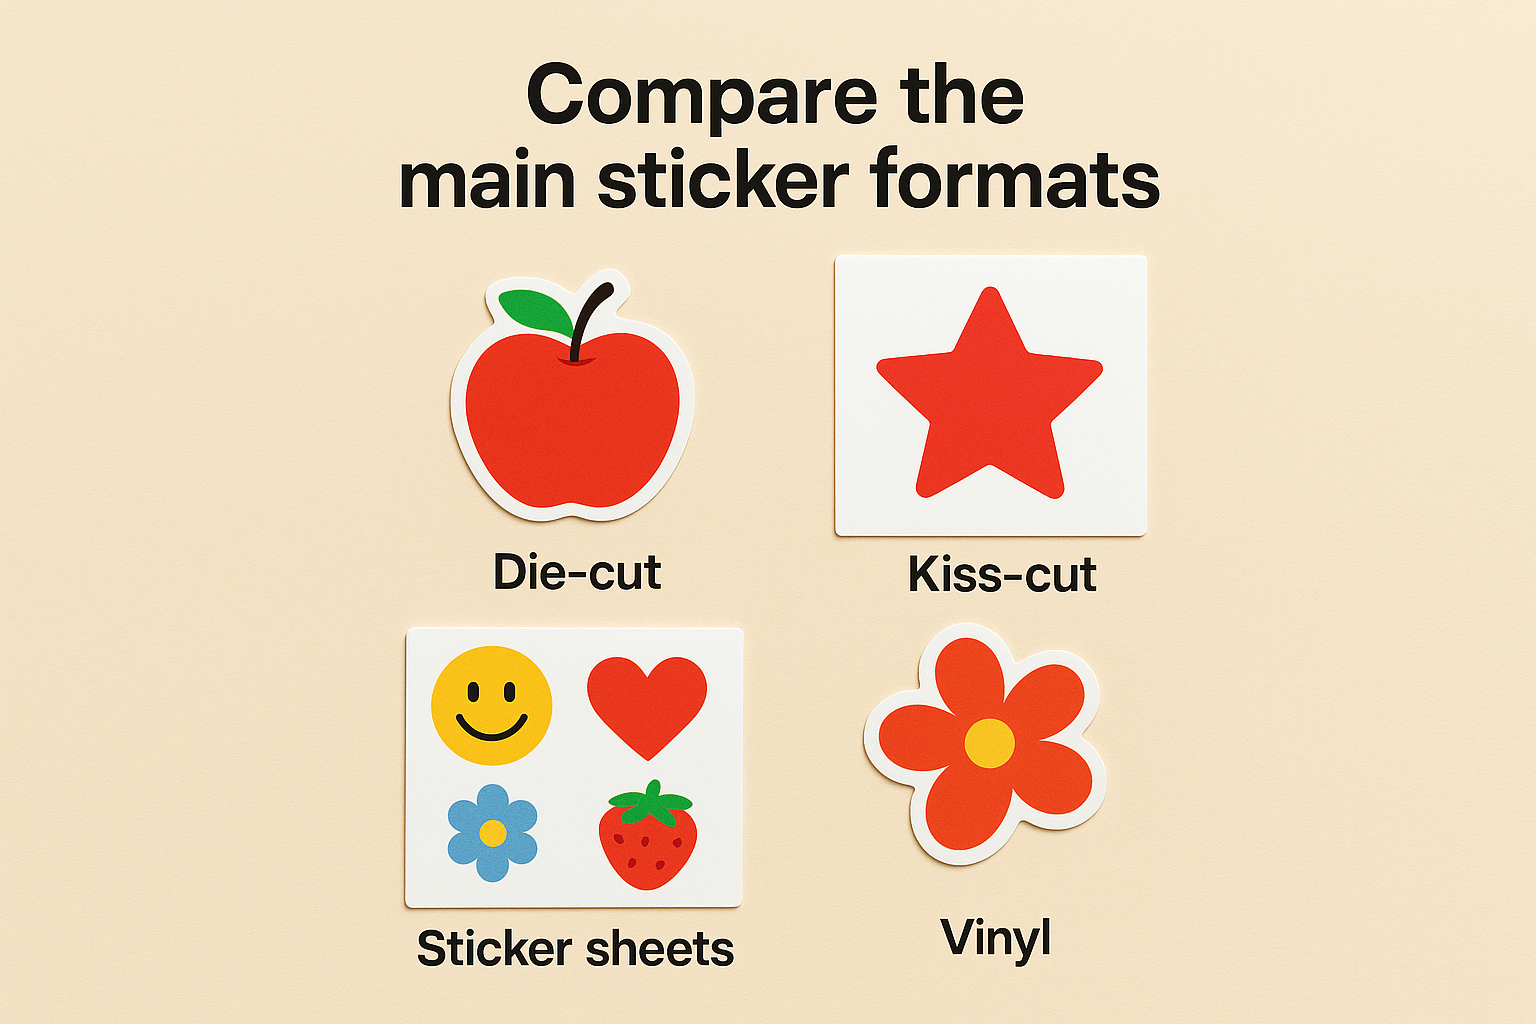
Compare the main sticker formats
Here’s how Printful’s core options stack up:
| Sticker type | Best for | Notes |
|---|---|---|
| Die-cut | Logos, mascots, irregular shapes | Cut precisely to your artwork outline |
| Kiss-cut | Simple shapes, budget runs | Square backing sheet, cheaper to produce |
| Sticker sheets | Multiple small designs sold together | Great for sticker packs or bundles |
| Vinyl (glossy/matte) | Outdoor use, durability | Matte resists glare, glossy pops on screens |
Match the material to where it’ll live
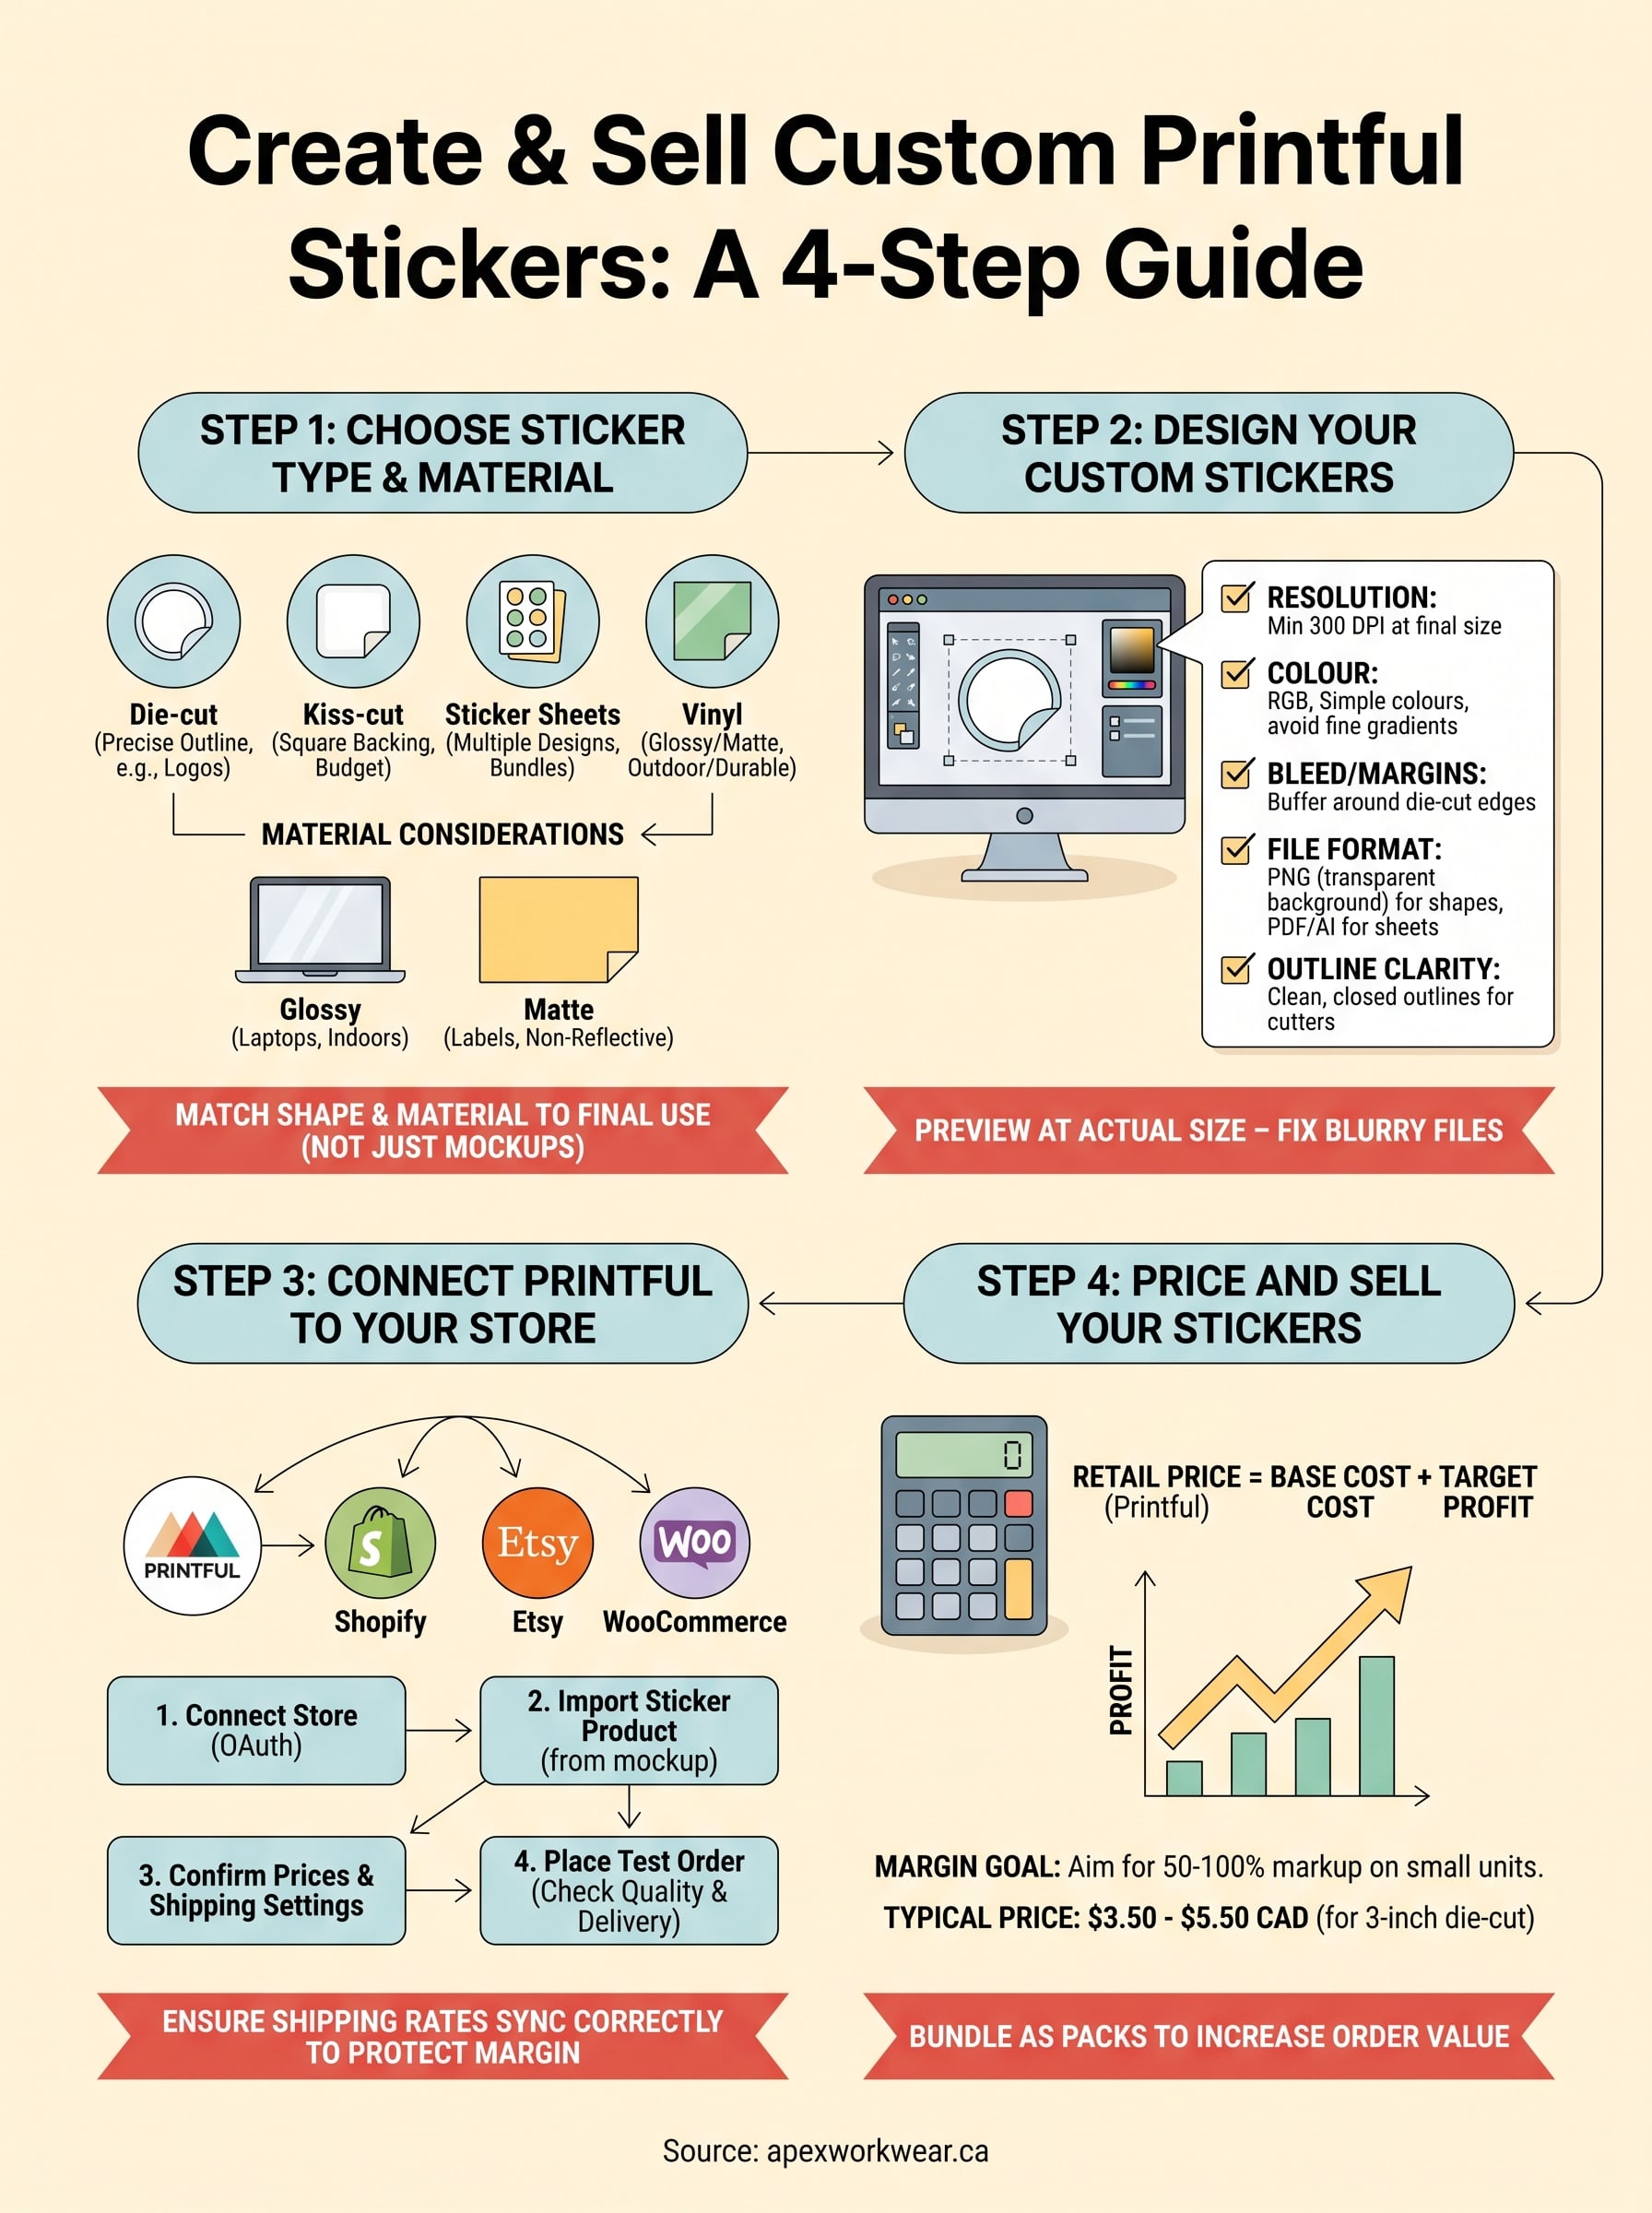
Glossy vinyl works well for laptops and indoor packaging, while matte suits product labels where you don’t want reflections in photos. If your custom sticker design is going outdoors, on a vehicle or a cooler, check Printful’s product pages for weatherproof ratings before you commit.
Choose the shape and material based on where the sticker will actually be used, not on which option looks flashiest in the mockup generator.
Once you’ve settled on a type, note the size options too, since they affect your final pricing later.
Step 2. Design your custom stickers
Once you’ve picked a sticker type, open Printful’s design tool or your own software and build the artwork to spec. Printful accepts files through its mockup generator, but you get cleaner results working in Adobe Illustrator or a similar vector tool first, then uploading the finished file.
Get your file specs right
Sloppy file setup is the most common reason sticker orders come back blurry or oddly cropped. Run through this checklist before uploading:
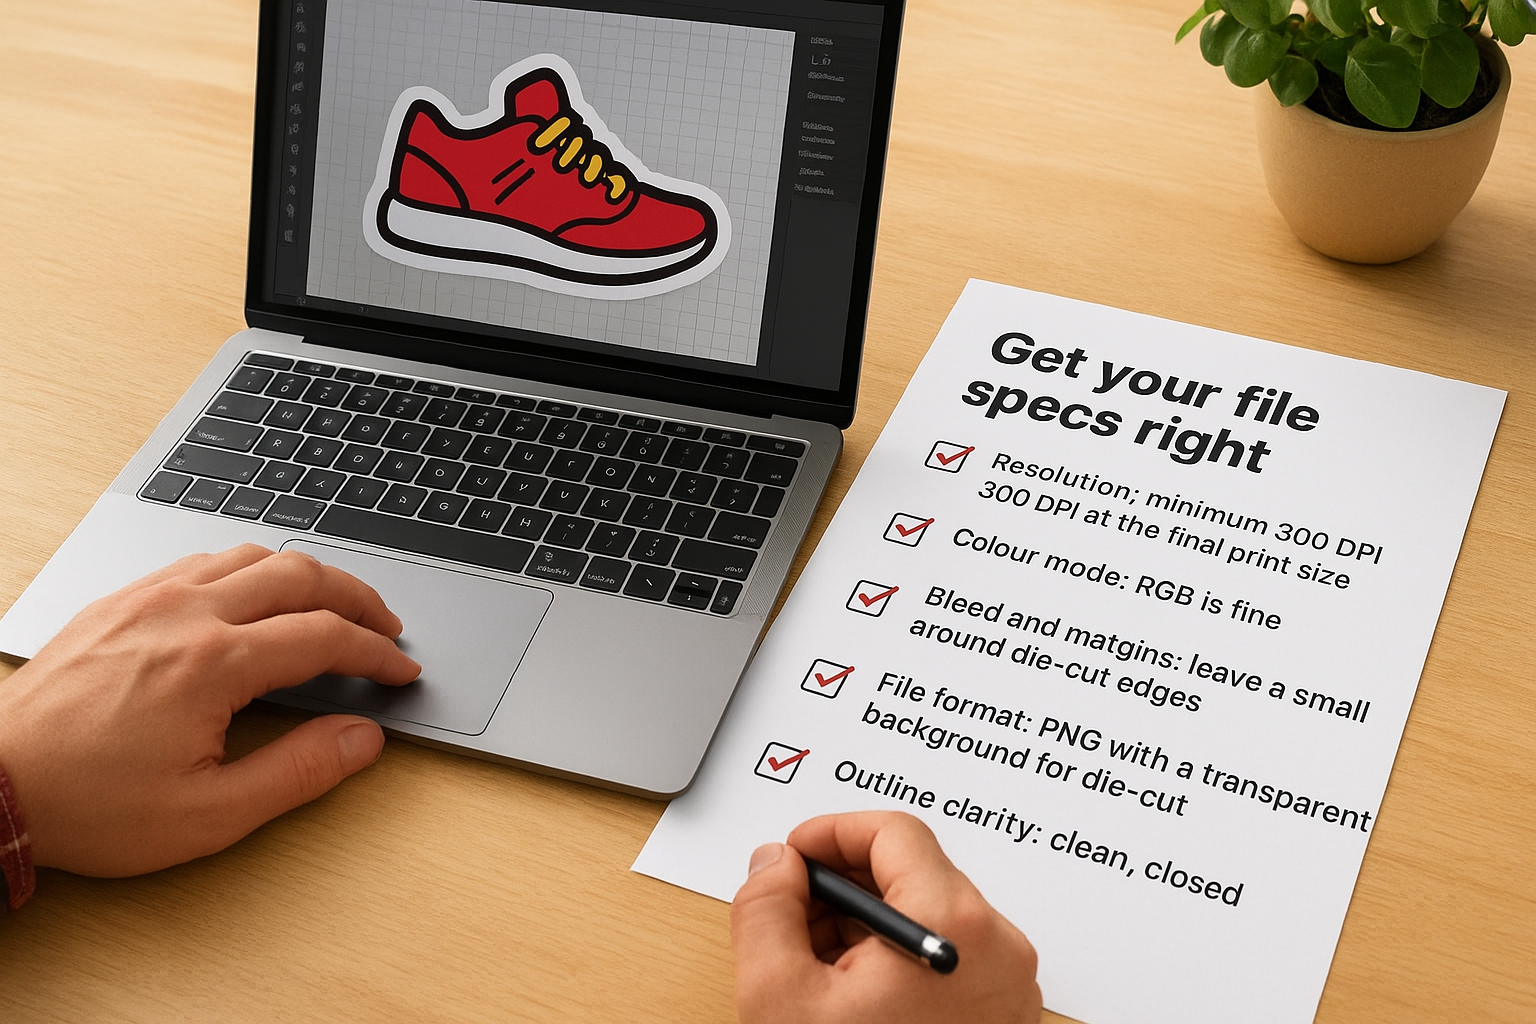
- Resolution: minimum 300 DPI at the final print size, never scaled up from something smaller.
- Colour mode: RGB is fine for Printful’s process, but keep colours simple since fine gradients don’t always cut cleanly.
- Bleed and margins: leave a small buffer around die-cut edges so nothing gets clipped during cutting.
- File format: PNG with a transparent background for die-cut shapes, PDF or AI for sheets with multiple designs.
- Outline clarity: for die-cut stickers, make sure your artwork has a clean, closed outline so Printful’s cutter follows the shape accurately.
A sticker design only looks as good as its file setup, no amount of clever pricing fixes a blurry upload.
Preview before you commit
Always generate a mockup and check it at actual size on screen, not just zoomed in. Small text and thin lines often disappear once a sticker shrinks to two inches. If anything looks tight, adjust your custom sticker file and re-upload before moving on to connecting your store.
Step 3. Connect Printful to your online store
With your sticker file ready, you need somewhere to sell it. Printful doesn’t run its own storefront, so you link it to a sales channel like Shopify, Etsy, WooCommerce, or Squarespace. Once connected, orders sync automatically and Printful starts fulfilment the moment a customer pays, no manual steps on your end.
Set up the integration
Most platforms take under ten minutes to connect:
- Create a Printful account and choose your platform from the integrations list.
- Authorise the connection, usually through an OAuth login on your store’s admin panel.
- Import your sticker product using the mockup you built in Step 2.
- Confirm your retail price and shipping settings sync correctly before publishing.
- Place a test order to check the packing slip, sticker cut, and delivery timeline match your expectations.
Connect your store properly and every future order fulfils itself, get it wrong and you’ll be fixing sync errors instead of selling stickers.
If you don’t already run a store, Etsy is the fastest route for a new sticker shop, since buyers already search there for custom designs. Shopify suits sellers who want a full branded site alongside stickers and other apparel. Either way, double-check your shipping rates match Printful’s actual costs so you’re not losing margin on postage before you’ve even priced the sticker itself.
Step 4. Price and sell your stickers
Once your store syncs correctly, the last piece is setting a price that actually covers Printful’s base cost plus shipping, then leaves you a margin worth the effort. Pull up your product in Printful’s dashboard and check the exact production cost for your chosen sticker type and size before you type in a retail price.
Work out your margin
A simple formula keeps this honest:
- Base cost: what Printful charges you per sticker (check your dashboard, not a general estimate).
- Shipping: added per order unless you’ve built it into your retail price.
- Retail price: base cost + shipping + your target profit.
- Margin check: aim for at least 50 to 100% markup on small stickers, since low unit costs mean thin dollar margins otherwise.
Most sellers price a standard 3-inch die-cut sticker between $3.50 and $5.50 CAD, depending on their brand positioning and audience.
Price too low on a $1 product and you’re working for pennies, price it right and even single-sticker orders are worth fulfilling.
Bundle and promote
Selling stickers as a sticker pack rather than single units usually lifts average order value without extra design work. Group three to five related designs, price the bundle slightly below buying each separately, and promote it alongside your other custom apparel or merch so buyers add a sticker at checkout almost by habit.
Getting your stickers out into the world
You now have everything needed to launch: a sticker type that suits its surface, a clean file that prints sharp, a store that syncs automatically, and a price that actually pays you. Printful handles production and shipping, so your only real job from here is getting the design in front of people who’ll buy it.
Stickers work best as a low-risk entry point, they’re cheap to test, quick to iterate, and they build brand recognition long before a customer buys anything bigger. Once you’ve validated a design through print-on-demand, you might find it makes sense to move higher-volume runs to a bulk printer for better margins, or pair your stickers with matching apparel and print materials for a consistent brand across every touchpoint.
If you’re a Canadian small business ready to build out that broader branding, from custom apparel to business cards and signage, get a free quote from Apex Workwear and we’ll help you figure out what’s next.