Getting tri fold brochure printing right comes down to three things: choosing the correct size, picking the right paper stock, and setting up your file so nothing gets cut off or misaligned. Skip any of these steps, and you end up with brochures that look off, panels that don’t fold evenly, text that bleeds into the crease, or colours that fall flat on the wrong paper. It’s a common (and avoidable) problem we see regularly.
At Apex Workwear, we print brochures for small businesses, contractors, and creative agencies across Canada, many of them first-timers who aren’t sure where to start. Our team reviews every file before it goes to press, catches potential issues early, and offers free design adjustments to make sure your artwork is print-ready. With production done right here in Canada and free local shipping in the GTA, we keep the process simple and quick.
This guide walks you through standard tri fold brochure sizes, paper options, and exactly how to set up your file for clean results. Whether you’re designing your own or handing it off to us, you’ll have everything you need to get it right the first time, no guesswork, no wasted print runs.
What tri-fold brochure printing includes
Tri fold brochure printing produces a single flat sheet that folds twice into three equal sections, giving you six printable panels in total: three on the front side and three on the back. The result is a compact, easy-to-distribute format that works well for menus, service lists, event programmes, and product overviews. Before you start designing, it helps to know exactly what you’re working with.
The six panels and how they work
A standard tri-fold opens like a letter fold. When you hold the finished brochure with the cover facing you, the right panel is the cover, the middle panel becomes the back page, and the left panel tucks inside. Open it fully and you have three connected interior panels. Each panel needs its own content zone, with margins kept clear of the fold lines so nothing gets buried in the crease.

The inner left panel (the one that folds inward) must be slightly narrower than the other two to fold cleanly without buckling.
| Panel position | Side | Common use |
|---|---|---|
| Right panel | Front | Cover / headline |
| Middle panel | Front | Back page / contact info |
| Left panel (tucks in) | Front | Inner flap / offer detail |
| Left, middle, right | Back | Interior content panels |
What the print specs cover
When you place an order, the print spec defines the flat sheet size, finished folded size, paper weight, coating, and bleed requirements. Every one of these settings affects how your final brochure looks and folds. Bleed, safe zones, and fold allowances are each part of the spec, and the steps below walk you through each one so your file arrives print-ready without any back-and-forth.
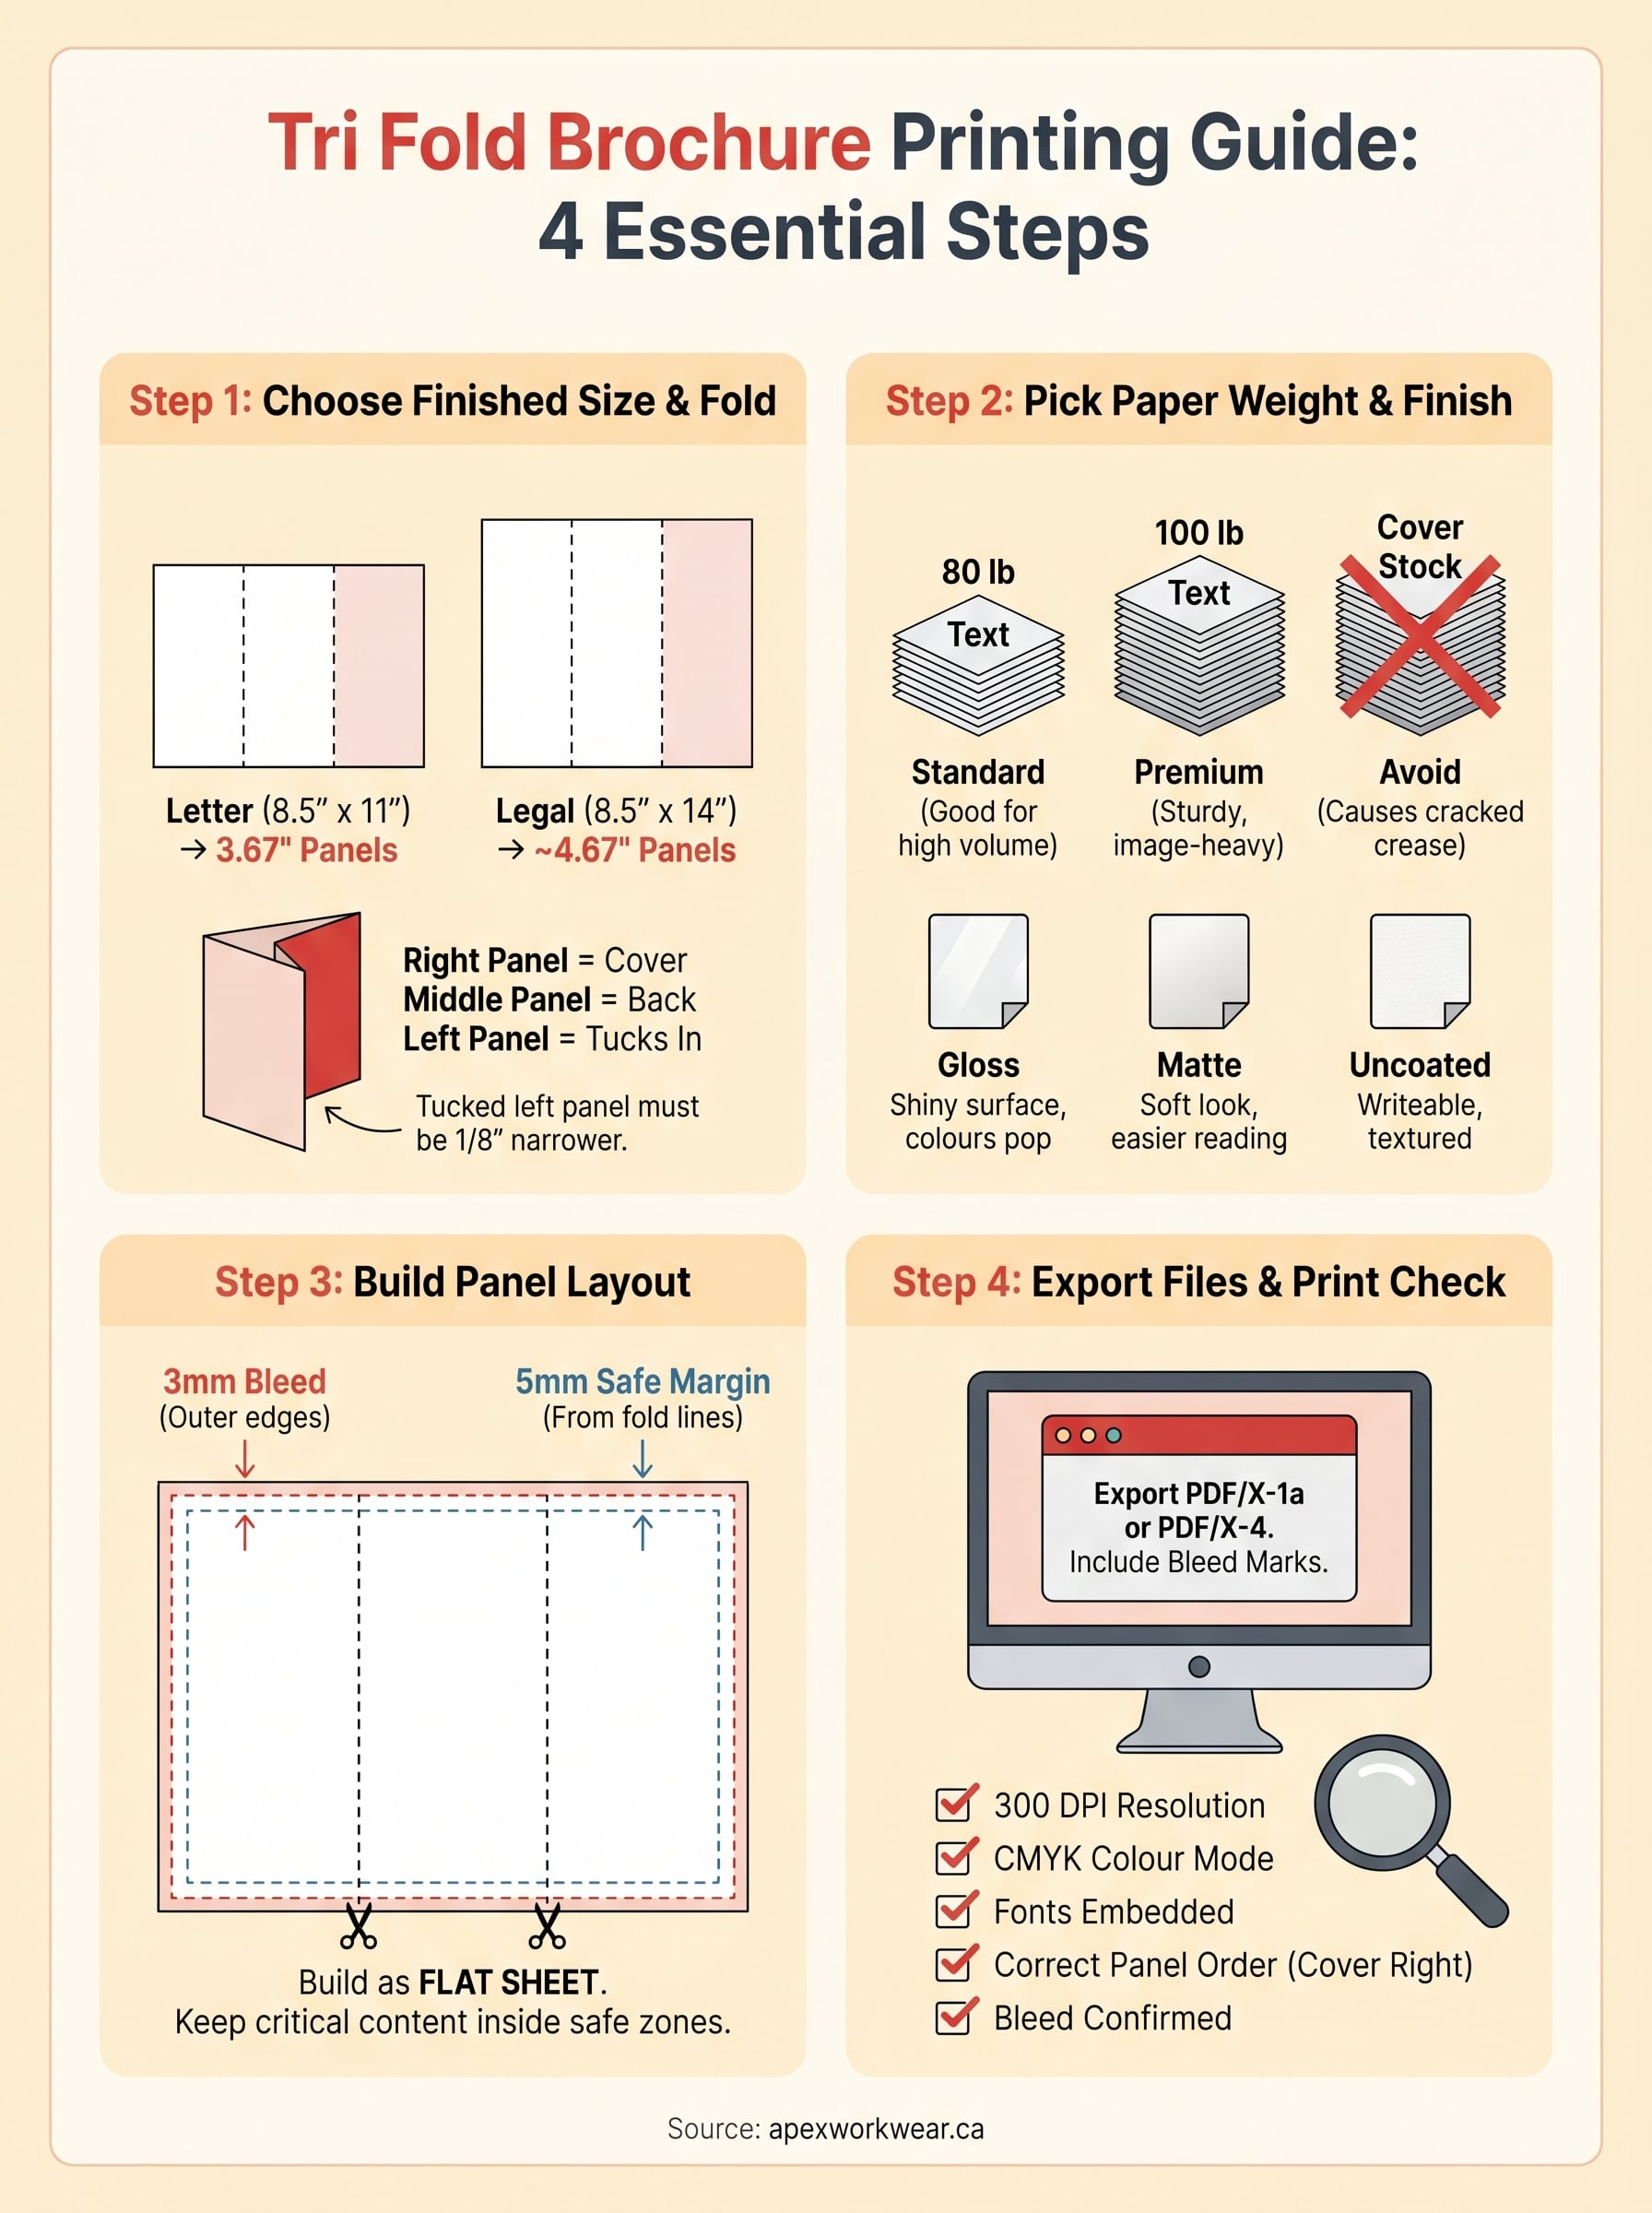
Step 1. Choose your finished size and fold
The most common finished size for tri fold brochure printing in Canada is 4" × 9", which folds from a flat sheet of 8.5" × 11" (letter size). That flat sheet is what you design on; the folded measurement is what your customer actually holds. Locking in your size before you open your design software prevents you from rebuilding the entire layout later.
Standard sizes to know
Two sizes cover most brochure jobs. Letter-based (8.5" × 11" flat) gives you 3.67"-wide panels and is the most affordable and widely available option. Legal-based (8.5" × 14" flat) gives you approximately 4.67"-wide panels, which suits image-heavy designs or detailed service lists that need more breathing room.
| Flat sheet | Finished folded size | Panel width |
|---|---|---|
| 8.5" × 11" | 3.67" × 8.5" | ~3.67" |
| 8.5" × 14" | ~4.67" × 8.5" | ~4.67" |
The fold direction matters
Your layout must match the fold direction your printer uses. On a standard letter fold, the right panel is the cover and the left panel tucks inward toward the spine.
Set the tucked left panel 1/8" narrower than the other two panels, or the brochure will buckle at the crease once folded.
Confirm the fold direction with your printer before you finalise your panel order, particularly if this is your first time ordering a folded brochure.
Step 2. Pick paper weight and finish
Paper choices directly affect how your tri fold brochure printing project looks and feels once it’s in someone’s hands. A brochure printed on thin, uncoated stock can look cheap even if the design is strong. Getting these two decisions right before you order saves you from a reprint.
Paper weight
For most brochure jobs, 80 lb text is the standard weight: it folds cleanly without cracking and keeps costs manageable. If you want a noticeably sturdier feel, step up to 100 lb text. Avoid cover stock entirely for tri-folds, as the thickness causes the fold line to crack.
Stick to text-weight stock for tri-folds. Cover stock is too stiff and produces a cracked crease on the finished piece.
| Paper weight | Best for |
|---|---|
| 80 lb text | Standard brochures, high-volume runs |
| 100 lb text | Premium feel, image-heavy layouts |
Coating and finish
Gloss coating makes colours pop and works well for product-focused or image-heavy brochures. Matte coating gives a softer, more upmarket look and is easier to read under fluorescent lighting. Uncoated stock is the right call when your brochure needs to be written on, such as a service form or order sheet. Match your finish to how your audience will actually use the piece.
Step 3. Build the panel layout the right way
Once you know your size and paper, open your design software and build the tri fold brochure printing document to the flat sheet dimensions, not the folded size. Setting up the file correctly from the start keeps your panels aligned and prevents content from landing in the wrong place when the sheet folds.
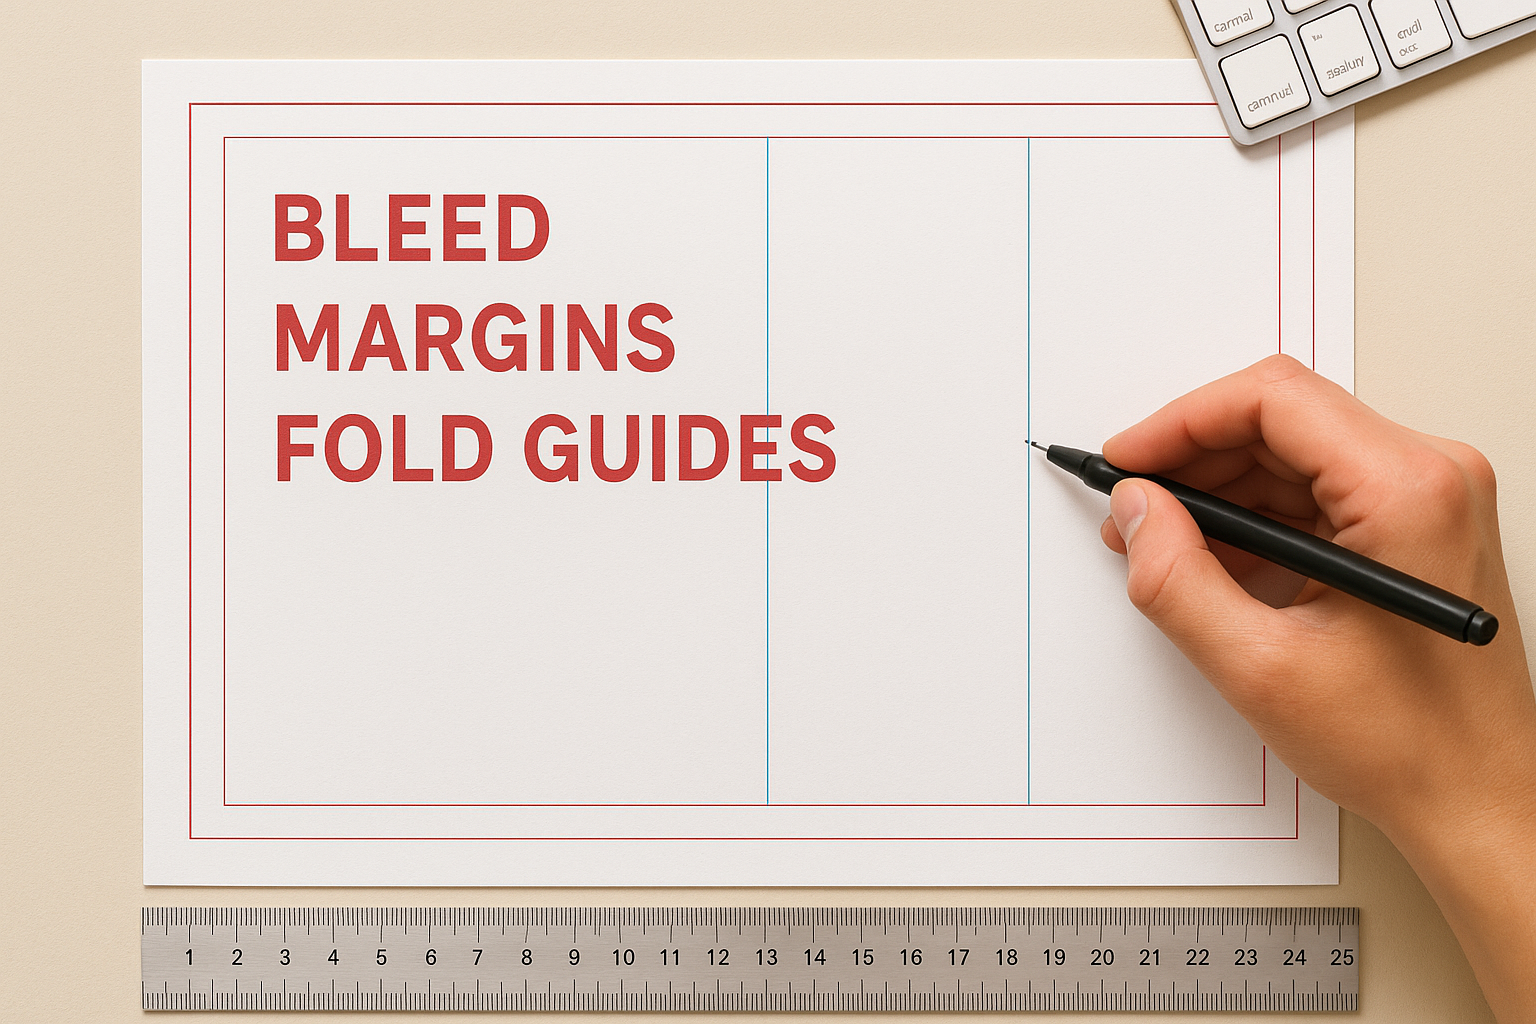
Set up bleed, margins, and fold guides
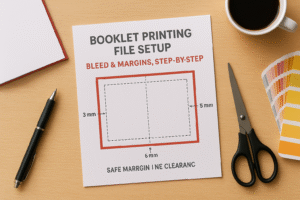
Add 3mm (0.125") of bleed on all four outer edges of the flat sheet. Set your inner safe margin at least 5mm from every fold line so no text sits too close to a crease. In Adobe InDesign or a similar tool, add vertical guides at each fold point to clearly mark the panel boundaries before you place any content.
Keep all critical text and logos at least 5mm inside any fold line to prevent them from disappearing into the crease.
Place content panel by panel
Treat each of the six panels as a separate content zone and design them individually before checking how they read in sequence. Your cover panel carries the headline, logo, and a clear reason to open it. The interior panels carry the supporting detail, and the back panel handles contact information and any calls to action.
Step 4. Export files and run a print check
Before you send anything to print, export your file correctly and run a quick pre-print checklist to catch errors that are easy to miss on screen. A wrong export setting can strip your bleed or flatten your colour profile without any warning.
Export settings
Export your tri fold brochure printing file as a PDF/X-1a or PDF/X-4 with bleed marks included. Set image resolution to 300 DPI and embed all fonts before saving. Most design tools offer a print-quality PDF export preset that handles these settings automatically.
Always include 3mm bleed in your export settings, not just in your document setup, or the printer receives a file with no bleed area.
Pre-print checklist
Check each item below before you submit your file. Skipping this step is the most common reason a print job gets delayed or returned for corrections.
- Bleed: 3mm confirmed on all outer edges in the exported PDF
- Safe margin: Text and logos sit at least 5mm from every fold line
- Resolution: All images at 300 DPI or higher
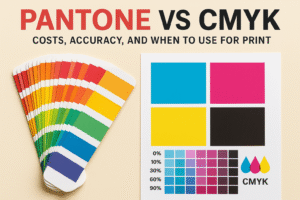
- Colour mode: File set to CMYK, not RGB
- Fonts: All fonts embedded or outlined
- Panel order: Cover on the right, tuck panel 1/8" narrower than the other two
Next steps
You now have everything you need to order tri fold brochure printing with confidence. Pick your finished size, match your paper weight and coating to the job, build your flat-sheet layout with correct bleed and fold guides, then export a print-ready PDF using the checklist in Step 4. Follow those steps in order and you avoid the most common issues that delay a print job or waste your budget on a reprint.
If you want a second set of eyes on your file before it goes to press, our team reviews every order and flags any issues before production starts. Basic design adjustments and digital proofs are included at no extra cost, and most orders ship within five to seven business days. Get a free quote from Apex Workwear and we’ll confirm your spec, check your artwork, and get your brochures printed and delivered without the back-and-forth.