If you’ve ever printed a saddle-stitched booklet and noticed the inner pages sticking out further than the cover, you’ve already seen creep in action. Having booklet creep explained properly matters because ignoring it leads to uneven trims, cut-off text, and a final product that looks rushed, none of which reflect well on your brand. It’s one of those production details that separates amateur print jobs from professional ones.
Creep happens because of physics. Every sheet of paper has thickness, and when you nest multiple sheets together and fold them, the inner pages are forced outward. The more pages you add, the more pronounced the shift becomes. For anyone preparing print-ready files, whether it’s a product catalogue, an event programme, or a company handbook, understanding this shift is essential to getting clean, accurate results.
At Apex Workwear, we produce booklets and brochures for small businesses across Canada, and creep is something our team accounts for on every saddle-stitched project. This article breaks down exactly why creep occurs, how paper thickness and page count affect it, and what adjustments you need to make in your design files to prevent it. Whether you’re building files yourself or just want to understand what your printer is doing behind the scenes, this guide covers it all.
Why booklet creep happens in saddle-stitch printing
Saddle-stitch binding works by folding sheets of paper in half and nesting them together before stapling through the spine. It’s the most common method for booklets, programmes, and catalogues because it’s fast and cost-effective. The problem is that every sheet of paper has physical thickness, and that thickness adds up the moment you start stacking sheets inside one another.
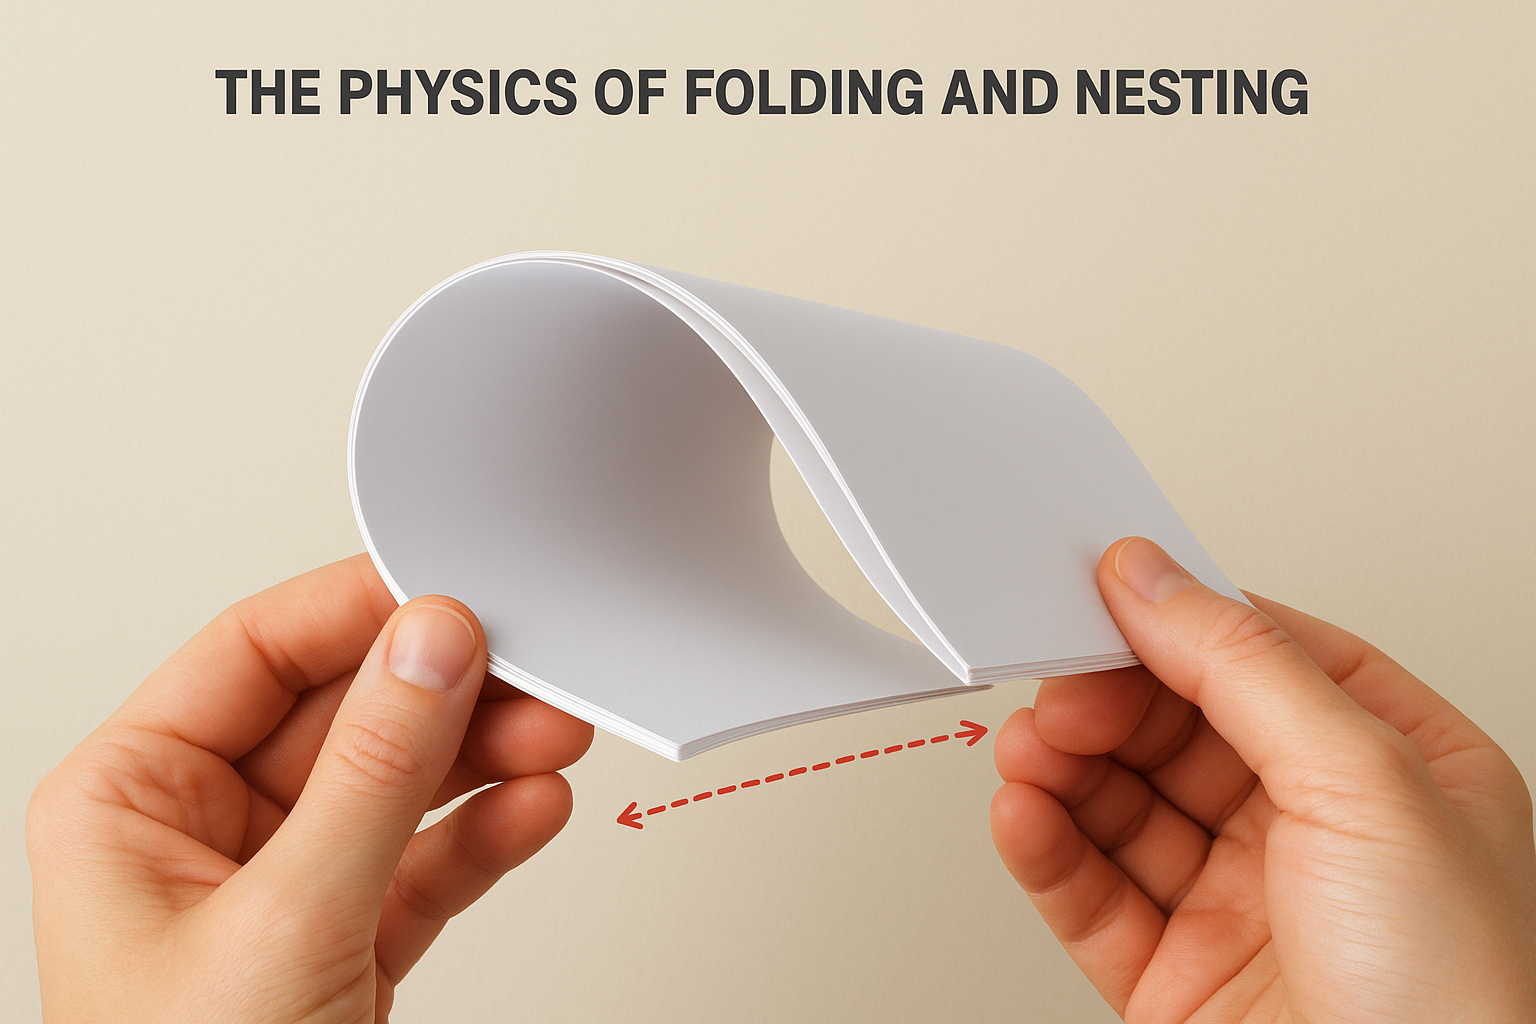
The physics of folding and nesting
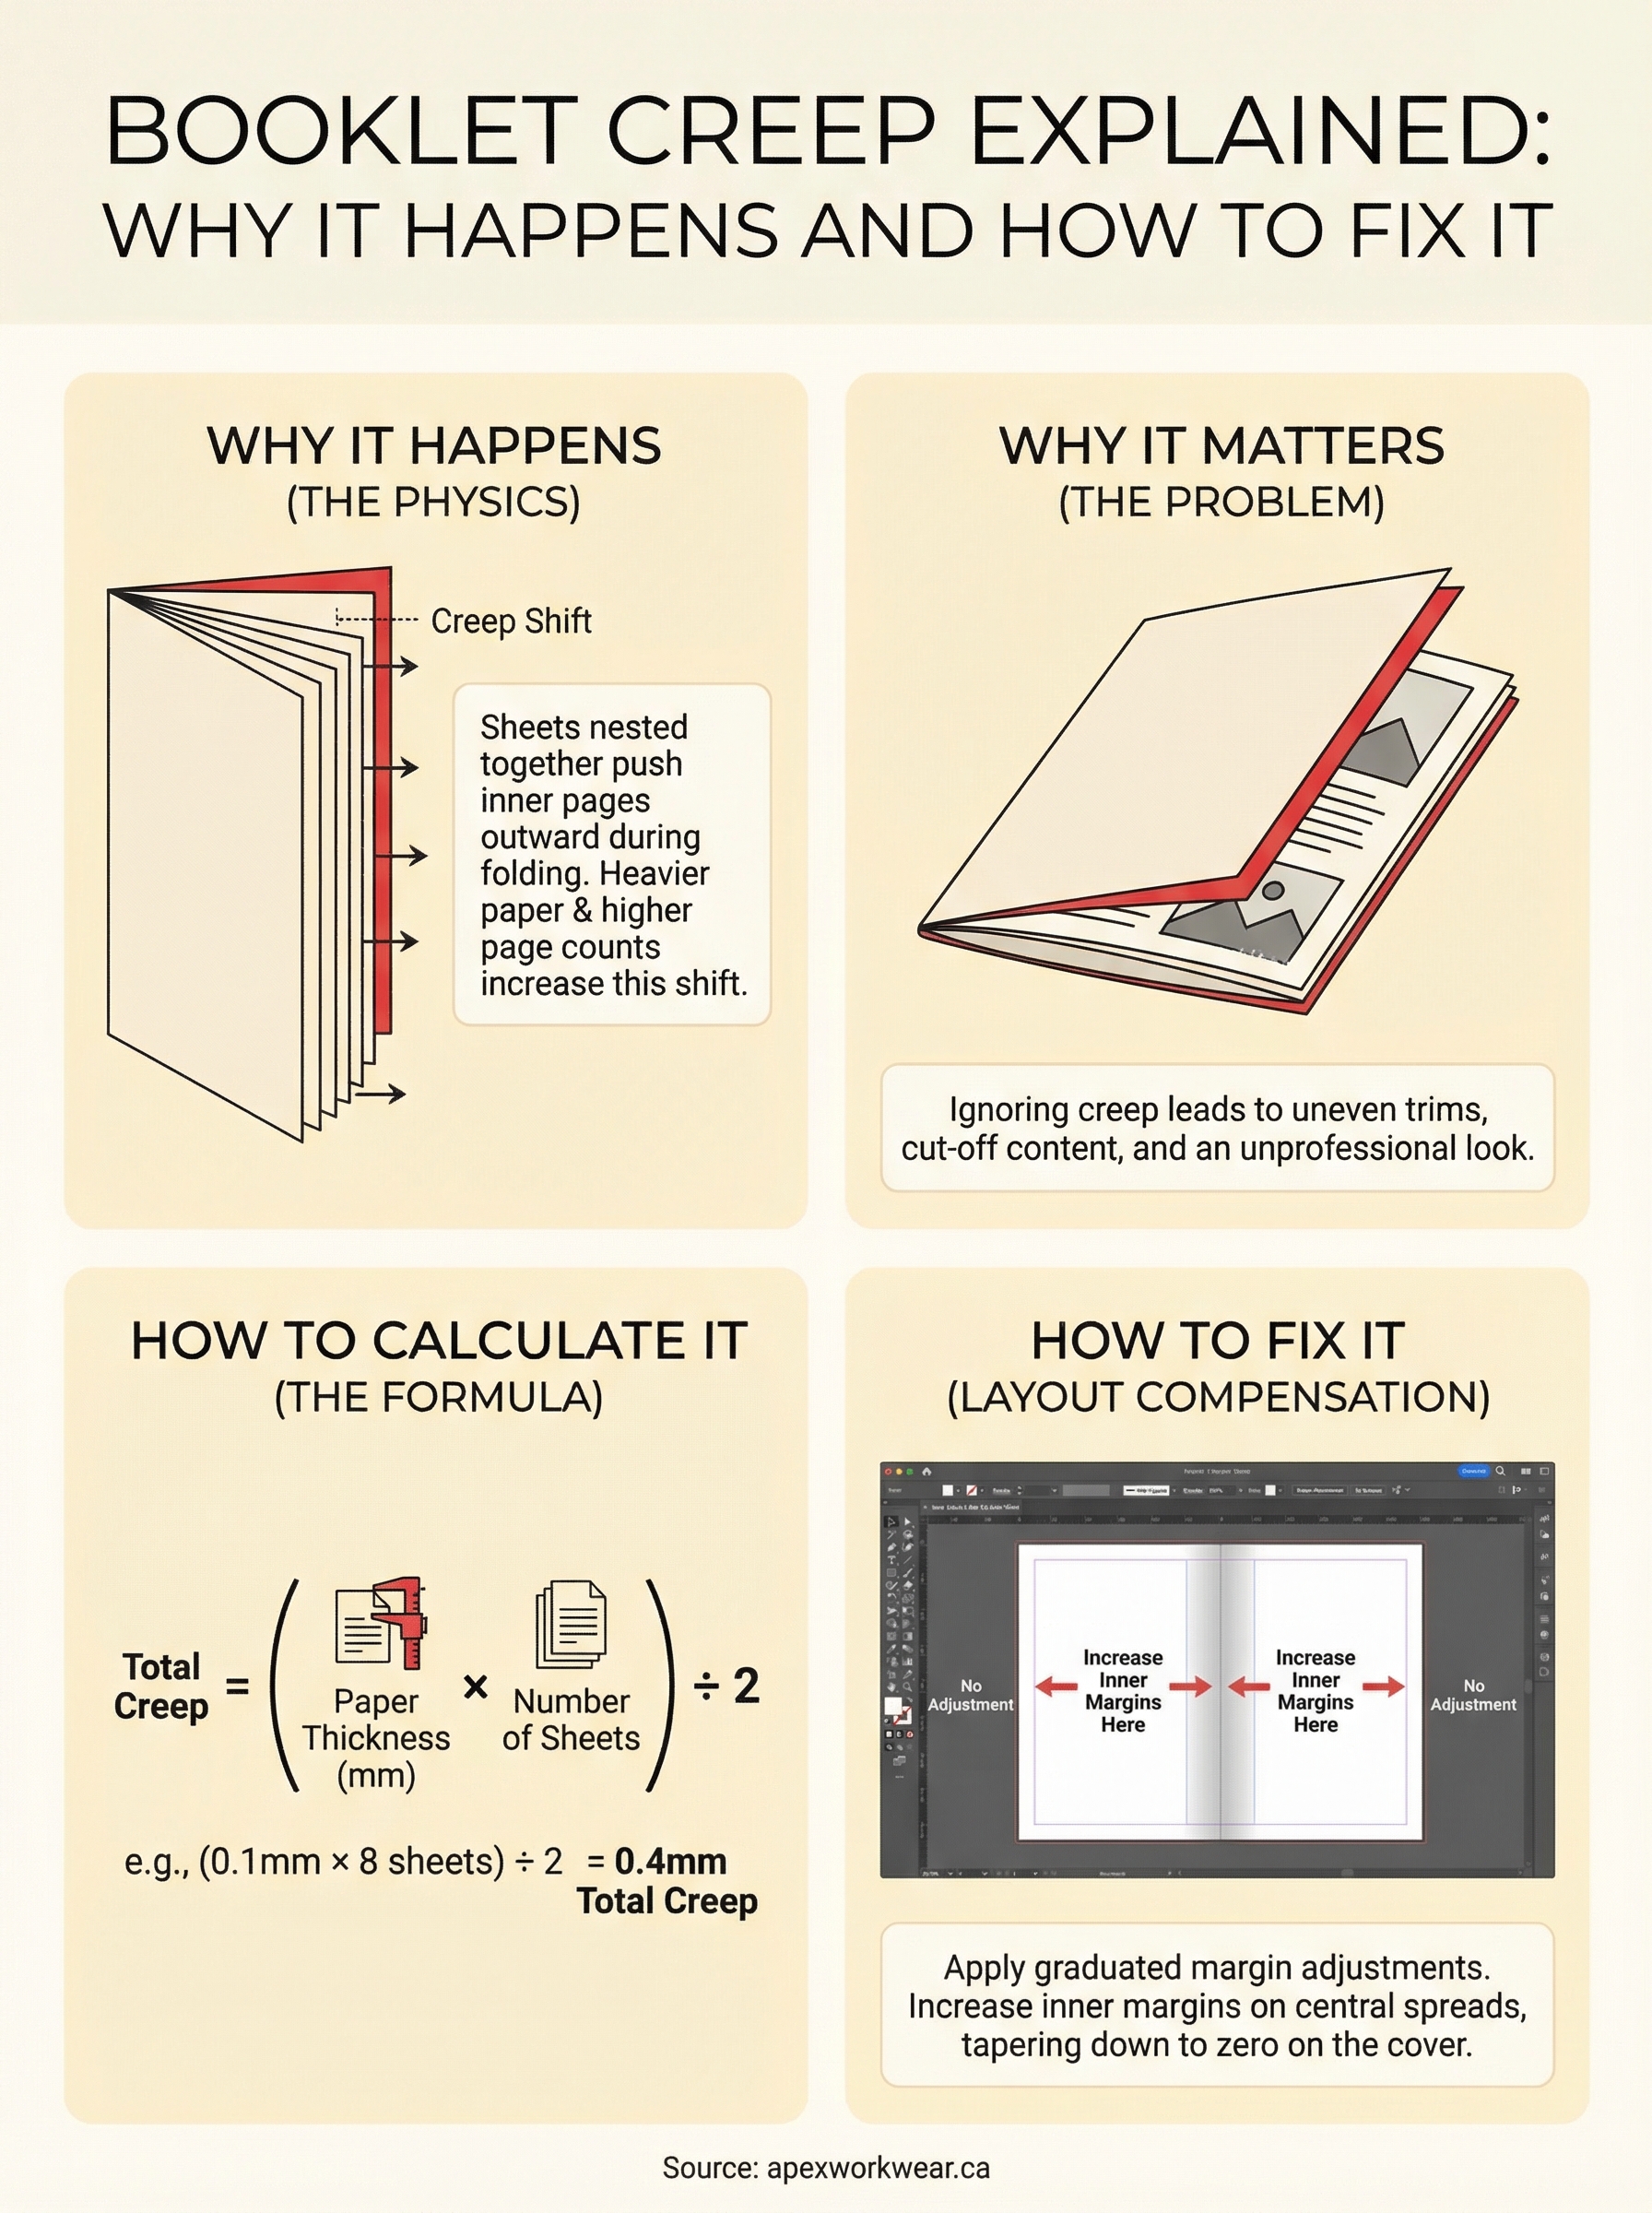
When you fold a single sheet of paper, the outer edge sits exactly where you’d expect. Add a second sheet inside the first, and that inner sheet now has to wrap around a slightly larger arc. The inner sheet’s folded edge is pushed outward relative to the outer sheet. Each additional sheet compounds this, forcing the innermost pages to extend beyond the trim edge of the outer pages.
The more sheets you nest together, the more the inner pages migrate toward the outer edge of the booklet.
After printing and folding, the booklet goes through a trimmer that cuts all three open edges to a uniform size. The trim is set based on the outer pages, which means anything that has shifted outward on the inner pages gets cut differently than intended. Text or images placed close to the inner-page margins can end up clipped or sitting awkwardly close to the edge, making the finished piece look unpolished.
How paper thickness and page count drive the shift
Not all paper is equal, and heavier stock creates more creep than lighter stock. A booklet printed on 100 lb text paper will show noticeably more creep than the same page count on 60 lb offset paper. Your printer measures paper thickness in points or millimetres, and even small differences in caliper add up quickly across a 32-page or 48-page booklet.
Getting booklet creep explained properly means treating page count and stock weight as connected variables, not separate ones. A 16-page booklet on thin stock may need minimal adjustment, while a 64-page booklet on heavy stock can require several millimetres of compensation per spread. Understanding both factors together is what allows you to build files that actually trim the way you intend.
When creep becomes a real problem
Having booklet creep explained is useful, but knowing when it actually affects your finished piece is what drives the decisions you make in your design file. Small booklets with low page counts and lightweight paper can often absorb the shift without noticeable damage. A simple 8-page piece folded from two sheets of 60 lb text may move so little that your standard trim handles it cleanly. The moment you move into higher page counts or heavier stock, that tolerance disappears fast.
A 48-page booklet on thick coated stock can accumulate enough creep to push inner-page content several millimetres beyond where you intended it to sit.
Where the damage shows up
The most obvious sign of uncorrected creep is text or graphic elements sitting too close to the trimmed edge on inner pages. Borders that looked perfectly centred in your design file end up uneven, and any content placed near the outer margin on inner spreads can appear cramped or partially cut off. These are not printing errors; they are layout errors that creep causes.
Double-sided designs carry even more risk. When critical content spans across a spread, any lateral shift throws off alignment between left and right pages. Full-bleed backgrounds are also vulnerable; a colour panel that should extend edge to edge on the inner pages will show a white gap or an abrupt crop if the file does not account for the shift.
How to measure and calculate creep
Getting booklet creep explained in theory only takes you so far. To actually fix it in your files, you need a number: how many millimetres your inner pages shift relative to the outer ones. That number comes from your paper’s caliper (thickness) and your total page count, and once you have it, every layout adjustment follows directly from there.
The creep calculation formula
The standard formula is straightforward. Multiply the paper thickness in millimetres by the number of sheets, then divide by two. That result is the total creep across the entire booklet.
Total creep = (paper thickness in mm × number of sheets) ÷ 2
Your printer can confirm the exact caliper of your chosen stock. 80 lb text paper typically measures around 0.1 mm, while heavier coated stocks can run 0.15 mm or more. A 32-page booklet uses 8 sheets, so at 0.1 mm per sheet, total creep is 0.4 mm. That 0.4 mm distributes across all spreads, with the innermost spread carrying the full shift and the outer spreads carrying progressively less.
Applying the number per spread
Once you have the total, divide it evenly across each spread to find the per-spread adjustment value. For an 8-sheet booklet with 0.4 mm total creep, each successive spread shifts approximately 0.05 mm further inward than the one outside it.
Spreads nearest to the spine need the least compensation, while spreads sitting closest to the centre of the booklet need the most. Most professional layout software lets you input these values as margin adjustments per page range, which makes the process repeatable across different booklet sizes and stock weights.
How to fix creep with layout compensation
Once you have your creep measurement, fixing it comes down to shifting your inner-page content toward the spine to compensate for the outward migration that trimming will create. This process is called layout compensation, and it is the practical step that turns your creep calculation into a file that actually prints the way you intended.
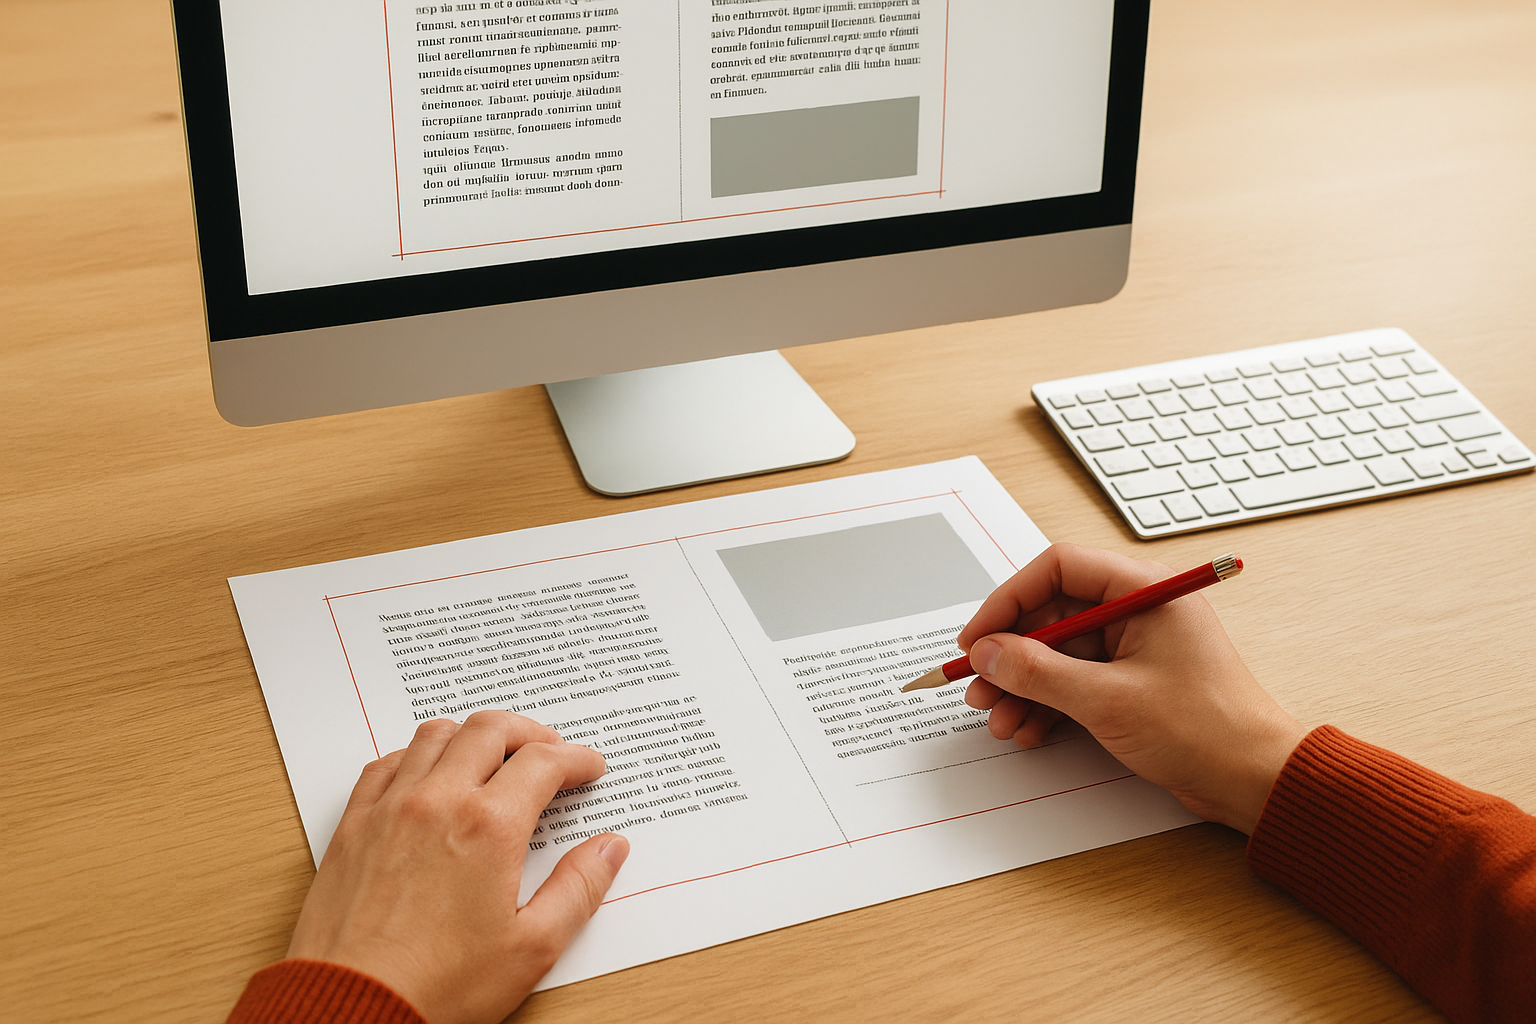
Adjusting margins in your layout file
Most professional layout applications let you apply different margin values to different page ranges within the same document. You increase the inner margin on your centremost spreads by the full per-spread compensation value, then taper that adjustment down progressively as you move toward the outer spreads.
Apply the largest compensation to your innermost pages and reduce it to zero by the time you reach the cover spread.
Your cover spread needs no compensation at all because it already sits in the outermost position. Only the spreads that nest inside carry any outward shift, so your margin adjustments should mirror the nesting order of your sheets from centre outward.
Working with your printer on compensation
If manual adjustment feels unclear, share your total creep value and paper caliper directly with your print provider. Many professional imposition systems handle the compensation automatically once they have those two figures. Providing them upfront, with booklet creep explained clearly in your file notes, prevents unnecessary revision rounds and keeps your project moving without delays.
Confirming this step before files go to production is especially important for booklets with 32 or more pages, where uncorrected creep can visibly affect the finished trim.
Common pitfalls and print-ready checks
Even with booklet creep explained and your compensation values calculated, a few recurring mistakes can still undermine your final file. The most common one is applying the same inner margin to every page in the document, which treats all spreads equally when they shift by different amounts. Flat compensation ignores the graduated nature of creep entirely, and the trim will show it.
Uniform margins are one of the most frequent causes of visible trim issues in saddle-stitched booklets.
Design errors that sneak through
Placing text or critical graphics too close to the outer edge on inner pages is a persistent problem, even among experienced designers. Your safe zone on inner pages should be noticeably wider than on the cover to absorb any residual shift that compensation does not fully eliminate. Tight deadlines push people to skip this check, and the result only becomes visible after trimming.
File checks before sending to print
Before submitting your files, confirm that your margin offsets increase progressively toward the centre spreads and that your paper caliper matches what your printer quoted. These two details account for most creep-related issues, and verifying them takes less than ten minutes before files go to production.
- Bleed extends at least 3 mm beyond the trim edge on all pages
- No text or critical graphics sit within 5 mm of the trimmed outer edge on inner pages
- Margin adjustments taper down to zero by the cover spread
- Paper caliper is confirmed with your printer against your creep calculation
Next steps
With booklet creep explained from physics through to file checks, you now have everything you need to approach your next saddle-stitched project with confidence. The core takeaway is simple: calculate your creep using paper caliper and sheet count, then apply graduated margin adjustments that taper from the innermost spreads outward to zero at the cover. Running through the pre-submission checklist before your files go to production takes a few minutes and saves you from a reprint.
Getting these details right matters most when your booklet represents your business. A product catalogue, event programme, or company handbook that trims cleanly and reads well tells your audience you pay attention to quality. If you want a print partner who accounts for creep on every job, get a custom booklet quote from Apex Workwear and let our team review your files before anything goes to press.