If you’ve ever run your fingers across a varsity jacket letter and felt that thick, plush texture, you’ve already encountered chenille embroidery. It’s the technique behind those raised, velvety designs that look like they belong on a letterman jacket or a retro-inspired cap, soft to the touch, impossible to ignore.
But chenille isn’t just a throwback style. It’s become one of the most requested embroidery methods for brands, teams, and businesses that want their logo or design to stand out with real dimension. The technique uses specific stitches, primarily moss and chain stitches, layered to create that signature fuzzy, looped pile. It’s a distinctly different process from standard flat embroidery or even puff embroidery, and understanding those differences matters when you’re choosing how to represent your brand on custom apparel.
At Apex Workwear, we handle custom embroidered apparel for businesses and teams across Canada, so we field questions about chenille regularly. This article breaks down exactly how chenille embroidery works, what stitches are involved, how its texture is achieved, and how it compares to puff embroidery, so you can decide whether it’s the right fit for your next project.
Why chenille embroidery is popular on apparel
Chenille embroidery has held its place in apparel for decades, and nostalgia is only part of the reason. The thick, raised pile it creates gives garments a tactile quality that flat printing simply cannot match. When someone picks up a hoodie or jacket with a chenille patch, they feel the difference immediately, and that physical impression sticks with them.
It commands attention through texture
Most embroidery techniques sit relatively flat against the fabric. Chenille does the opposite. The looped or cut pile sits up off the garment surface, creating a depth that draws the eye before someone even reads the design. That is a significant advantage when you are trying to make a logo or team name memorable on a piece of clothing.
Texture sells where colour alone falls short. A chenille design registers as premium the moment someone touches it, which is exactly the impression most brands want to create.
For businesses and teams, that perceived quality matters. Custom apparel is often the first physical touchpoint a customer or fan has with your brand, and chenille signals that you invested in the details.
It fits a wide range of apparel styles
Part of understanding what is chenille embroidery means recognising how versatile it actually is. You will find it on varsity jackets and letterman patches, but it works equally well on premium hoodies, caps, and team jerseys. The technique suits both retro-inspired designs and clean, modern logos, which is why it crosses so many apparel categories without looking out of place.
Brands that want a bold, dimensional look without committing to a full raised rubber patch often land on chenille as the middle ground. It gives you presence without adding stiffness to the garment, while keeping that plush, finished appearance intact.
It holds up over time
Durability is another reason chenille stays popular. The yarn used in chenille stitching is structured in a way that resists flattening under regular wear and washing better than some other raised techniques. For workwear, team kits, or branded merchandise that sees repeated use, that longevity justifies the cost.
Your customers or team members will keep wearing the garment longer when it still looks sharp after multiple washes. Chenille maintains its texture and colour with proper care, making it a practical choice for any apparel order where quality needs to last.
How chenille embroidery is made
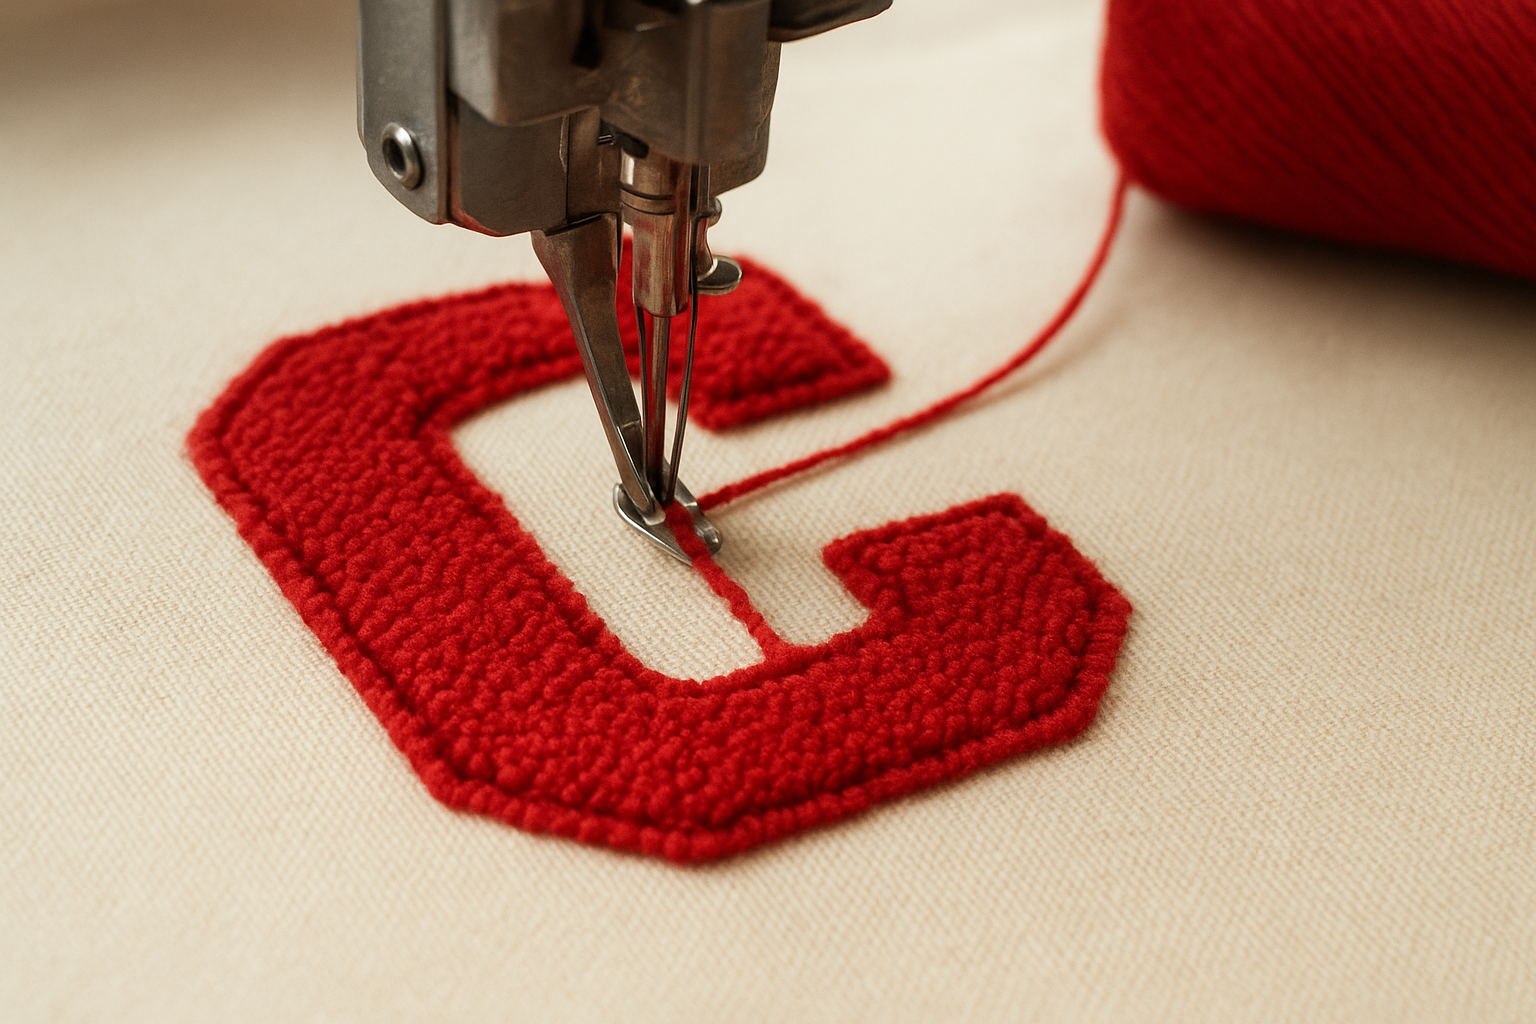
Understanding what is chenille embroidery goes beyond just recognising the texture. The process starts with a specialised chenille machine that uses a needle and looper mechanism rather than the standard lock-stitch system found in conventional embroidery equipment. The needle punches yarn through the base fabric while a looper catches it underneath, forming a raised loop on the surface of the garment. Those loops are either left intact to create the moss stitch effect or cut open to produce the cut-pile finish you see on classic letterman letters.
The yarn makes the difference
Chenille yarn is thicker and more tightly twisted than standard embroidery thread, which is what gives the final design its signature bulk. The yarn is typically made from cotton or acrylic fibres, both of which hold their shape and resist compressing after washing. When the machine lays down row after row of these loops or cut piles, the design builds up a dense, three-dimensional surface that feels completely different from flat embroidery thread.
The density of the yarn rows directly affects how plush the final design looks. More passes mean a thicker pile and a bolder finish.
The base fabric matters too
The garment fabric plays a direct role in how well chenille embroidery holds. Heavier materials give the stitching a stable foundation, which keeps the design crisp over time. Lighter fabrics can pull or distort under the tension of dense chenille stitching, so confirming your fabric choice with an embroidery provider before placing an order saves you from surprises.
Common fabrics that pair well with chenille include:
- Wool blends
- Thick fleece
- Structured jacket fabric
- Heavy-weight cotton twill
Moss stitch vs chain stitch
When you dig into what is chenille embroidery, you quickly discover that two distinct stitches drive the technique. Moss stitch and chain stitch are not interchangeable. Each one creates a different surface texture and suits different design requirements, so knowing the difference helps you make an informed decision about your custom apparel order.
Moss stitch
Moss stitch is what most people picture when they think of classic chenille. The machine punches looped yarn through the base fabric in tight, consistent rows. Each loop stands upright, creating that dense, carpet-like pile that feels soft and thick under your fingers. Because the loops remain uncut, the surface has a uniform, rounded texture that reads as plush and full from a distance.
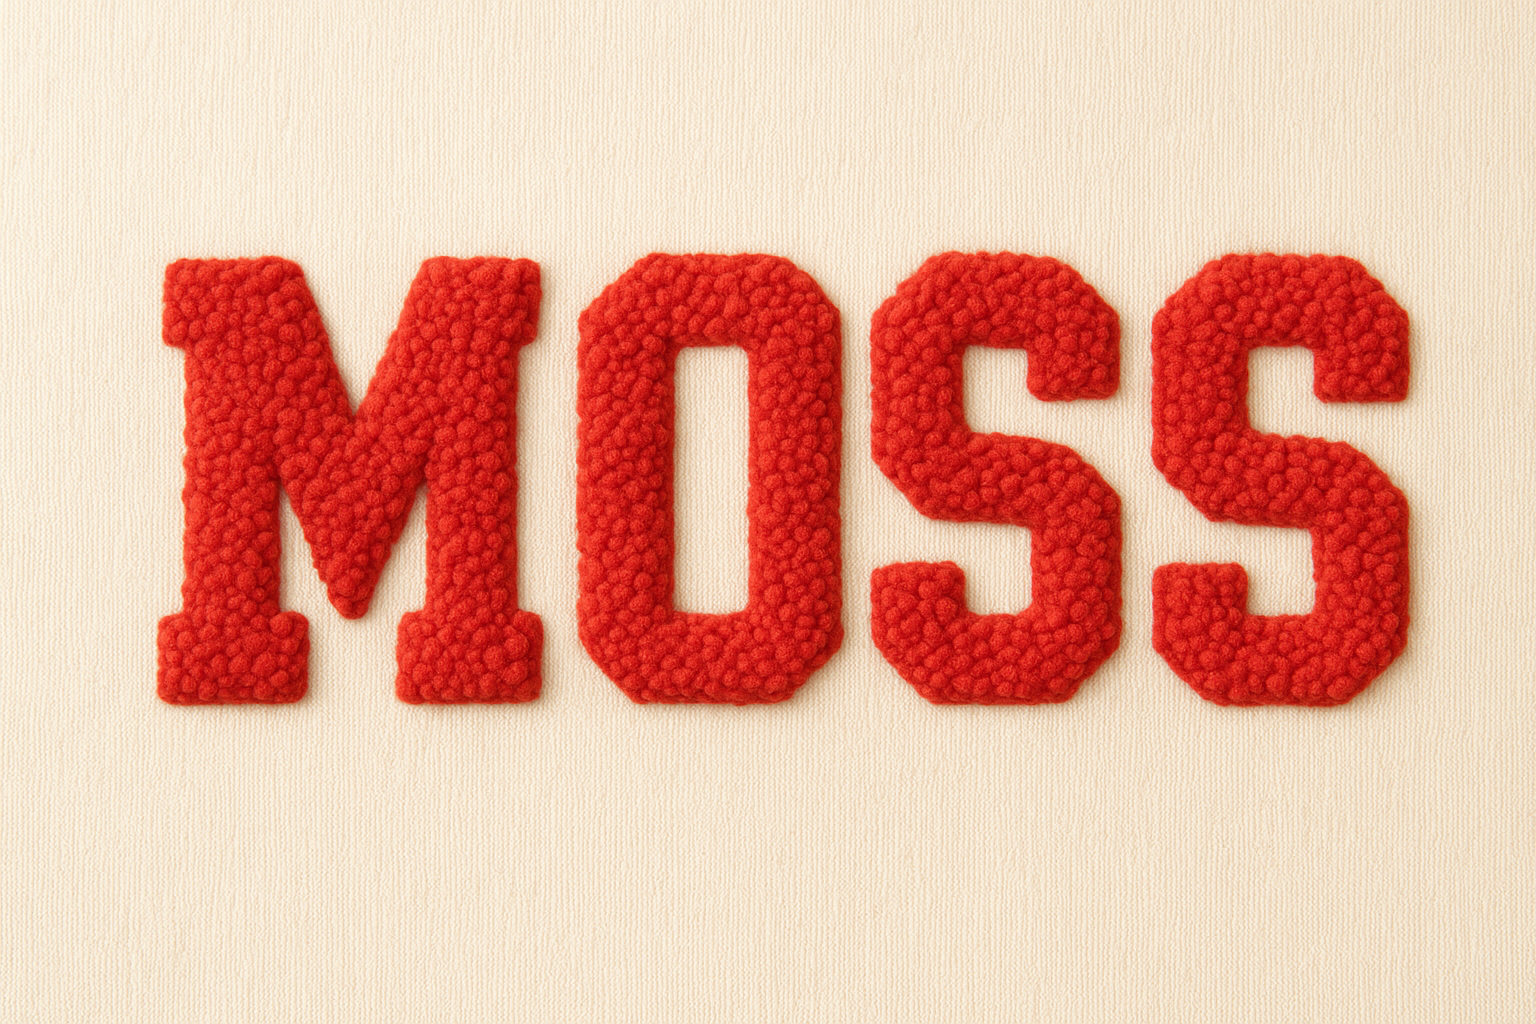
Moss stitch is the go-to choice for filled design areas where you want maximum coverage and a consistently soft finish.
This stitch works well for large lettering, bold logos, and block shapes where full fill coverage matters. The density of the loops means the finished design holds its shape reliably over multiple washes.
Chain stitch
Chain stitch takes a different approach. Instead of building a pile, it creates interlocking loops that lie flat against the fabric surface, forming a smooth, defined line. This makes it the right tool for outlines, fine details, and lettering that requires sharp edges. The finish is less plush than moss stitch but significantly more precise, which is why designers often combine both stitches in a single piece. Moss stitch fills the body of a design while chain stitch defines the borders, giving you dimension and crispness in one finished product.
Chenille vs standard embroidery
To fully understand what is chenille embroidery, it helps to compare it directly against standard embroidery. Standard embroidery uses a lock-stitch mechanism that pulls thread tight against the fabric surface, producing a flat, woven finish. Chenille uses a looper-based system that builds a raised pile on top of the fabric instead. Both techniques produce durable, professional results, but they serve different visual goals.
How the stitch surface differs
The most immediate difference between the two is how the finished design sits on the garment. Standard embroidery threads interlock below the fabric, leaving a smooth, structured surface that works well for fine detail and smaller logos. Chenille builds upward, creating a thick, tactile pile that reads as three-dimensional from across a room.
If your design relies on sharp lines and small text, standard embroidery gives you the precision chenille cannot reliably achieve at small sizes.
Chenille also uses bulkier yarn rather than fine embroidery thread, which limits how small or intricate a design can be. Standard embroidery handles complex gradients, thin lettering, and multi-colour fills with far more flexibility.
When each technique fits your project
Standard embroidery suits corporate logos, detailed crests, and small badge-sized designs where clarity and colour accuracy matter most. Chenille suits large-format lettering, bold brand marks, and designs where texture and visual impact are the priority over fine detail.
Your choice comes down to the size of your design and the impression you want to leave. Many custom apparel orders actually combine both techniques, using standard embroidery for detail work and chenille for the main focal element.
Chenille vs puff embroidery
When exploring what is chenille embroidery, puff embroidery comes up frequently as a comparison because both techniques add visible dimension to a garment. They achieve that dimension through entirely different methods, though, and the results look and feel distinct on the finished product.
How puff embroidery works
Puff embroidery uses standard lock-stitch embroidery thread layered over a piece of foam that sits on top of the fabric. As the machine stitches over the foam, it compresses around the design edges and leaves the covered area slightly raised. The result is a smooth, structured dome shape rather than a textured pile, giving logos a sharp, inflated appearance that works particularly well with bold lettering and geometric shapes.
Puff embroidery reads as crisp and structured, while chenille reads as soft and tactile. Both are premium, but they signal different things visually.
Where each technique works best
Puff embroidery suits compact, high-contrast logos where you want lift without surface texture. Because the thread still sits on top as a smooth finish, fine detail and colour accuracy hold up well even on smaller designs. Chenille, by contrast, builds a full yarn pile that gives maximum visual bulk, which makes it the stronger choice when the design is large and you want that plush, vintage feel.
Your decision between the two should come down to the scale of your design and the finish you need. If you want a sleek raised logo on a fitted cap, puff is the right call. If you want a bold, textured design that fills a chest or back panel with real presence, chenille delivers that better than puff ever will.

Choosing the right look
Now that you understand what is chenille embroidery and how it compares to standard and puff embroidery, the decision comes down to your design and the garment it goes on. Large, bold designs on heavier fabrics benefit most from chenille’s thick pile and visual weight. Smaller, detail-heavy logos are better served by standard embroidery or puff, where precision holds up at tighter scales. The fabric weight also plays a role, so confirming your choice with your embroidery provider before you commit saves you from costly surprises later.
Think carefully about the impression your apparel needs to make. If you want tactile, vintage-inspired dimension that stops people in their tracks, chenille is the clear choice. If you need a clean, structured raise on a compact logo, puff gets you there faster.
Ready to put the right technique on your next apparel order? Get a custom embroidery quote from Apex Workwear and our team will help you choose the best approach for your design, fabric, and budget.