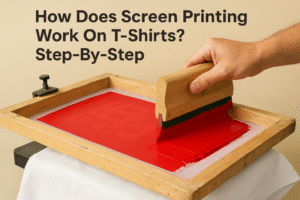
If you’ve ever pulled a screen off a shirt only to find bleeding ink, patchy coverage, or ghost images where they shouldn’t be, you already know how frustrating screen printing problems can be. A solid screen printing troubleshooting guide saves you time, materials, and the headache of reprinting an entire batch. Whether you’re running a small print shop or handling production in-house, understanding root causes is the difference between a quick fix and a recurring nightmare.
At Apex Workwear, we print custom apparel for businesses and teams across Canada every day. That hands-on experience means we’ve seen, and solved, just about every screen printing issue out there. We put this guide together to share what actually works, based on real production runs, not theory.
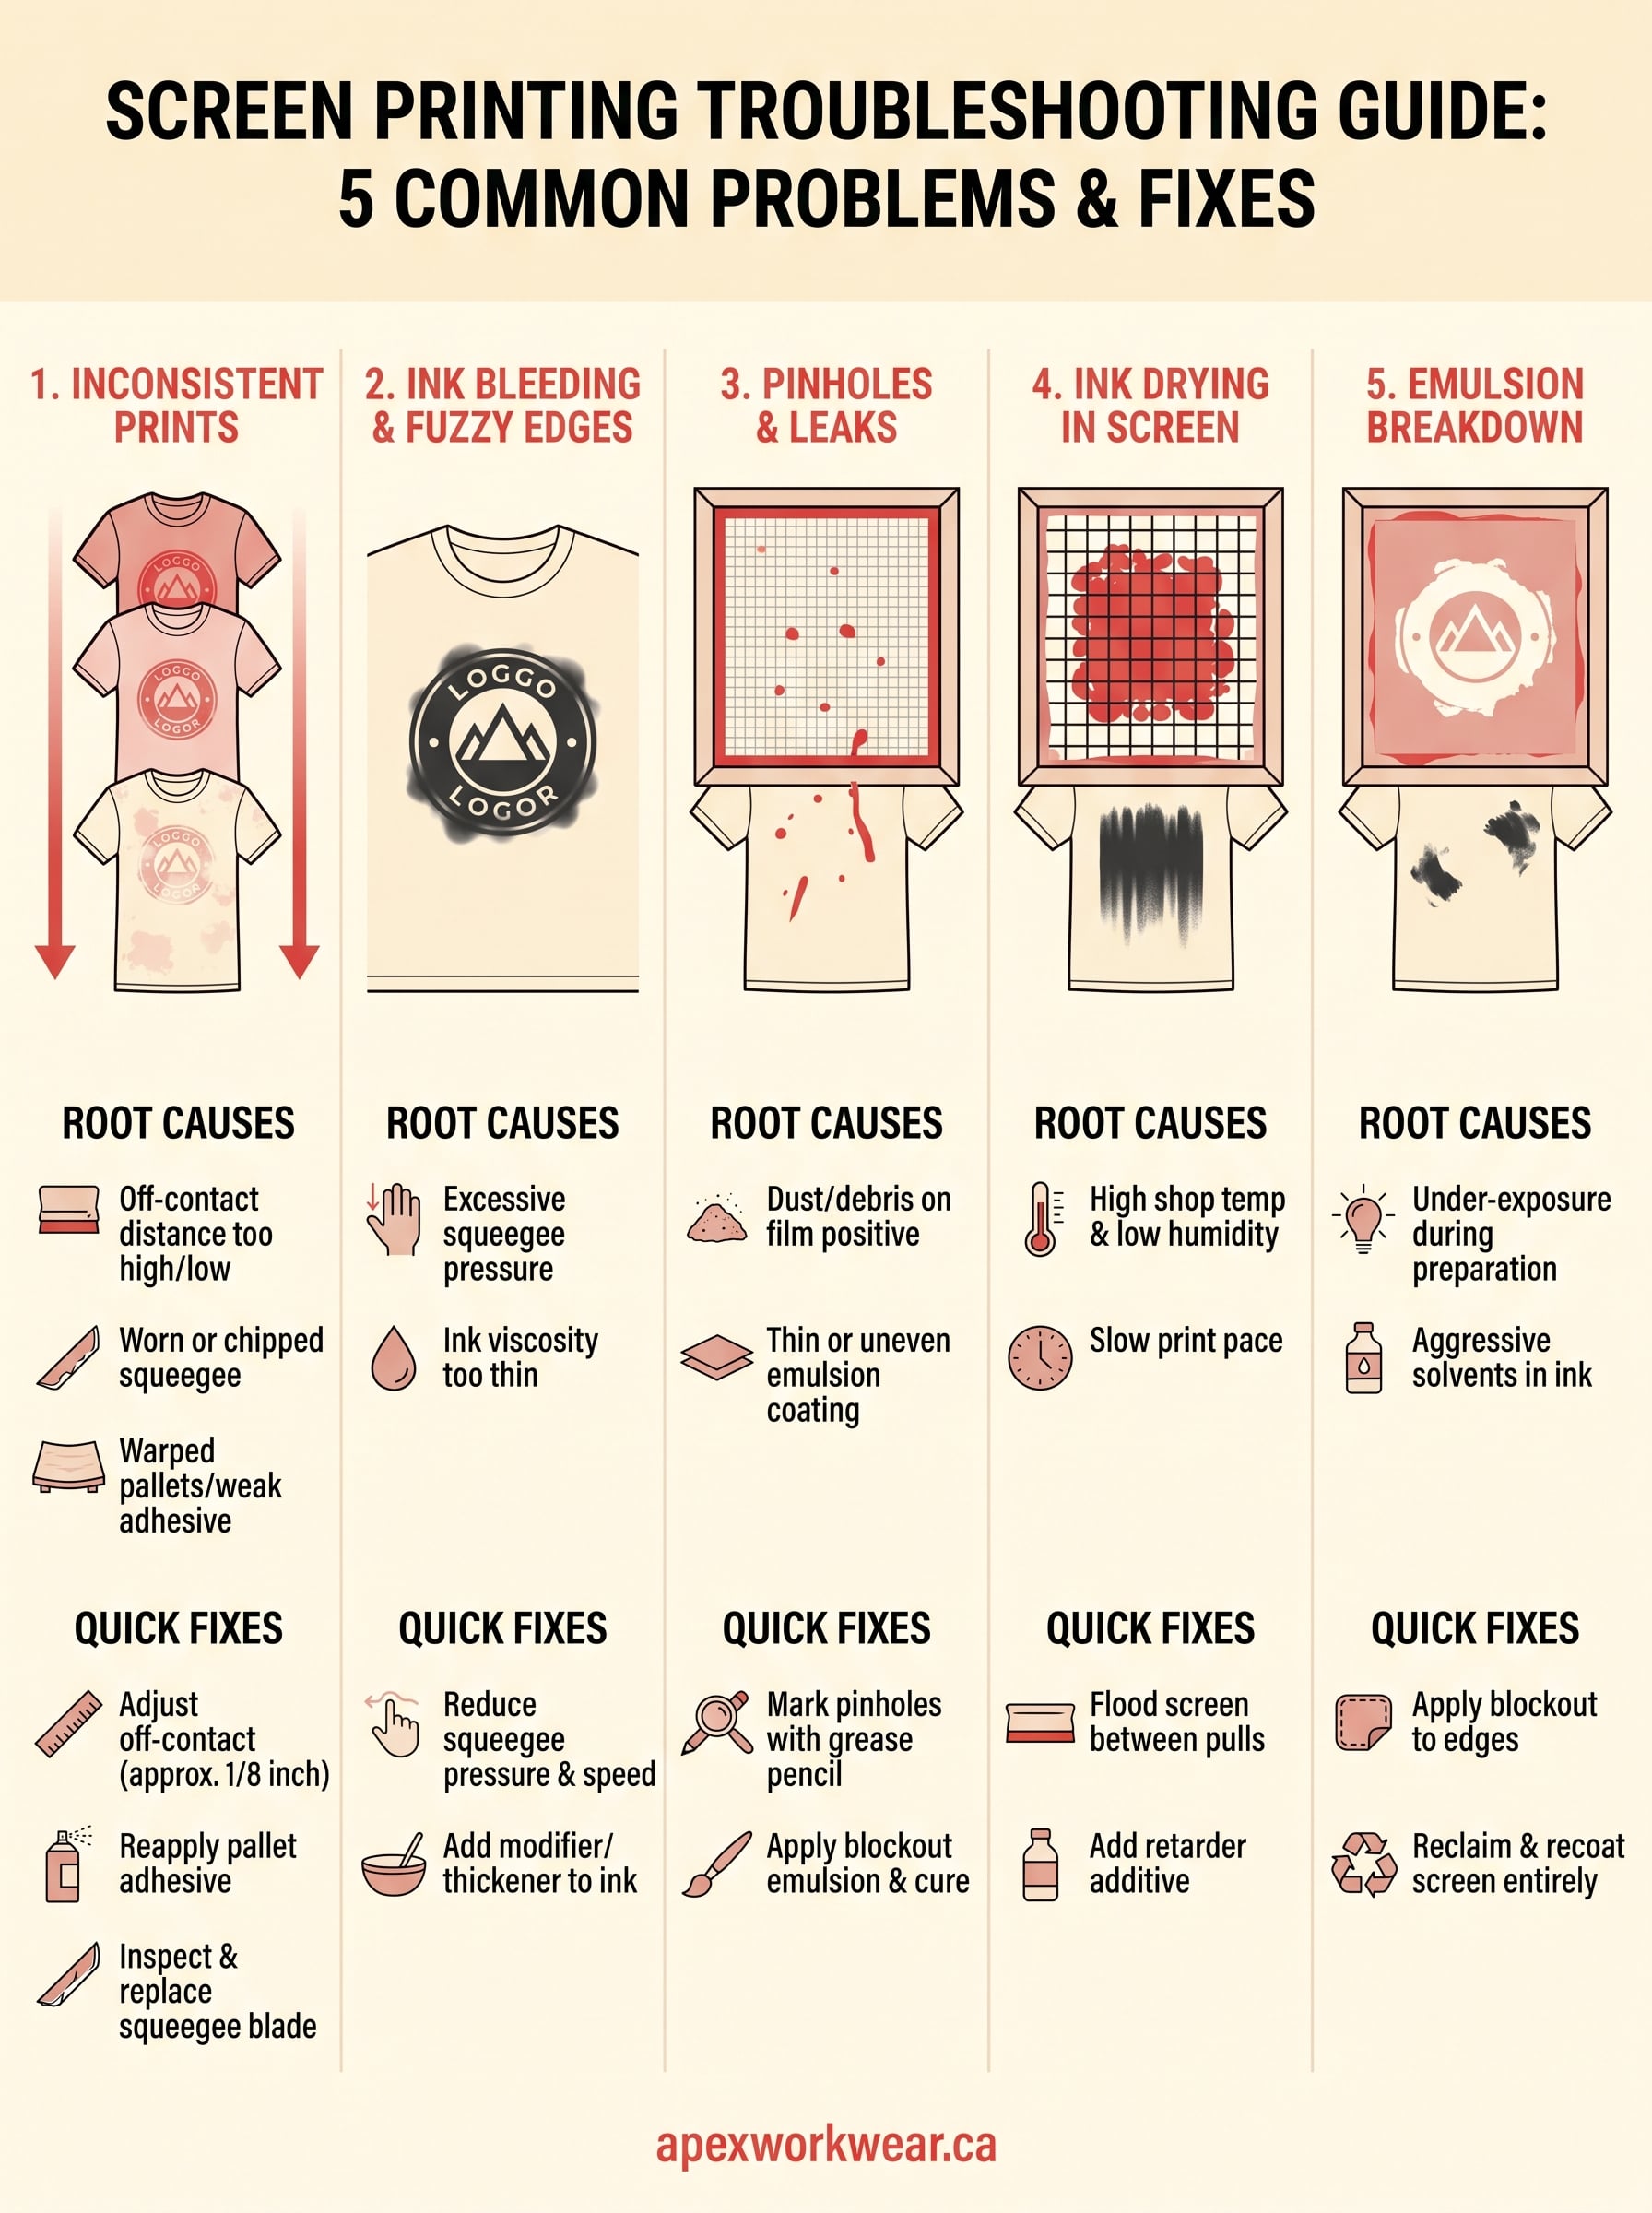
Below, we break down five of the most common screen printing problems, explain why they happen, and walk you through practical steps to fix each one.
1. Inconsistent prints across a run
Inconsistent prints are one of the most common frustrations in screen printing. You pull the first shirt and it looks sharp, but by shirt fifteen, the coverage is uneven, colours are shifting, or the image sits lighter on one side. This points to process drift, and catching it early saves an entire batch from the bin.
What it looks like on press
You’ll notice uneven ink deposits across garments, where one side of the print appears heavier or more saturated than the other. Colour density may also fade or shift progressively as the run continues, making early shirts look noticeably different from later ones.
The most likely root causes
Off-contact distance and squeegee pressure are the two biggest culprits. Other common causes include:
- Worn or chipped squeegee blades
- Warped pallets or inconsistent pallet adhesive
- Ink viscosity thickening as it sits mid-run
Quick fixes you can try immediately
Check your off-contact distance first; it should sit roughly 1/8 inch above the garment surface. Reapply pallet adhesive if shirts are shifting during printing, and inspect your squeegee blade for nicks or soft spots before continuing.
A worn squeegee blade is the single most overlooked cause of inconsistent ink deposit across a run.
Prevention checks before the next job
Before starting a new run, go through these checks:
- Verify off-contact distance across the full screen width, not just the centre
- Test pallet adhesive on a scrap fabric before loading production shirts
- Stir your ink and confirm viscosity is correct before the first pull
When to outsource to Apex Workwear
If you’re fighting inconsistent results across multiple jobs despite correcting the obvious causes, the issue may be equipment wear or setup limitations that exceed what manual adjustments can fix. Apex Workwear runs production in Canada with commercial equipment and quality checks built into every order, so your customers receive the same result on shirt one as on shirt one hundred.
2. Ink bleeding and fuzzy edges
Ink bleeding turns sharp artwork into soft, smudged images with edges that spread beyond the design boundary. This problem wastes ink and ruins the professional look your customer expects from a finished print.
What it looks like on the print
You’ll see ink seeping outside the stencil edges, creating fuzzy borders or colour spread into surrounding fabric. Fine details in text or line work are the first to suffer.
The most likely root causes
Too much squeegee pressure forces ink under the stencil and into adjacent fibres. Ink viscosity that’s too thin also causes it to flow where it shouldn’t.
Reducing squeegee pressure by even 20% can immediately tighten edge definition on fine detail prints.
Quick fixes you can try immediately
Reduce your squeegee pressure and slow the stroke speed. If the ink feels watery, add a small amount of modifier to thicken it before continuing the run.
Prevention checks before the next job
Check that mesh count matches your artwork; fine detail requires a higher mesh count of at least 160. Confirm ink viscosity with a stir stick before printing.
When you should change materials or settings
If bleeding persists after adjusting pressure and viscosity, switch to a higher mesh count screen or move to a sharper-edged emulsion to reclaim edge definition. Referring back to this screen printing troubleshooting guide each time you change substrates helps you catch material mismatches before they cost you a run.
3. Pinholes, leaks, and unwanted specks
Pinholes show up as tiny ink dots in areas of the garment that should be completely clean. No screen printing troubleshooting guide is complete without addressing this problem, since even minor stencil gaps ruin an otherwise solid print run.
What it looks like on the print
You’ll see small ink spots or streaks appearing outside your design boundaries. Larger leaks create irregular ink patches with no connection to any artwork element on the screen.
The most likely root causes
Dust or debris on the film positive during exposure blocks light and leaves unexposed emulsion that washes out during reclaim. Thin or uneven emulsion coating across the mesh creates weak spots that fail quickly under squeegee pressure.
Quick fixes you can try immediately
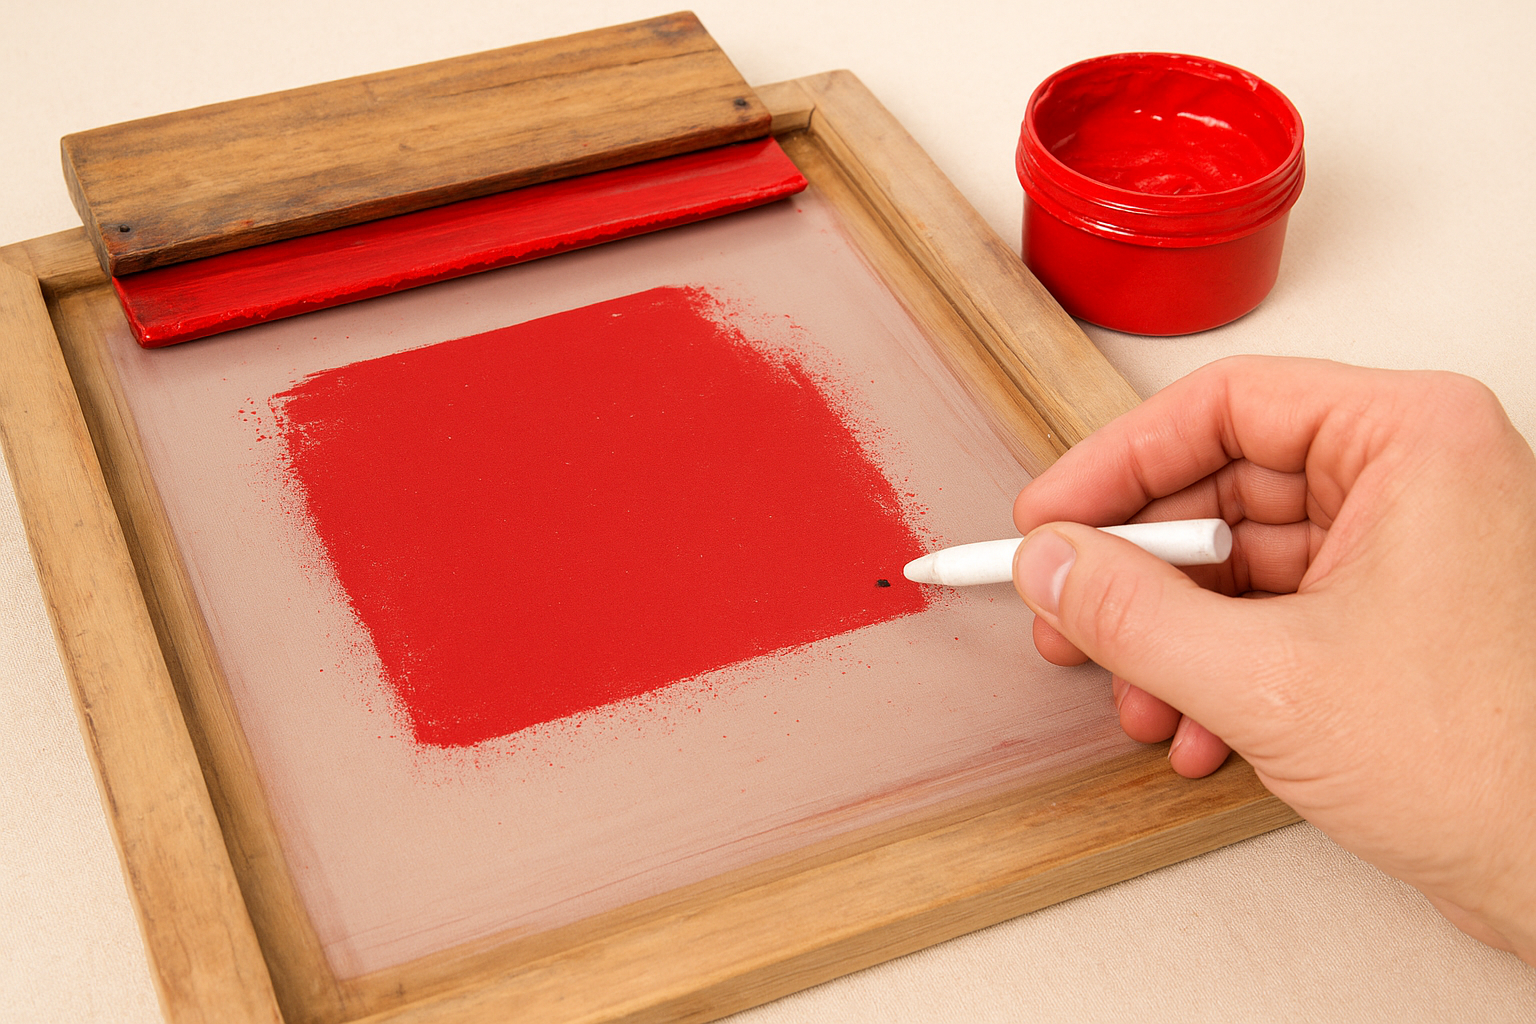
Hold the screen up to a light source and mark each pinhole with a grease pencil. Dab blockout emulsion over every spot and allow it to cure fully before continuing the run.
Fixing pinholes before loading the first shirt takes minutes; cleaning ink off a full batch takes far longer.
Prevention checks before the next job
Wipe your exposure glass clean before every job and keep your coating area free from dust. Confirm your emulsion layer is uniform across the full mesh surface before exposing.
How to spot and repair stencil issues
After drying, hold the screen up to a bright light to reveal thin patches invisible under normal conditions. Apply fresh blockout to isolated spots, but reclaim and recoat entirely if you find widespread stencil weakness across the mesh.
4. Ink drying in the screen
Ink drying in the screen blocks mesh openings mid-run and creates streaky, inconsistent coverage before you realise what’s happening. Catching the signs early lets you recover the run without scrapping the screen.
What it looks like during printing
You’ll see ink skipping in fine detail areas first, then spreading into broader patches of uneven deposit across the print surface as more openings clog up.
The most likely root causes
High shop temperatures and low humidity accelerate drying inside open mesh areas between strokes. A slow print pace gives solvent-based inks extra time to set before the next pull.
Keeping your shop between 18 and 24 degrees Celsius dramatically reduces mid-run ink drying.
Quick fixes you can try immediately
Flood the screen with ink between every pull to keep mesh openings wet throughout the run. Add a small amount of retarder additive to slow drying time without thinning the ink’s consistency.
Prevention checks before the next job
Check your shop temperature and humidity before loading the first shirt. Confirm the ink formulation suits your current environment, particularly during warm summer months.
Cleaning steps that avoid damaging the stencil
Work solvent from the inside of the screen outward using a soft cloth or sponge. Avoid stiff brushes, as this screen printing troubleshooting guide consistently shows that aggressive scrubbing weakens emulsion edges and cuts screen lifespan short.
5. Emulsion breakdown and stencil failure
Emulsion breakdown happens when stencil material deteriorates mid-run, pushing ink through areas that should stay clean. Unlike pinholes, this is progressive damage that worsens with every squeegee stroke.
What it looks like during the run
You’ll see image edges softening and ink bleeding into clean areas as printing continues. Fine text and linework lose definition first, with broader stencil sections lifting from the mesh shortly after.
The most likely root causes
Under-exposure during screen preparation leaves emulsion soft and unable to handle squeegee pressure. Other common causes include:
- Aggressive solvents in the ink formula degrading the stencil
- Emulsion stored past its recommended shelf life
Quick fixes you can try immediately
Stop immediately and apply blockout emulsion to any compromised stencil edges. If damage is widespread, reclaiming and recoating the screen entirely is your only reliable option.
Prevention checks before the next job
Confirm your exposure time against the emulsion manufacturer’s specification for your specific mesh count and light source. Store mixed emulsion in a cool, dark environment to preserve its photosensitive properties before coating.
Exposure, drying, and chemistry checks to confirm
Run a step wedge exposure test to confirm consistent UV output from your light source. Ensure coated screens dry completely before exposure, since trapped moisture weakens the stencil. This screen printing troubleshooting guide points to incomplete drying as the most preventable cause of early stencil failure.
A single extra minute of exposure time costs nothing; reprinting an entire run costs far more.
Next steps
Screen printing problems are almost always fixable once you identify the root cause rather than chasing symptoms. This screen printing troubleshooting guide covers the five issues that interrupt more runs than anything else: inconsistent coverage, ink bleeding, pinholes, ink drying in the screen, and emulsion breakdown. Work through each section that matches your current situation, apply the fixes in the order listed, and run a test print on a scrap garment before restarting full production. Keeping a short checklist pinned near your press also helps you catch most of these issues before the first squeegee pull.
Your time and materials matter, and sometimes the right call is to bring in a reliable production partner rather than reworking a troubled setup repeatedly. Apex Workwear handles custom apparel production for businesses, contractors, and teams across Canada, with built-in quality checks on every single order. Getting a quote takes less than 24 hours, seven days a week, so you can move your project forward on schedule.