Ordering custom patches for your team jackets, hats, or brand merchandise sounds simple, until you hit the choice between woven and embroidered. Get it wrong and you end up with a patch that looks flat, fades fast, or costs more than it should. The woven patches vs embroidered patches debate matters because these two options behave very differently once they’re stitched onto fabric.
The short answer: embroidered patches give you raised, textured detail and work best for bold logos with fewer colours, while woven patches lie flatter and capture fine text, thin lines, and intricate designs that embroidery thread simply can’t replicate. Your choice comes down to design complexity, budget, and how the patch will be used day to day.
In this guide, we break down the real differences in stitch quality, durability under wear and washing, and pricing at scale, so you can decide with confidence rather than guessing. We’ll also show you where each type performs best, whether you’re branding work uniforms, team gear, or promotional apparel, so your finished product looks sharp and holds up over time.
Why the choice between woven and embroidered patches matters
Most people assume all patches are made the same way, sewn onto a backing and stuck on with iron-on adhesive or Velcro. The construction method underneath is where woven patches vs embroidered patches actually diverge, and that difference shapes how your logo looks up close, how long it survives the wash, and what you’ll pay per unit. Get the technique wrong for your artwork and you’ll either lose fine detail or pay extra for stitching that adds nothing to a simple design.
How embroidered patches are built
Embroidered patches are stitched with thick, textured thread that builds up on a fabric base, creating a raised, tactile surface you can actually feel with your fingers. This thread coverage is what gives embroidered patches their classic look on varsity jackets, military uniforms, and workwear crests. The trade-off is detail. Thread has a minimum width, so text under about 6 points or thin outlines tend to blur together or fill in completely, turning crisp letters into blobs.
How woven patches are built
Woven patches use a different process entirely. Instead of stitching thread onto fabric, a loom weaves fine polyester threads together to create the entire patch, image and background included, in one flat piece. This lets woven patches capture small text, gradients, and thin linework that embroidery can’t touch. If your logo has a tagline, a barcode-style element, or fine detail smaller than a dime, woven is almost always the better technical fit.
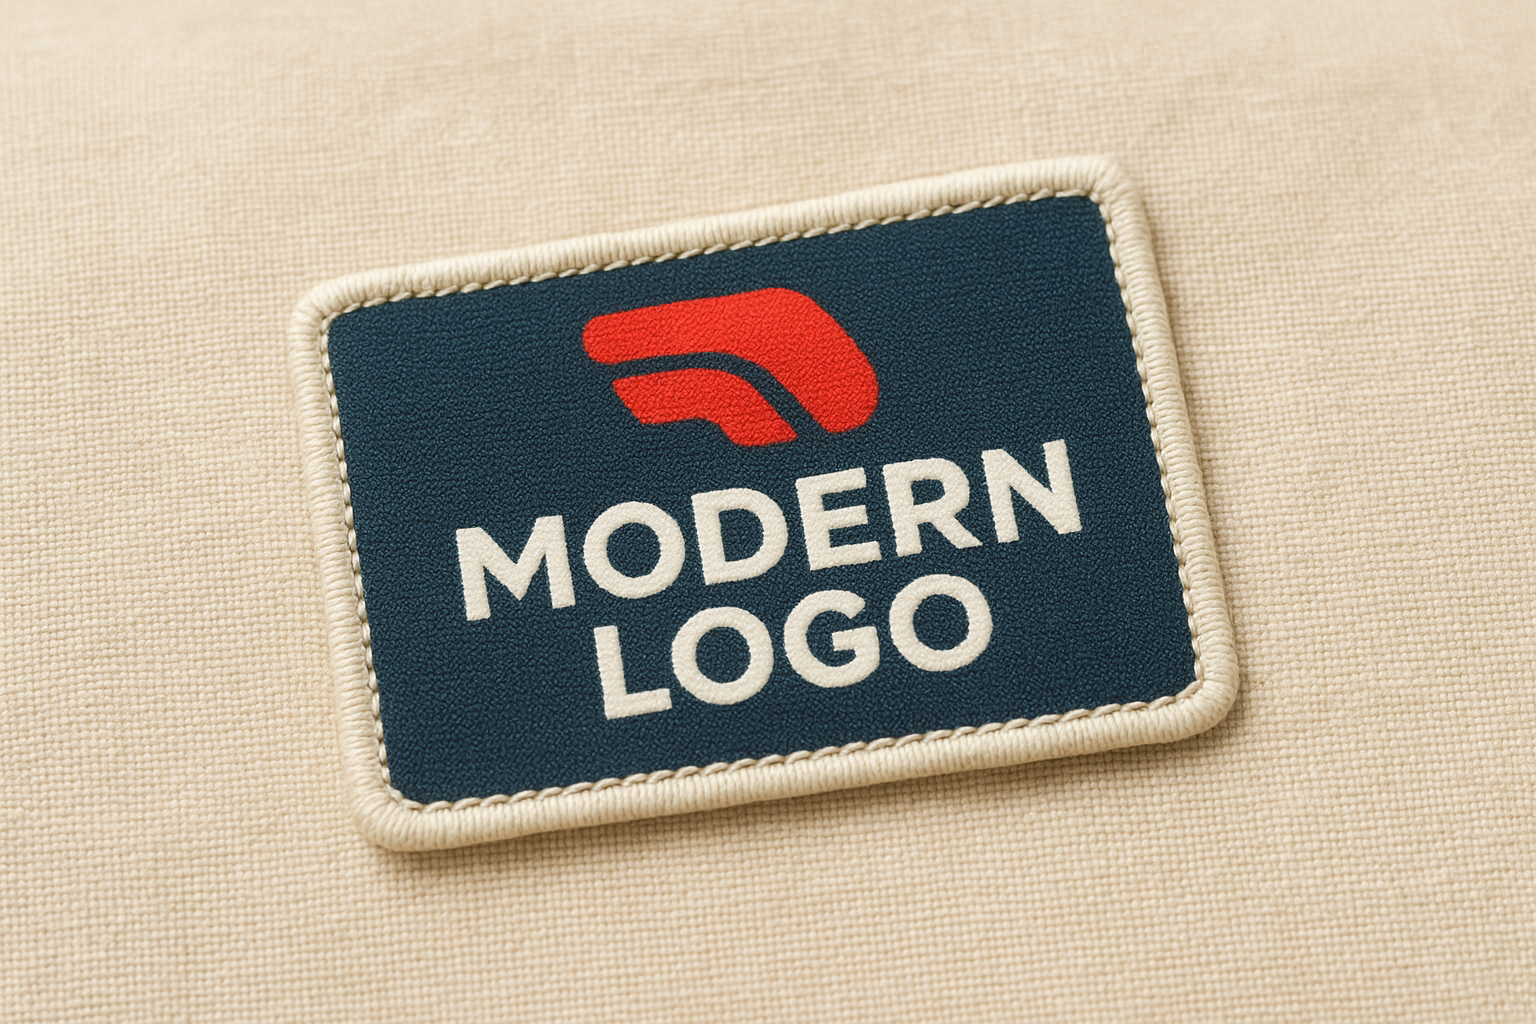
The technique behind your patch, not the design itself, decides whether fine detail survives the stitching process.
Why this decision affects your brand long term
Choosing the wrong method doesn’t just look off in a photo, it compounds over time. An embroidered patch on a complex logo will need to be simplified or redrawn to work at all, which means your brand mark on merchandise won’t quite match your official logo file. A woven patch on a bold, chunky design might look thin and underwhelming compared to the punch embroidery gives a simple crest or wordmark. Either mismatch chips away at how professional your team or product looks in person, especially on uniforms customers see every day.
Cost and durability follow the same logic. Woven patches generally run cheaper at volume because the loom process is faster and uses less material per patch, while embroidered patches take longer to stitch, especially with dense fill areas, which adds labour time and cost. Durability is close between the two when patches are properly sewn or heat-applied, but embroidered patches with heavy thread coverage can be slightly more prone to fraying at the edges after years of heavy washing, while woven patches tend to hold their shape and colour with less bulk.
Table below sums up the core differences at a glance, before we get into the practical decision-making in the next section.
| Factor | Embroidered patches | Woven patches |
|---|---|---|
| Texture | Raised, 3D thread surface | Flat, smooth finish |
| Best for detail | Bold logos, thick lines, 2-4 colours | Fine text, gradients, complex artwork |
| Typical cost at scale | Higher, especially with dense stitching | Lower, faster to produce |
| Durability | Strong, minor fraying risk over years | Strong, holds shape with less bulk |
| Classic use case | Varsity jackets, crests, badges | Modern logos, small-run merch, tags |
Understanding these mechanics before you send artwork to a printer saves you a revision cycle and, often, a reprint. Detail level and budget per unit are the two variables that should drive your decision, and both are shaped directly by how the patch is physically made, not just how the design looks on screen.
How to choose the right patch type for your design
Pick up your artwork file before you pick up the phone to order. The design itself tells you almost everything you need to know about which technique will hold up, and skipping this step is how businesses end up with a muddy logo or an overpriced patch for a simple mark. Look at colour count, line thickness, and text size first, then work backwards to the method.
Start with your artwork details
Count the colours in your logo and check the thinnest line width. Embroidery thread has physical limits, so anything under roughly 6 points of text or hairline detail tends to fill in and lose shape once it’s stitched. Woven patches solve that problem because the loom weaves the design at a much finer resolution, which is why agencies handling detailed brand marks for clients almost always default to woven for anything beyond a basic crest or wordmark.
If your logo has small text or fine linework, woven wins before you even compare price.
Match the patch to how it’ll be worn
Think about where the patch lands and how often it gets handled. A patch on a ball cap or jacket sleeve that sees daily wear benefits from the raised texture of embroidery, since the thicker thread coverage feels more substantial and reads well from a distance. A patch on a flatter surface, like a bag or a uniform lapel, often looks cleaner in woven form because there’s no thread bulk to catch or fray at the edges over time.
Run a quick decision checklist
Before sending your file off for a quote, run through this list:
- Colour count: Under 4 solid colours suits embroidery; more than that, lean woven.
- Smallest text size: Anything under 6pt needs woven to stay legible.
- Texture preference: Want a raised, tactile feel? Embroidery. Want flat and modern? Woven.
- Order volume: Large runs of detailed logos usually cost less per unit in woven.
- Placement: High-friction areas like cuffs or bag straps do better with woven’s low-profile finish.
Going through these five points takes less time than redesigning a logo after a failed embroidery sample. Most suppliers will flag an unsuitable file before production, but catching it yourself keeps your order on schedule and avoids a second proof round.
Comparing cost, durability and turnaround times
Money and time are usually what tips the scale once the design question is settled. Woven patches vs embroidered patches isn’t just a stitch-quality debate, it’s a budgeting one too, especially once you’re ordering for a whole crew or a seasonal merch run. Here’s how the two stack up when you look past the sample patch and into a real production order.
Pricing at different order volumes
Setup costs and thread density drive most of the price gap. Woven patches use a faster loom process with less raw material, so unit cost drops quickly at volume, often 15-25% cheaper than an equivalent embroidered design once you’re past 100 units. Embroidered patches cost more per piece when your logo has heavy fill areas, since dense stitching simply takes longer to run through the machine.
| Order size | Embroidered (approx. per patch) | Woven (approx. per patch) |
|---|---|---|
| 50 units | Higher, setup cost spread thin | Lower, faster run time |
| 250 units | Moderate, fill areas add time | Lower, scales well |
| 1000+ units | Best value if design is simple | Best value for detailed logos |
Durability under wear and washing
Durability holds up well for both types when they’re properly heat-sealed or sewn on, but the failure points differ. Embroidered patches carry thicker thread, which gives them a satisfying raised feel but leaves edges slightly more exposed to fraying after years of laundering. Woven patches sit flatter against the fabric, so there’s less thread to snag on zippers, Velcro, or machine washing cycles.
Neither type fails fast, but flatter construction means fewer loose threads over years of wear.
Turnaround times you can expect
Speed rarely differs much between the two once a supplier has your artwork approved, but a few factors change the timeline:
- Standard production: Most Canadian suppliers quote 5-7 business days for either type once the proof is signed off.
- Rush orders: Embroidered patches with dense stitching sometimes need extra machine time, which can push rush turnaround by a day or two.
- Design revisions: Woven files with fine detail may need one extra proof round to confirm legibility before production starts.
Budget an extra day for embroidered rush jobs with heavy stitching, and you’ll avoid a last-minute scramble before an event deadline.
Best uses for woven and embroidered patches
Once you understand the mechanics, matching a patch type to its real-world job gets a lot easier. Some industries lean embroidered by tradition and texture, others need woven for the fine detail modern logos demand. Think about the setting the patch will live in, not just how it looks in a mock-up.
Where embroidered patches shine
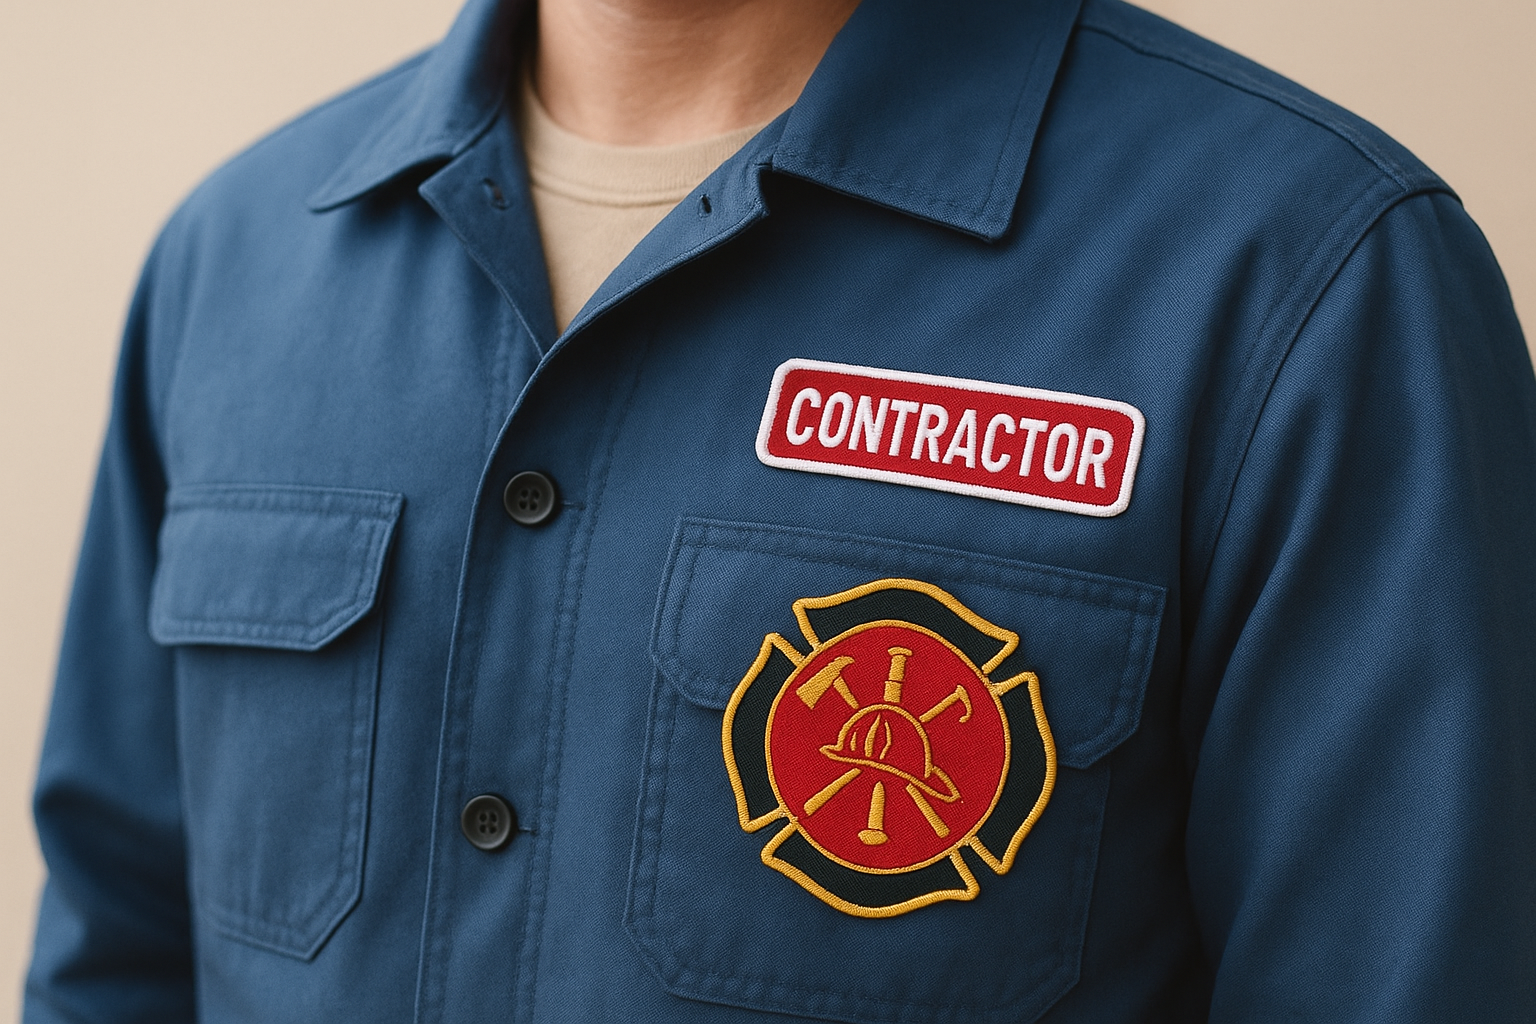
Workwear crews, sports teams, and hospitality staff still favour embroidered patches because the raised thread reads clearly from a distance and holds up to daily wear. A contractor’s jacket badge, a varsity team crest, or a fire department patch all benefit from that tactile, dimensional finish that signals durability and tradition. Embroidered patches also suit bold, simple wordmarks where colour count stays low and the design doesn’t rely on tiny text to communicate the brand.
Choose embroidery when the patch needs to look substantial from ten feet away, not read like fine print up close.
Where woven patches perform better
Modern brands with detailed logos, gradients, or small taglines almost always land on woven. Tech startups, creative agencies, and event coordinators printing merch for a launch or conference often need a patch that matches their brand guide exactly, right down to a thin accent line or a five-word tagline under the main mark. Woven patches also work well on bags, caps with curved panels, and uniform lapels, where a flatter finish avoids the bulk that can distort a design on a tight surface.
Matching patch type to industry
- Construction and trades: Embroidered, for a rugged look that survives job-site washing.
- Hospitality and retail uniforms: Woven, for detailed logos on collars and aprons.
- Sports teams and clubs: Embroidered, for classic crest styling on jackets and caps.
- Startups and creative agencies: Woven, for precise brand marks on merch and gear.
- Event and promotional merchandise: Woven, for fast turnaround on detailed one-off designs.
These aren’t hard rules, plenty of businesses mix both across their product lines depending on the piece. A landscaping company might run embroidered patches on work jackets for the rugged feel, then switch to woven for a small logo on branded caps sold to customers. Matching the technique to the specific product, rather than picking one style for the whole brand, usually gives the best result across every item you produce.
What to expect when ordering custom patches in Canada
Ordering patches from a Canadian supplier looks different from dealing with an overseas factory, and that difference shows up in speed, communication, and accountability. Canadian production means your order doesn’t sit in a shipping container for six weeks, and it means someone local answers the phone if your artwork needs a tweak before it goes to the loom or the embroidery machine. Knowing what a proper order process looks like helps you spot a supplier who’ll actually deliver versus one who’ll leave you guessing.
Getting a quote and proof
A solid Canadian supplier should turn around a free quote within 24 hours, seven days a week, not just during business hours on weekdays. That quote should come with expert eyes on your file, flagging anything that won’t translate well into stitching, whether that’s text too small for embroidery or a colour count that’ll bump your woven price. You should also get a digital proof before anything goes into production, so you can check placement, size, and colour matching against your brand guide.
A supplier that skips the proof stage is asking you to trust a guess instead of a preview.
Production timelines and order minimums
Most Canadian shops quote 5 to 7 business days for standard turnaround once you’ve approved the proof, with rush options available if you’re working against an event date. Look for a supplier offering no minimum order requirements, since plenty of small businesses only need 20 or 30 patches, not a full production run. Bulk discounts should kick in as your quantities climb, rewarding you for planning ahead on a full season of merch or a company-wide uniform refresh.
What to have ready before you order
A few things speed up the whole process on your end:
- Vector artwork file: An AI, EPS, or high-resolution PDF avoids delays during file review.
- Colour codes: Pantone or hex values keep your patch matching your existing brand assets.
- Placement plan: Know where the patch goes, jacket chest, cap front, bag strap, before you confirm size.
- Quantity range: Even a rough number helps the supplier quote accurate bulk pricing.
Having these ready when you reach out cuts a proof cycle or two off your timeline, and it gives whoever’s reviewing your file the context they need to flag problems early rather than after production starts.
Finding the right patch for your brand
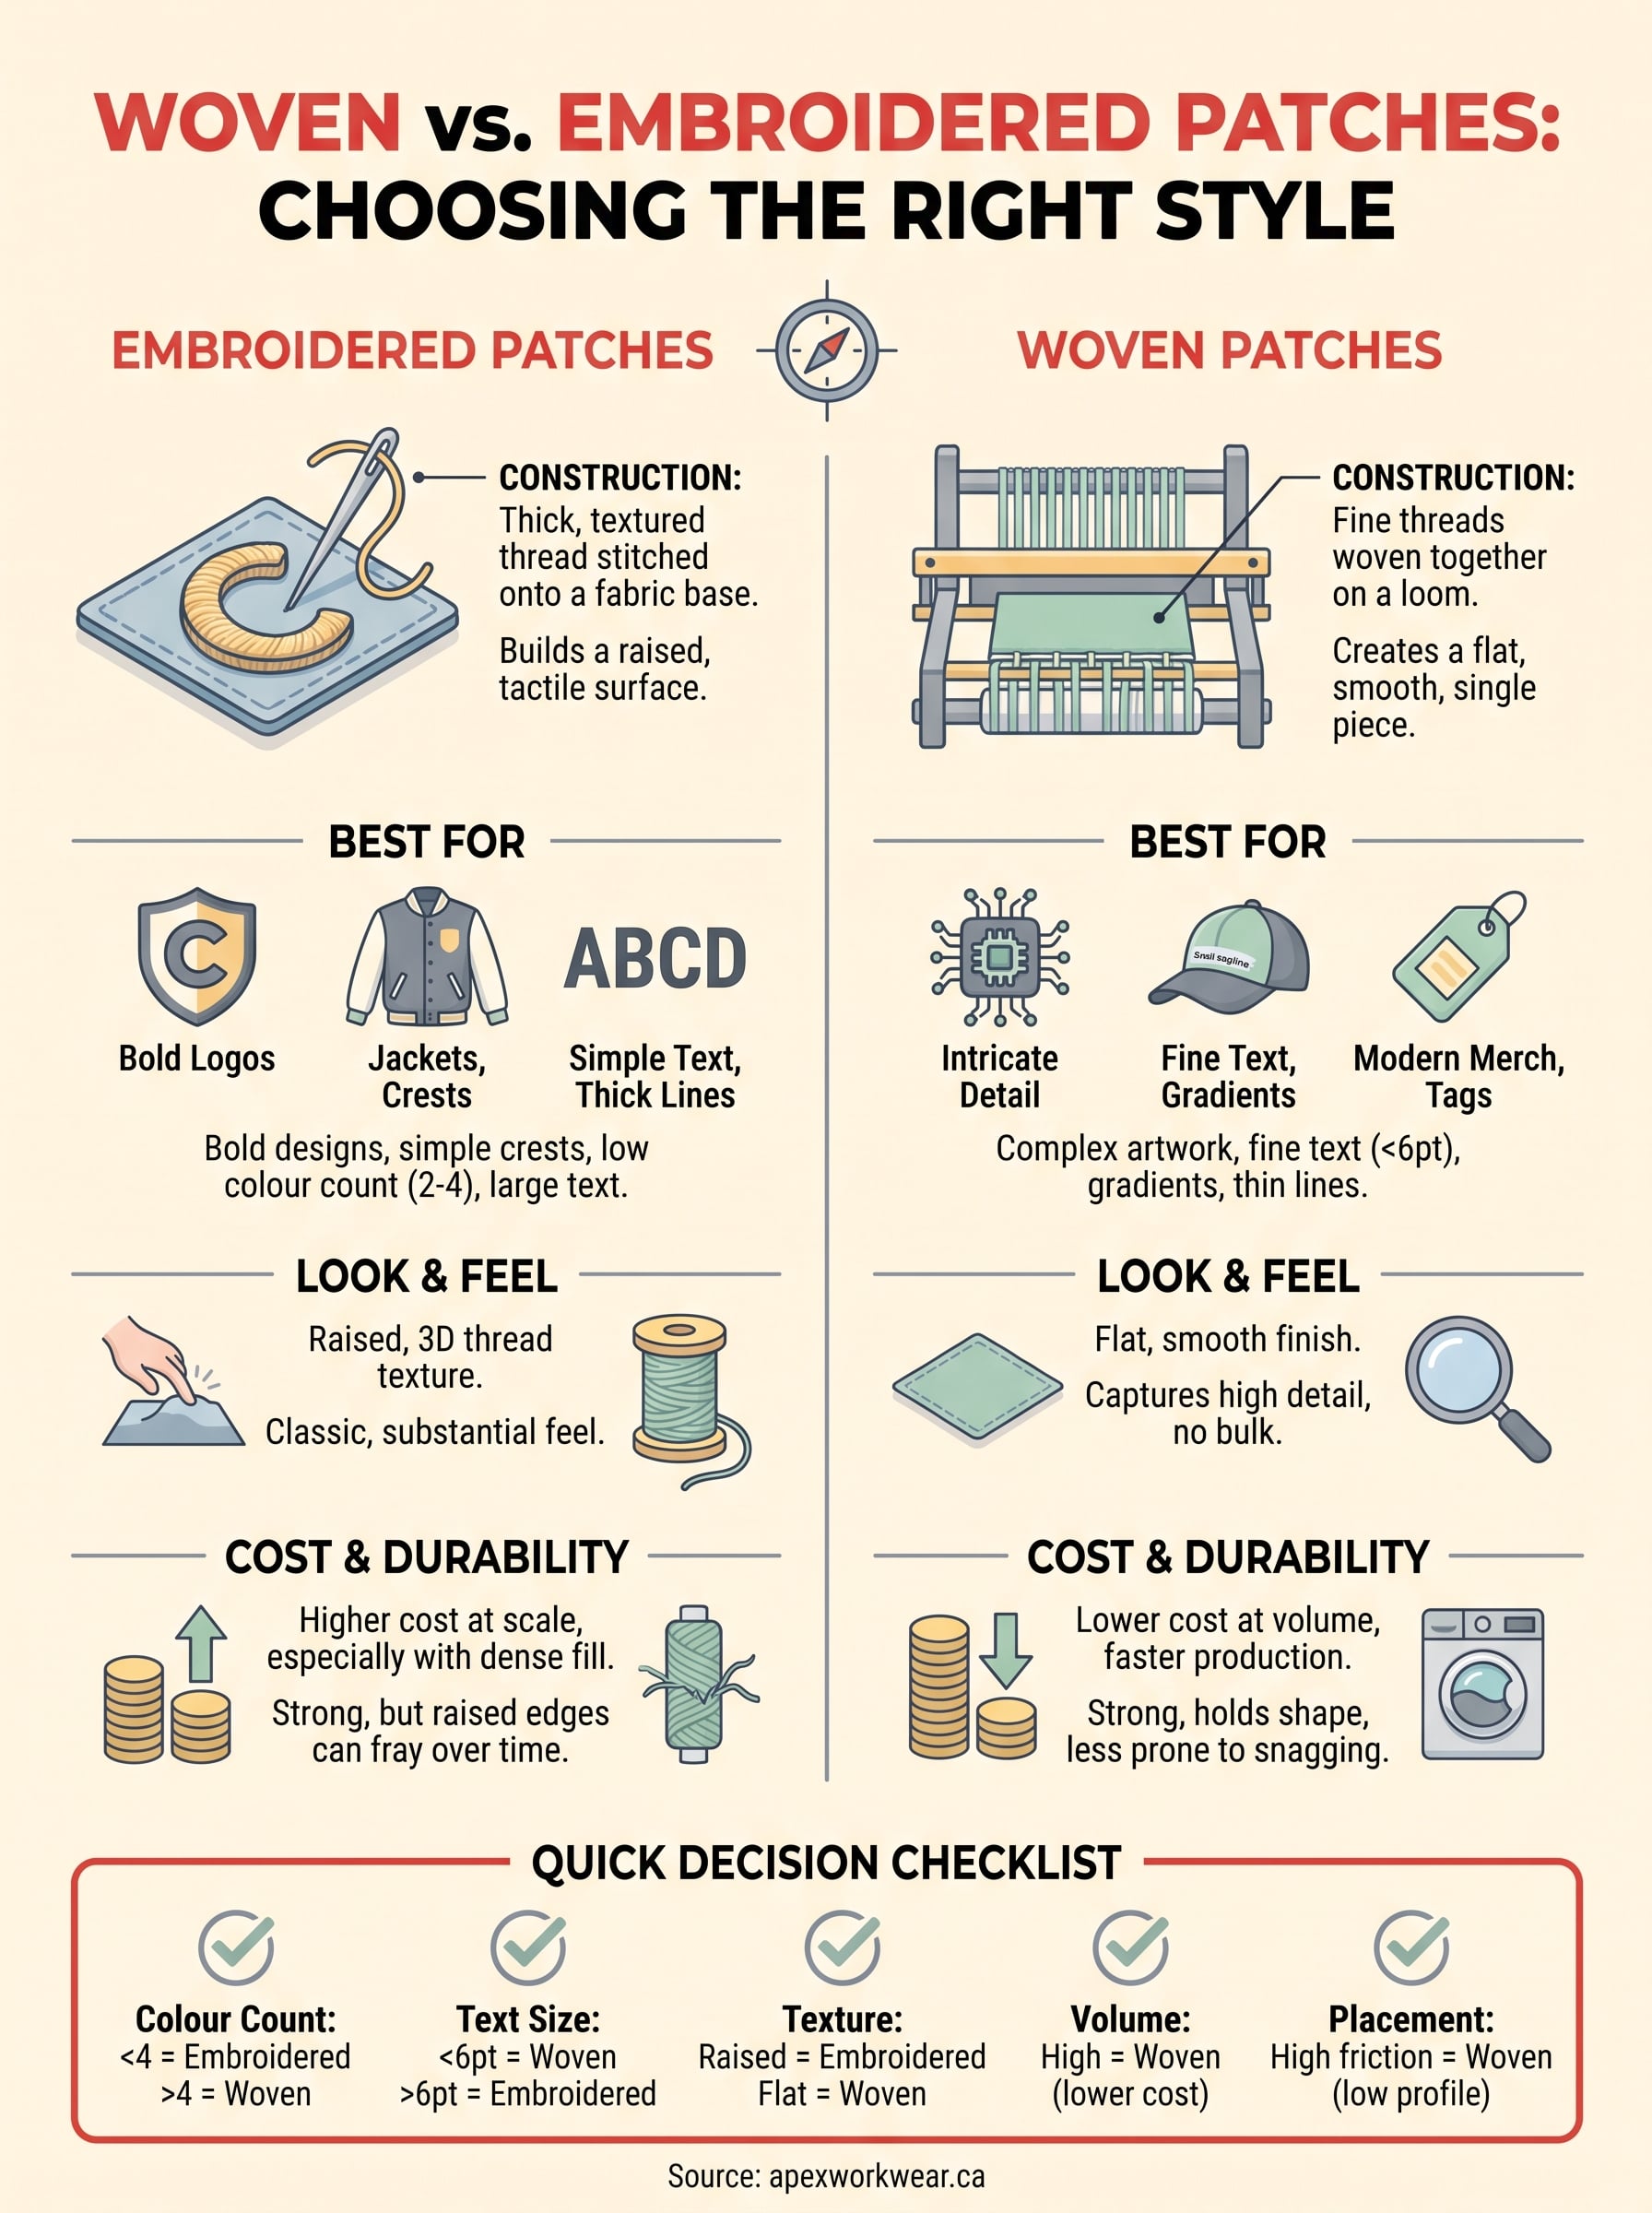
The woven patches vs embroidered patches choice really comes down to two things: what your artwork demands and how the patch will be worn. Fine text, gradients, and detailed logos point to woven construction. Bold wordmarks and crests that need a raised, tactile finish point to embroidery. Once you’ve matched the technique to your design and use case, the rest is just logistics, quotes, proofs, and turnaround times.
Don’t guess your way through this decision on a hunch. Send your artwork to someone who’ll actually look at it and tell you straight whether it needs woven or embroidered before you commit to a production run. That’s the difference between a patch that looks sharp for years and one you’ll be reordering next season.
Ready to get your logo onto real fabric? Get a free quote from Apex Workwear and have expert eyes on your file within 24 hours.