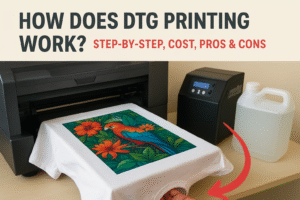
You’ve seen the term on printing websites, product descriptions, and maybe even on a quote you received for custom t-shirts. But what does it actually mean? If you’ve been searching for DTG printing explained in plain terms, you’re in the right place. Direct-to-Garment printing is a method that prints full-colour designs directly onto fabric using specialized inkjet technology, and it’s changed how small businesses, teams, and creators approach custom apparel.
At Apex Workwear, we use DTG printing daily to produce custom t-shirts, hoodies, and other garments for businesses and individuals across Canada. We’ve seen first-hand how it stacks up against screen printing, DTF, and other methods, in quality, cost, and practical turnaround times. That hands-on experience shapes everything in this guide.
Below, we’ll break down exactly how the DTG process works, what kind of results you can expect, and where it makes sense (or doesn’t) compared to alternatives like screen printing and DTF. Whether you’re ordering five shirts or five hundred, this overview will give you the information you need to make a confident decision.
Why DTG printing matters for modern apparel
The way businesses and individuals order custom apparel has shifted significantly over the past decade. Screen printing dominated the market for decades because it produced durable, vibrant results at scale. The problem: it required high minimum orders and expensive setup fees to make the economics work. DTG printing removed both of those barriers, and that change reshaped what’s actually possible for a small business, a sports team, or a creator who needs twenty shirts with a detailed design rather than two hundred identical ones.
The cost barrier that traditional printing created
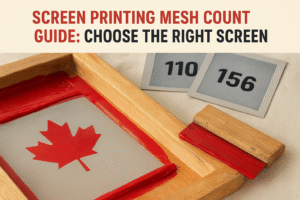
For most of the history of custom apparel, ordering a small batch of shirts with a complex, multi-colour design meant either paying a high price per unit or waiting until you could justify a large order. Screen printing requires a separate stencil, called a screen, for each colour in your design, and those screens cost money and time to prepare. If you only needed 10 or 15 shirts, the setup cost often made the price per shirt completely impractical. That reality locked out small businesses, event organisers, and individuals who didn’t have the budget or the demand for hundreds of units at once.
DTG printing eliminated the screen setup process entirely, which is why a single shirt can cost the same per unit as a run of fifty.
How on-demand production changed what’s practical
On-demand production is one of the biggest practical shifts DTG brought to custom apparel. Because there’s no screen to prepare and no ink-mixing process tied to a fixed quantity, you can print one shirt or one hundred without changing your workflow or facing a penalty on price. For businesses, this means you can test a design or a product concept before committing to a large inventory, which reduces financial risk considerably when you’re still figuring out what your audience responds to.
This flexibility also makes personalisation genuinely achievable at a small scale. If you want each shirt in a run to carry a different name, number, or individual design, DTG handles that without any additional setup cost per variation. Screen printing would treat each variation as a separate job with its own setup fees. That difference matters when you’re outfitting a team, running a fundraiser, or producing limited-run merchandise for a specific event.
Where design complexity used to hit a wall
Traditional printing methods struggled with photorealistic images, gradients, and artwork with many colours. Screen printing requires each colour to be separated and printed in layers, which means a photograph or a detailed illustration quickly becomes expensive or outright impossible to reproduce with accuracy. DTG printing treats your design the way a printer treats a document: it reads the full colour information directly from your file and lays it down in a single pass. That’s why detailed brand artwork, photography-based graphics, and multi-colour illustrations are all practical and affordable options with DTG in a way they simply weren’t with older methods.
How DTG printing works step by step
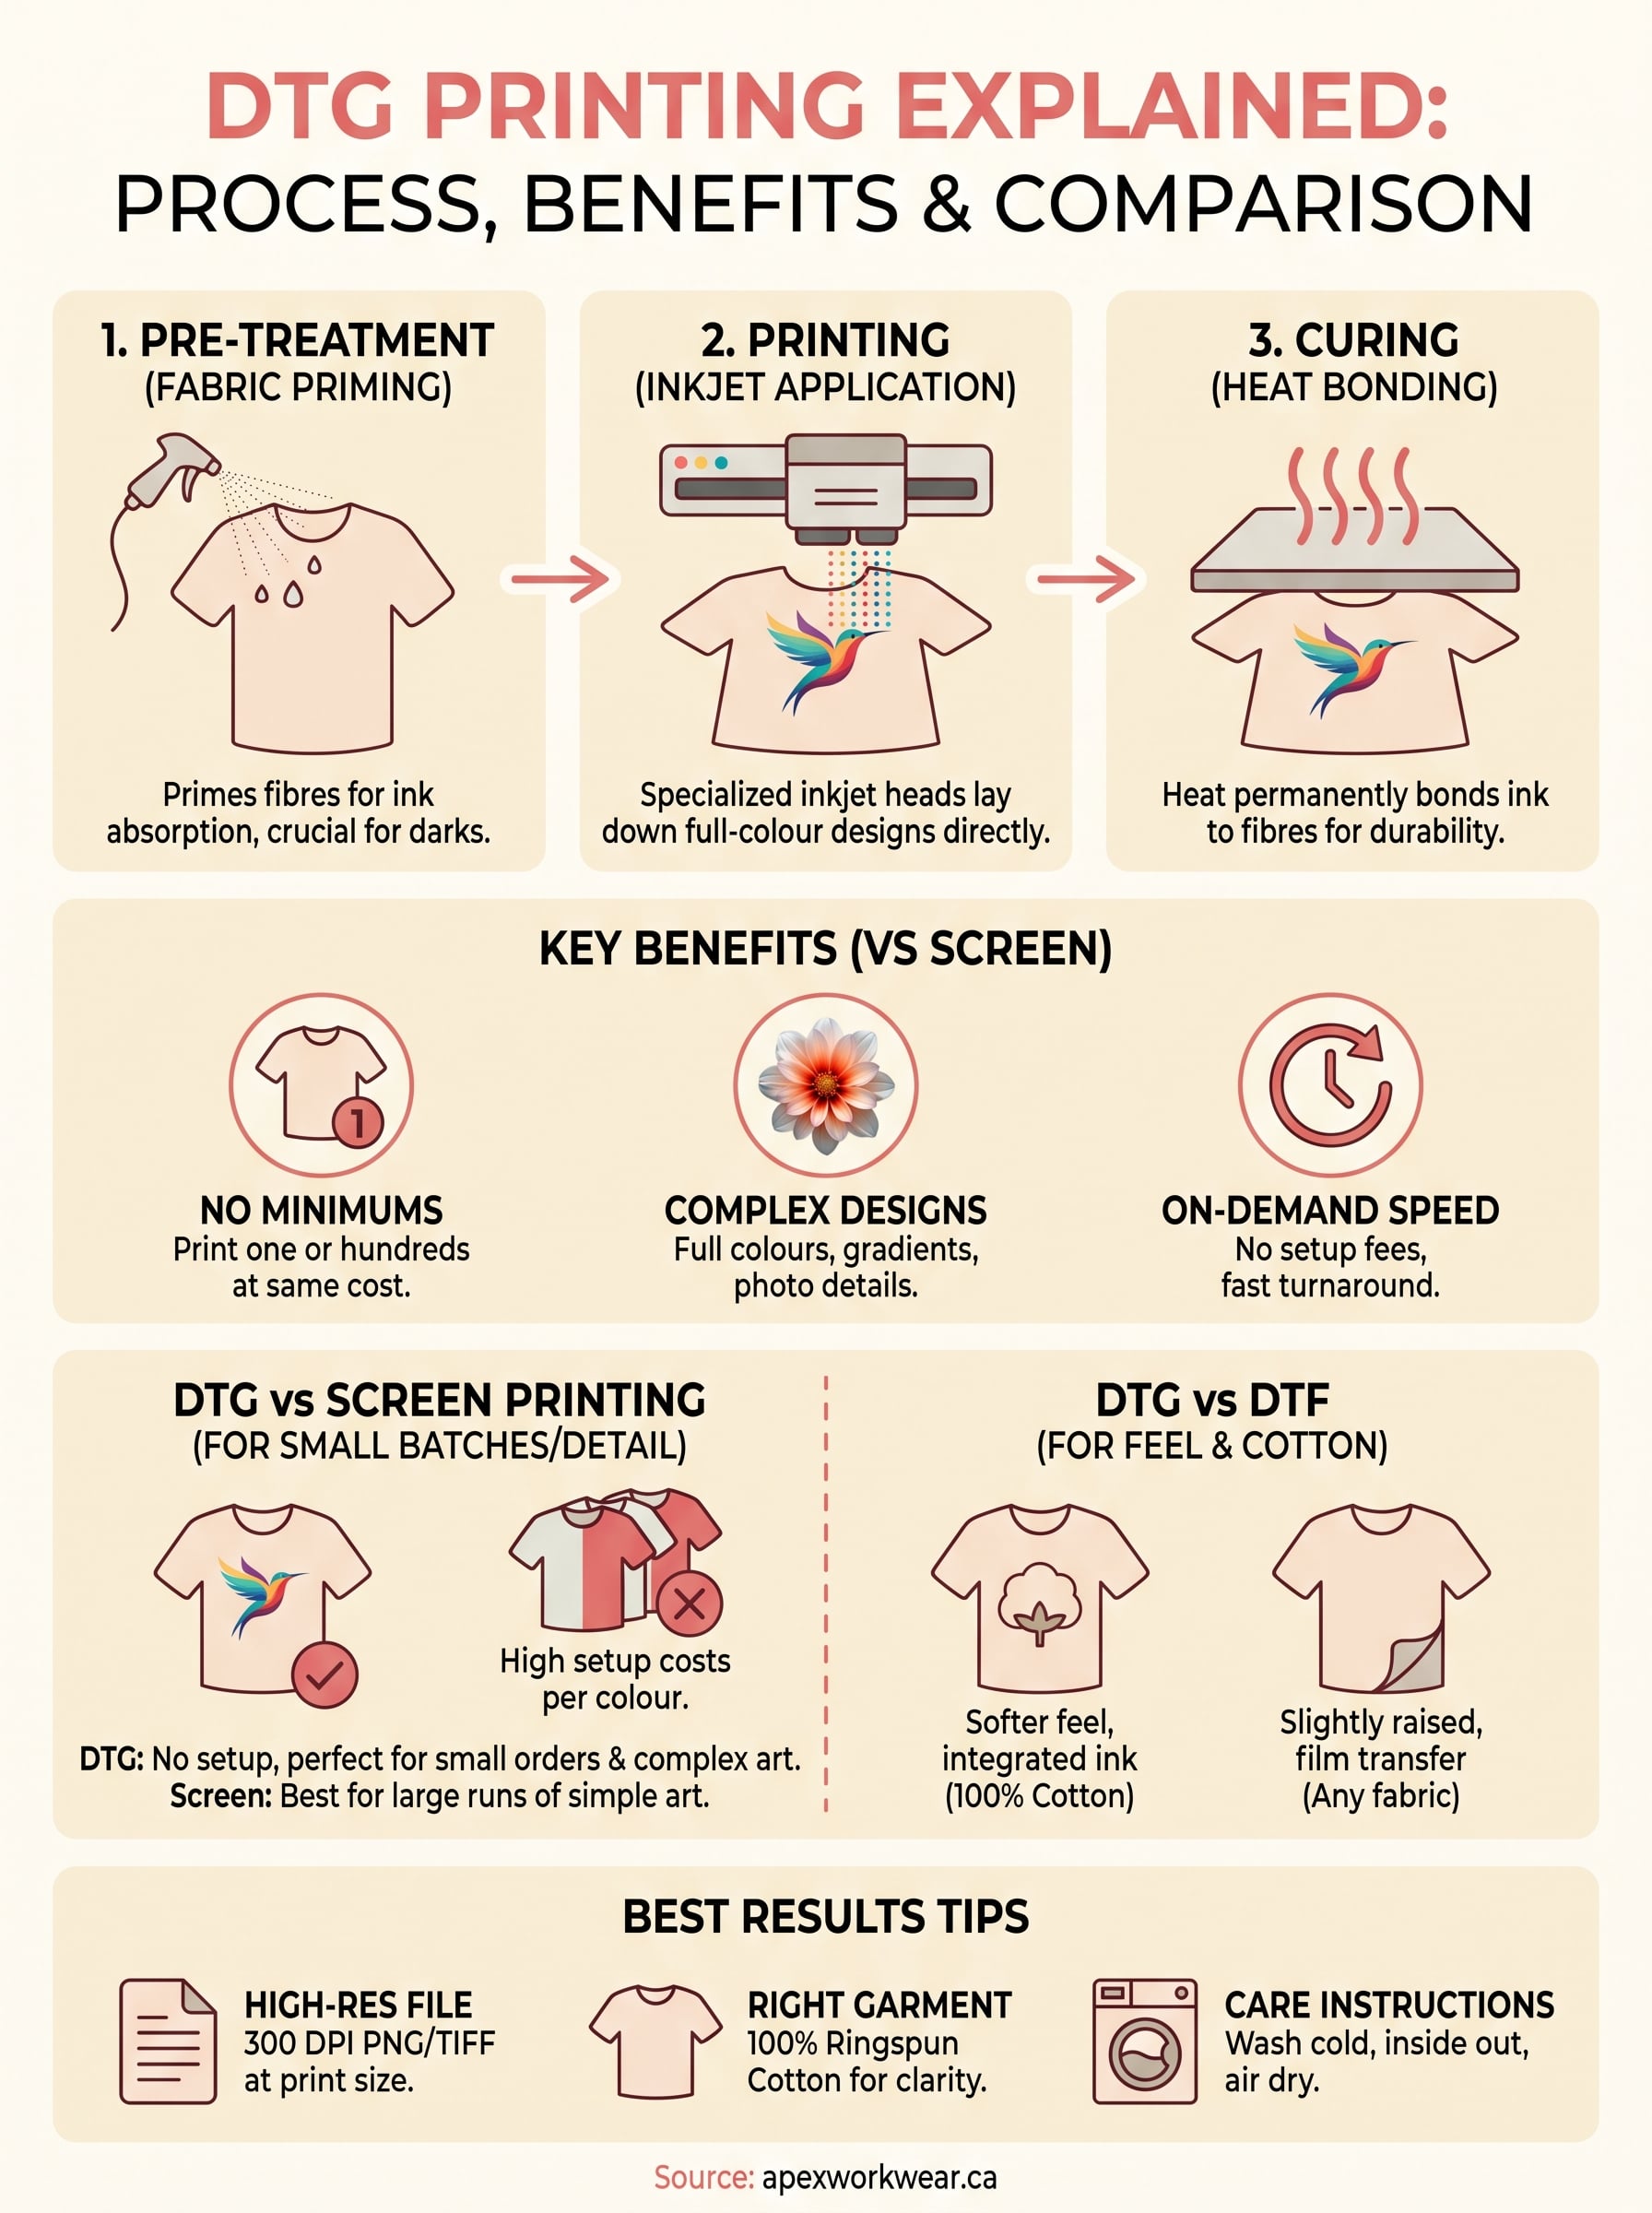
Understanding the actual process helps you set realistic expectations before you place an order. DTG printing explained properly isn’t complicated, but each stage of the workflow has a direct impact on the durability and clarity of your final print. The process runs through three core stages: pre-treatment, printing, and curing.
Pre-treating the fabric
Before any ink touches your garment, the fabric goes through a pre-treatment process that primes the fibres to absorb the ink properly. A liquid solution is applied evenly across the print area, then heat-pressed into the fabric. This step is especially critical for dark-coloured garments, where the pre-treatment acts as a base that allows white ink to sit cleanly on the surface before the colour layers go down. Without it, the ink would absorb unevenly and the design would look washed out or patchy.
Skipping or rushing the pre-treatment step is the most common reason DTG prints come out looking faded or inconsistent straight off the machine.
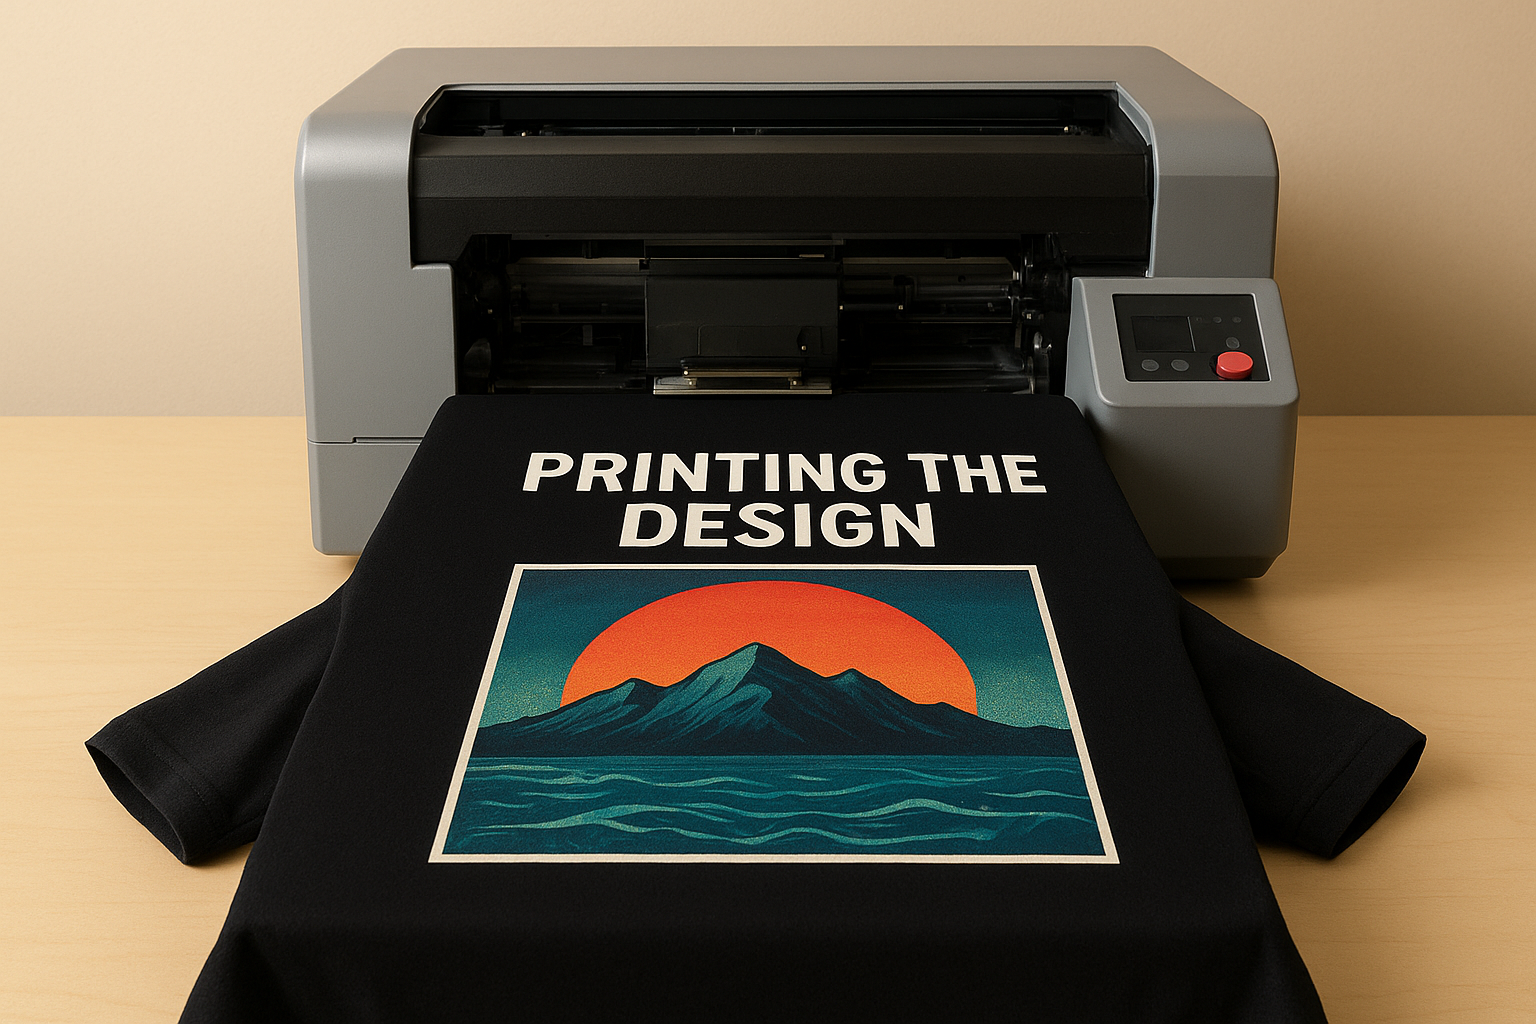
Printing the design
Once the garment is pre-treated and loaded onto the print platen, the DTG machine reads your digital file and jets ink directly onto the fabric using inkjet print heads. The printer lays down colours in passes, building up the full image from your artwork file. Complex graphics, gradients, and photorealistic images all print in this single stage without any additional setup or colour separation, which is what makes DTG so efficient for detailed designs.
Curing the ink
After printing, the garment moves into a heat cure stage, typically using a conveyor dryer or a heat press. This step bonds the ink permanently to the fabric fibres. The temperature and time settings matter here because undercuring leaves ink that washes out quickly, while overcuring can cause cracking or colour shifting in the finished print. A properly cured DTG print holds up through repeated washes without peeling or fading significantly.
What DTG prints look and feel like
Once you understand the process, the next question is what you actually get at the end of it. DTG printing explained in technical terms is one thing, but the practical result, what you see and feel when you hold the finished garment, is what determines whether it works for your brand or your project. The short answer is that a well-executed DTG print looks sharp, carries accurate colours, and sits closer to the fabric surface than many people expect.
Print clarity and colour accuracy
DTG excels at reproducing detailed artwork and photography-based graphics with a level of accuracy that screen printing cannot match at small quantities. Because the printer reads colour information directly from your digital file, what you see on screen translates closely to what comes off the machine. Gradients print smoothly, fine lines stay clean, and complex multi-colour illustrations don’t lose detail in the process. The result on a white or light-coloured garment is especially crisp, with colours that sit bright and true to your original design.
On dark garments, the white ink underbase adds a subtle texture to the print area that is slightly more noticeable than on lighter fabric, so this is worth factoring in when choosing your garment colour.
How DTG prints feel on the fabric
One of the most common questions people ask is whether DTG prints feel stiff or heavy on the shirt. On white and light-coloured garments, the ink layer is thin enough that the print feels relatively soft and flexible once cured. You can feel the print if you run your finger across it, but it doesn’t sit up off the fabric the way some screen-printed plastisol inks do. On dark garments, the underbase adds a slightly thicker feel to the print area, which is normal and expected with the technology. Washing the garment a couple of times typically softens the print further without affecting the colour or detail in any significant way.
DTG vs screen printing and DTF
When you’re deciding which printing method to use, the comparison between DTG, screen printing, and DTF comes down to three things: your order quantity, your design complexity, and what you want the finished product to feel like. Each method has clear strengths, and choosing the wrong one for your situation will cost you either money or quality.
DTG vs screen printing
Screen printing works by pressing ink through a stencil, one colour at a time, directly onto the garment. It produces extremely durable, vibrant prints that hold up well over years of washing, but the setup process requires a separate screen for every colour in your design. That means multi-colour artwork drives setup costs up quickly, and the economics only work in your favour when you’re ordering large quantities of the same design. For simple, one or two-colour designs at volume, screen printing is hard to beat on cost per unit.
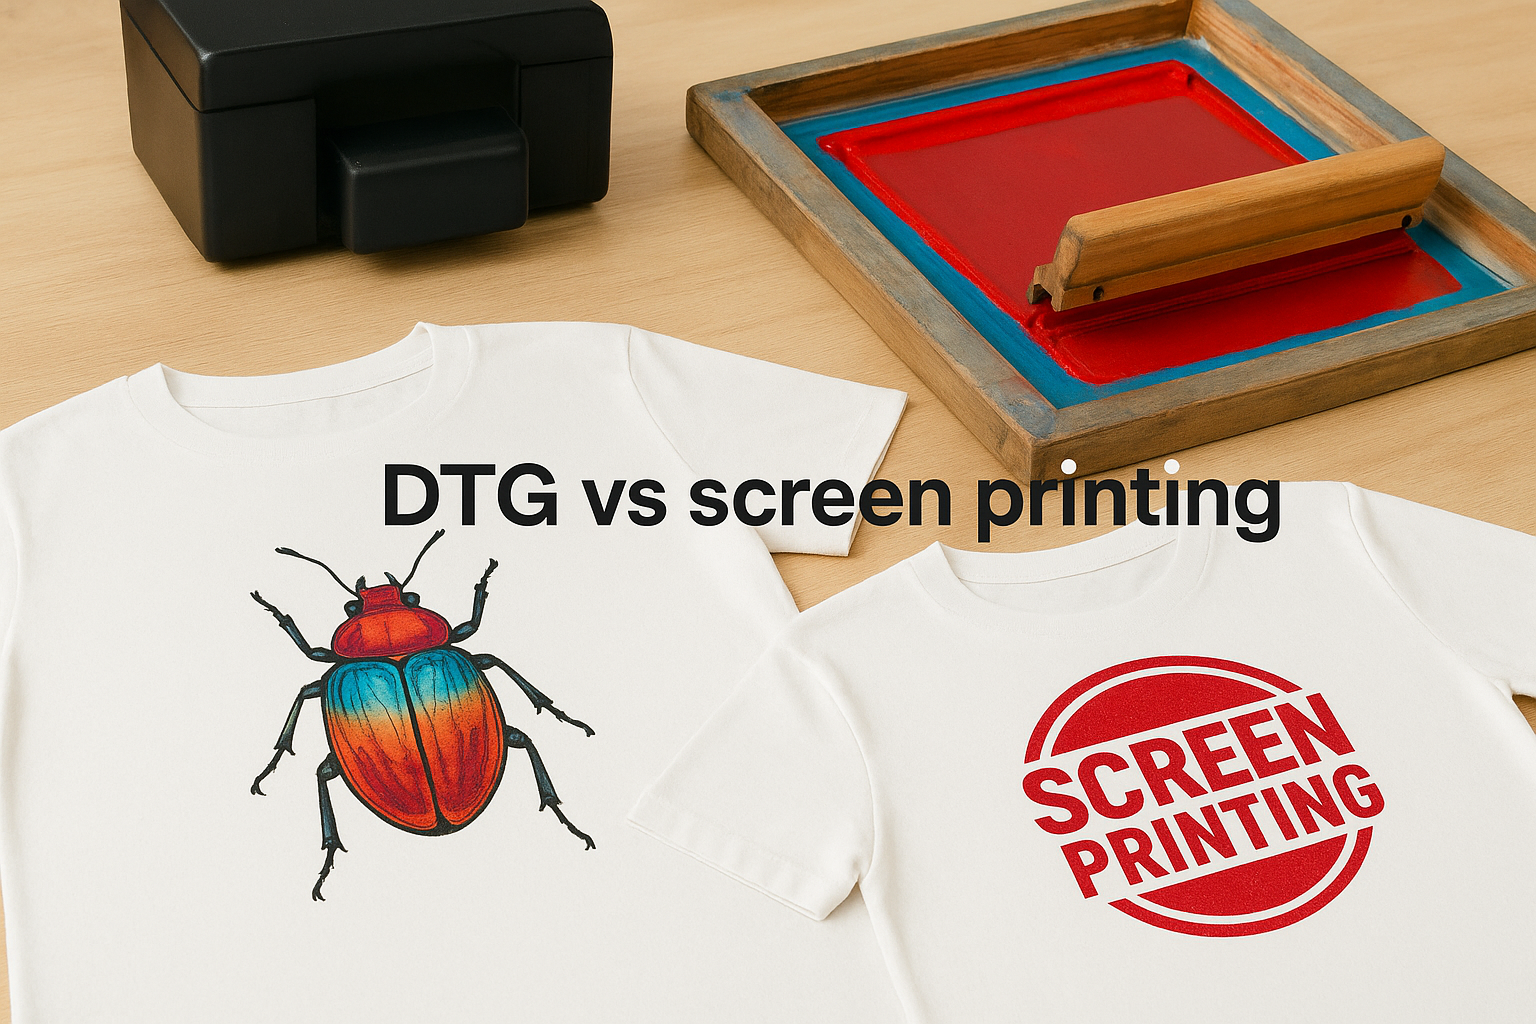
DTG printing explained in contrast to screen printing comes down to this: DTG carries no setup cost, while screen printing front-loads that cost before a single shirt is printed.
For small batches, detailed artwork, or orders where every shirt needs to be different, DTG is the stronger choice. You skip the setup fees entirely and get accurate colour reproduction without needing to separate your design into individual colour layers.
DTG vs DTF
DTF, or Direct-to-Film printing, works by printing your design onto a special film and then heat-pressing that transfer onto the garment. The main advantage of DTF is that it bonds to almost any fabric type, including polyester and blended materials where DTG can struggle to grip properly. DTF transfers sit on top of the fabric rather than soaking into the fibres, which gives the print a slightly raised, plastic-like feel that some people notice on the finished garment.
DTG produces a softer hand feel on cotton and integrates more naturally with the fabric structure, which makes it the better choice when wearability and comfort matter as much as the visual result.
How to get the best DTG results
Getting sharp, long-lasting prints from DTG comes down to a few decisions you make before the job starts. Your artwork file and your garment choice carry more weight than most people realise, and small adjustments in both areas make a significant difference in what comes off the machine.
Start with a high-resolution file
Everything that DTG printing explained so far in this guide comes back to one practical point: the printer can only reproduce what’s in your file. Use a PNG or TIFF at 300 DPI or higher, measured at the actual print size on the garment. Low-resolution files, especially JPEGs exported at screen resolution, will print with visible pixelation and soft edges that no machine calibration can fix. If you’re working from a logo or brand asset, ask your designer to export a high-resolution transparent PNG so the printer has the full colour detail to work with.
A file that looks sharp on screen at thumbnail size can still be too low in resolution for print, so always check the actual pixel dimensions before you submit.
Choose the right garment
100% ringspun cotton gives DTG ink the best surface to bond with during pre-treatment and curing. The fibres absorb the pre-treatment solution evenly, which means the ink layers sit cleanly on the fabric without blotching or streaking. Polyester and synthetic blends resist the pre-treatment solution and often result in prints that look faded or lose vibrancy after washing. If your order includes a mix of fabric types, flag that upfront so the right process is applied to each piece. Lighter-coloured garments also produce the sharpest, most colour-accurate results because they don’t need an underbase layer of white ink.
Follow the care instructions after printing
Washing your DTG-printed garments correctly extends the life of the print considerably. Turn shirts inside out before washing, use cold water, and avoid high-heat drying cycles. Harsh detergents and bleach break down the ink bond faster than normal wear does, so sticking to a gentle wash cycle protects the print from premature fading. Air-drying the shirt rather than tumble drying on high heat will help the print hold its colour and clarity for significantly longer.
Final takeaways
With dtg printing explained from process to print quality, you now have a clear picture of where this method delivers and where alternatives like screen printing or DTF make more sense. DTG works best for detailed artwork, small quantities, and cotton garments where soft hand feel and colour accuracy matter. Screen printing takes over when you’re ordering large runs of simple designs and need maximum durability per unit. DTF fills the gap when your fabric isn’t cotton-friendly.
Your file quality and garment choice do most of the work before the job even starts, so treat those decisions seriously. High-resolution artwork on 100% ringspun cotton gives you the sharpest, most durable result the technology can produce. Follow the wash care instructions afterwards and your print will stay looking clean through many uses. If you’re ready to put this into practice, get a custom DTG printing quote from Apex Workwear and we’ll guide you through the rest.