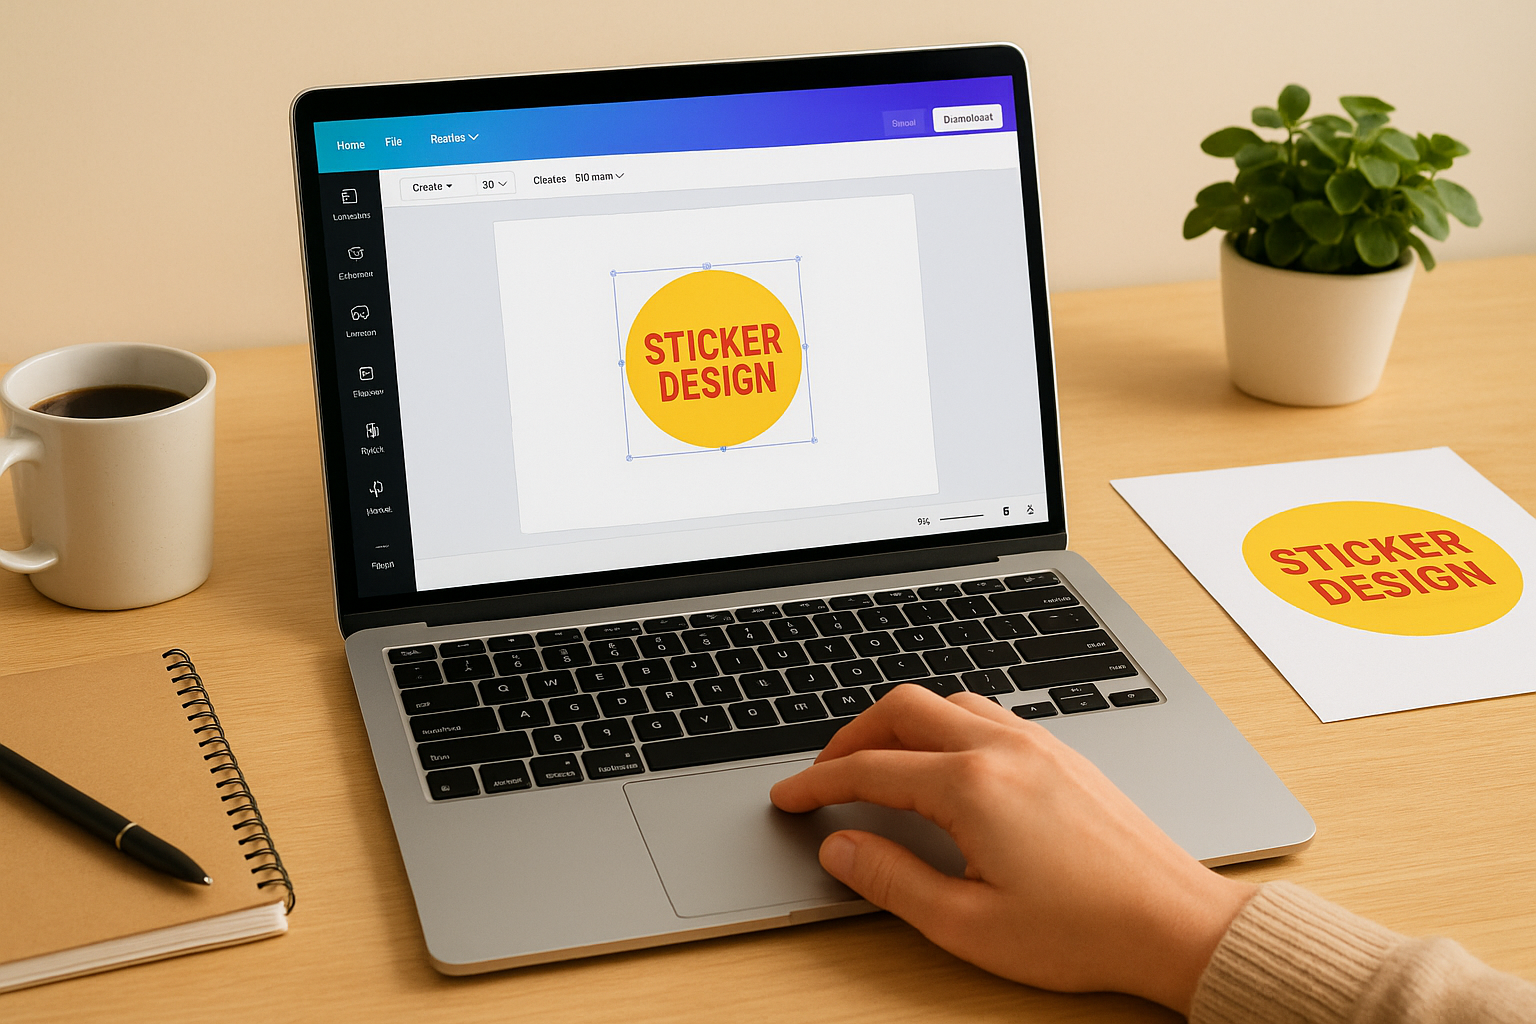
Canva makes it surprisingly easy to design your own stickers, no graphic design degree required. The Canva sticker maker gives you access to thousands of templates, drag-and-drop editing tools, and even AI-powered features that handle most of the heavy lifting. Whether you need product labels, laptop decals, or branded stickers for your business, you can go from blank canvas to finished design in minutes.
But designing a sticker is only half the job. Printing at home works fine for small batches or quick prototypes, though the results often fall short when you need durable, professional-quality stickers in larger quantities. That’s where a service like Apex Workwear comes in, we print custom stickers and labels right here in Canada, with no minimum order requirements and free shipping across the GTA.
This guide walks you through the full process: setting up your design in Canva, customising it to fit your needs, and choosing the best way to get your stickers printed, whether that’s on your home printer or through a professional print partner.
What you need before you start
Getting set up properly before you open the Canva sticker maker saves you from reworking your design halfway through. A few minutes of preparation now means you will export the right file, print on the right material, and end up with stickers that actually look the way you intended.
A Canva account and the right plan
You can use Canva’s free plan to design stickers, and it covers a large portion of what most people need: templates, basic shapes, text tools, and image uploads. If you want access to AI-powered features like Magic Design or Text to Image, or if you need to remove backgrounds from photos automatically, you will need a Canva Pro subscription. Canva Pro costs around $17 CAD per month, though a free 30-day trial is available if you want to test it before committing.
If you plan to send your file to a professional printer, the free plan is enough. Pro features speed things up but are not required to produce a print-ready design.
That said, if your goal is bulk branded stickers for a business, upgrading to Pro is worth considering. The Brand Kit feature lets you lock in your logo, colours, and fonts so every sticker stays consistent without manual setup each time.
The materials you need for home printing
Your printer and paper choice will determine most of the final result. Standard copy paper produces low-quality stickers that will not hold up outdoors or on products, so choose the right supplies from the start.
Here is what you need:
- Inkjet or laser printer: inkjet handles photos and gradients better; laser suits bold, flat graphics
- Printable sticker paper: available in glossy, matte, or clear finishes at most office supply stores
- Scissors or a craft cutting mat and blade: for clean cuts around your sticker shapes
- Laminate sheets (optional): a protective layer that guards against water and scratching
- A ruler: useful for aligning cuts on multi-sticker sheet layouts
Your brand assets and design dimensions
Before you open Canva, gather the files you plan to use. If you are designing branded stickers for a business, you will need your logo file (PNG with a transparent background works best), your brand colours as hex codes, and any fonts you want to match.
Knowing your target sticker size in advance also helps. Standard sizes like 5 x 5 cm, 7.5 x 2.5 cm (rectangle), or 8 x 8 cm (circle) map cleanly to common sticker paper sheet layouts, which reduces waste when you print. Always source the highest-resolution images available, ideally 300 DPI or higher, because low-resolution images will print noticeably blurry even on a good printer.
Step 1. Set up your sticker size and layout in Canva
Opening the Canva sticker maker with the wrong canvas size wastes time. You need to match your design dimensions to the sticker sheet you plan to print on, so decide on your sticker size before you add a single element to the page.
Choose a custom canvas size
On the Canva homepage, click "Create a design" and then select "Custom size" from the top right corner. Enter your dimensions in millimetres using these common sticker sizes as a starting point:
| Sticker type | Width | Height |
|---|---|---|
| Circle | 80 mm | 80 mm |
| Rectangle | 100 mm | 50 mm |
| Square | 70 mm | 70 mm |
Set your units to millimetres and your resolution to 300 DPI if you plan to send the file to a professional printer. Canva defaults to pixels for screen work, so switching units early prevents frustrating scaling issues later in the process.
Always add 3 mm of bleed around every edge of your sticker canvas when sending a file to a professional printer. This extra border ensures clean cuts with no white edges on the finished sticker.
Arrange your sticker layout on the sheet
If you want to fit multiple stickers onto a single sheet, set your canvas to match your sticker paper size, typically A4 at 210 x 297 mm, and use Canva’s alignment and grid tools to distribute your designs evenly across the page.
Create one sticker design first, then duplicate and reposition it across the sheet manually. Leave at least 3 mm between each sticker to keep your cuts clean and prevent one design from bleeding into the next.
Step 2. Design stickers from scratch, photos, or AI
The Canva sticker maker gives you three clear starting points: a pre-built template, your own uploaded photos, or AI-generated artwork. Each approach suits a different situation, so choose the one that matches your skill level and available assets before you start adding elements to the canvas.
Start from a template or a blank canvas
Type "sticker" into Canva’s search bar and you will find hundreds of ready-made layouts organised by shape, style, and occasion. Select a template that fits your sticker dimensions, then swap out the placeholder text and colours to match your brand. If you prefer a blank canvas, use the Shape tool to drop in a circle, square, or custom path, then build your design on top of it using Canva’s text and icon panels.
Follow this sequence to keep your design clean from the start:
- Lock your background shape so it does not shift as you add layers
- Place your main graphic or logo in the centre
- Add text using a font that remains readable at small sizes
- Apply your brand colours using the hex code input field in the colour picker
Keep your sticker design to two or three colours maximum. Busy designs lose clarity when scaled down to typical sticker sizes.
Use photos or AI to generate artwork
To use a photo, click "Uploads" in the left panel and drag your image onto the canvas. If your image has a busy background, Canva Pro’s Background Remover isolates the subject in one click. For AI-generated artwork, open the "Apps" panel and select "Text to Image," then type a short, specific prompt describing your sticker subject.
Step 3. Export print-ready sticker files
Once your design is ready in the Canva sticker maker, exporting it correctly is what separates a professional result from a blurry printout. The file format and resolution you choose at this stage determine how sharp your stickers look on paper, so do not rush through this step.
Choose the right file format
Your choice of format depends on where you are printing. PDF Print is the best option for professional printers because it preserves colours accurately and supports bleed settings. PNG works well for home printing when you want a transparent background, particularly for die-cut or irregular-shaped sticker designs.
Use this table to pick the right format quickly:
| Printing method | Recommended format | Why |
|---|---|---|
| Professional printer | PDF Print | Colour accuracy, bleed support |
| Home inkjet or laser | PNG (300 DPI) | Transparency, sharp edges |
| Digital use only | PNG or SVG | Screen-optimised, scalable |
Adjust export settings before downloading
Click "Share" in the top right corner of Canva, then select "Download" to open the export panel. From the file type dropdown, choose your format, then tick the "Crop marks and bleed" box if you are sending your file to a professional printer. This adds the 3 mm bleed border and trim lines your printer needs to cut cleanly.
Always select "Flatten PDF" when exporting for print. This embeds all fonts and images into a single layer, preventing font substitution or missing elements at the printer’s end.
For home printing, set the DPI to 300 and deselect the crop marks option since most home printers do not use them. Download your file, open it in your system’s print dialogue, and confirm that the page size matches your sticker sheet dimensions exactly before sending it to print.
Step 4. Print, laminate, and cut stickers at home
Your design is exported and ready to go. Before you load your sticker sheet into the printer, confirm that your printer settings match your paper type and that the page size in the print dialogue matches your canvas dimensions exactly. Sending the wrong page size to your printer is the most common reason stickers print off-centre or with unexpected white borders.
Load your printer and run a test page
Feed one sheet of printable sticker paper into your printer’s manual tray if it has one, as this reduces the chance of jamming on thicker media. In your system’s print dialogue, set the paper type to "glossy photo paper" or "label paper" depending on your sheet finish, then select "Actual size" rather than "Fit to page" so your dimensions stay accurate.
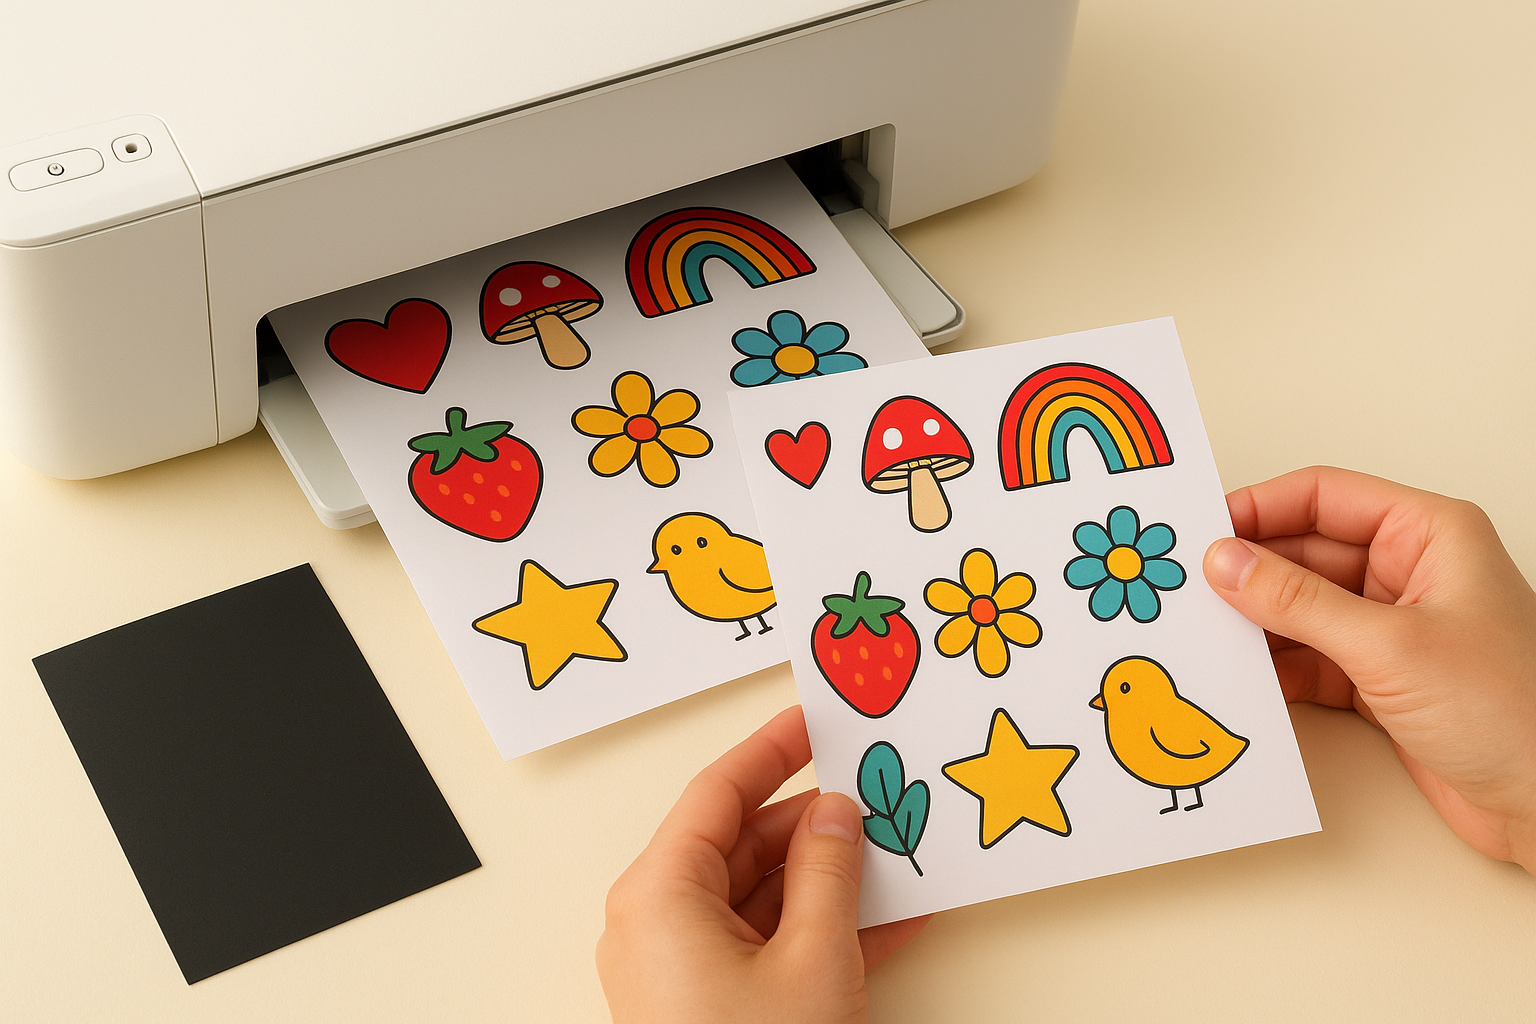
Always print a test run on plain copy paper first and hold it up to your sticker sheet against a light source to check alignment before you commit your specialty paper.
Print your sticker sheet at the highest quality setting your printer supports. Let the sheet dry flat for at least two minutes before handling it, particularly with inkjet printers, as smudging is common when ink is still wet.
Laminate and cut cleanly
Once the ink is dry, press a self-adhesive laminate sheet firmly over the printed surface using a credit card to push out any air bubbles. Laminating adds water resistance and extends the life of your stickers considerably. When you cut, use a metal ruler and craft blade on a cutting mat for straight edges, or small scissors for rounded shapes. Your finished Canva sticker maker designs should come away cleanly with no fraying or tearing along the edges.
Next steps
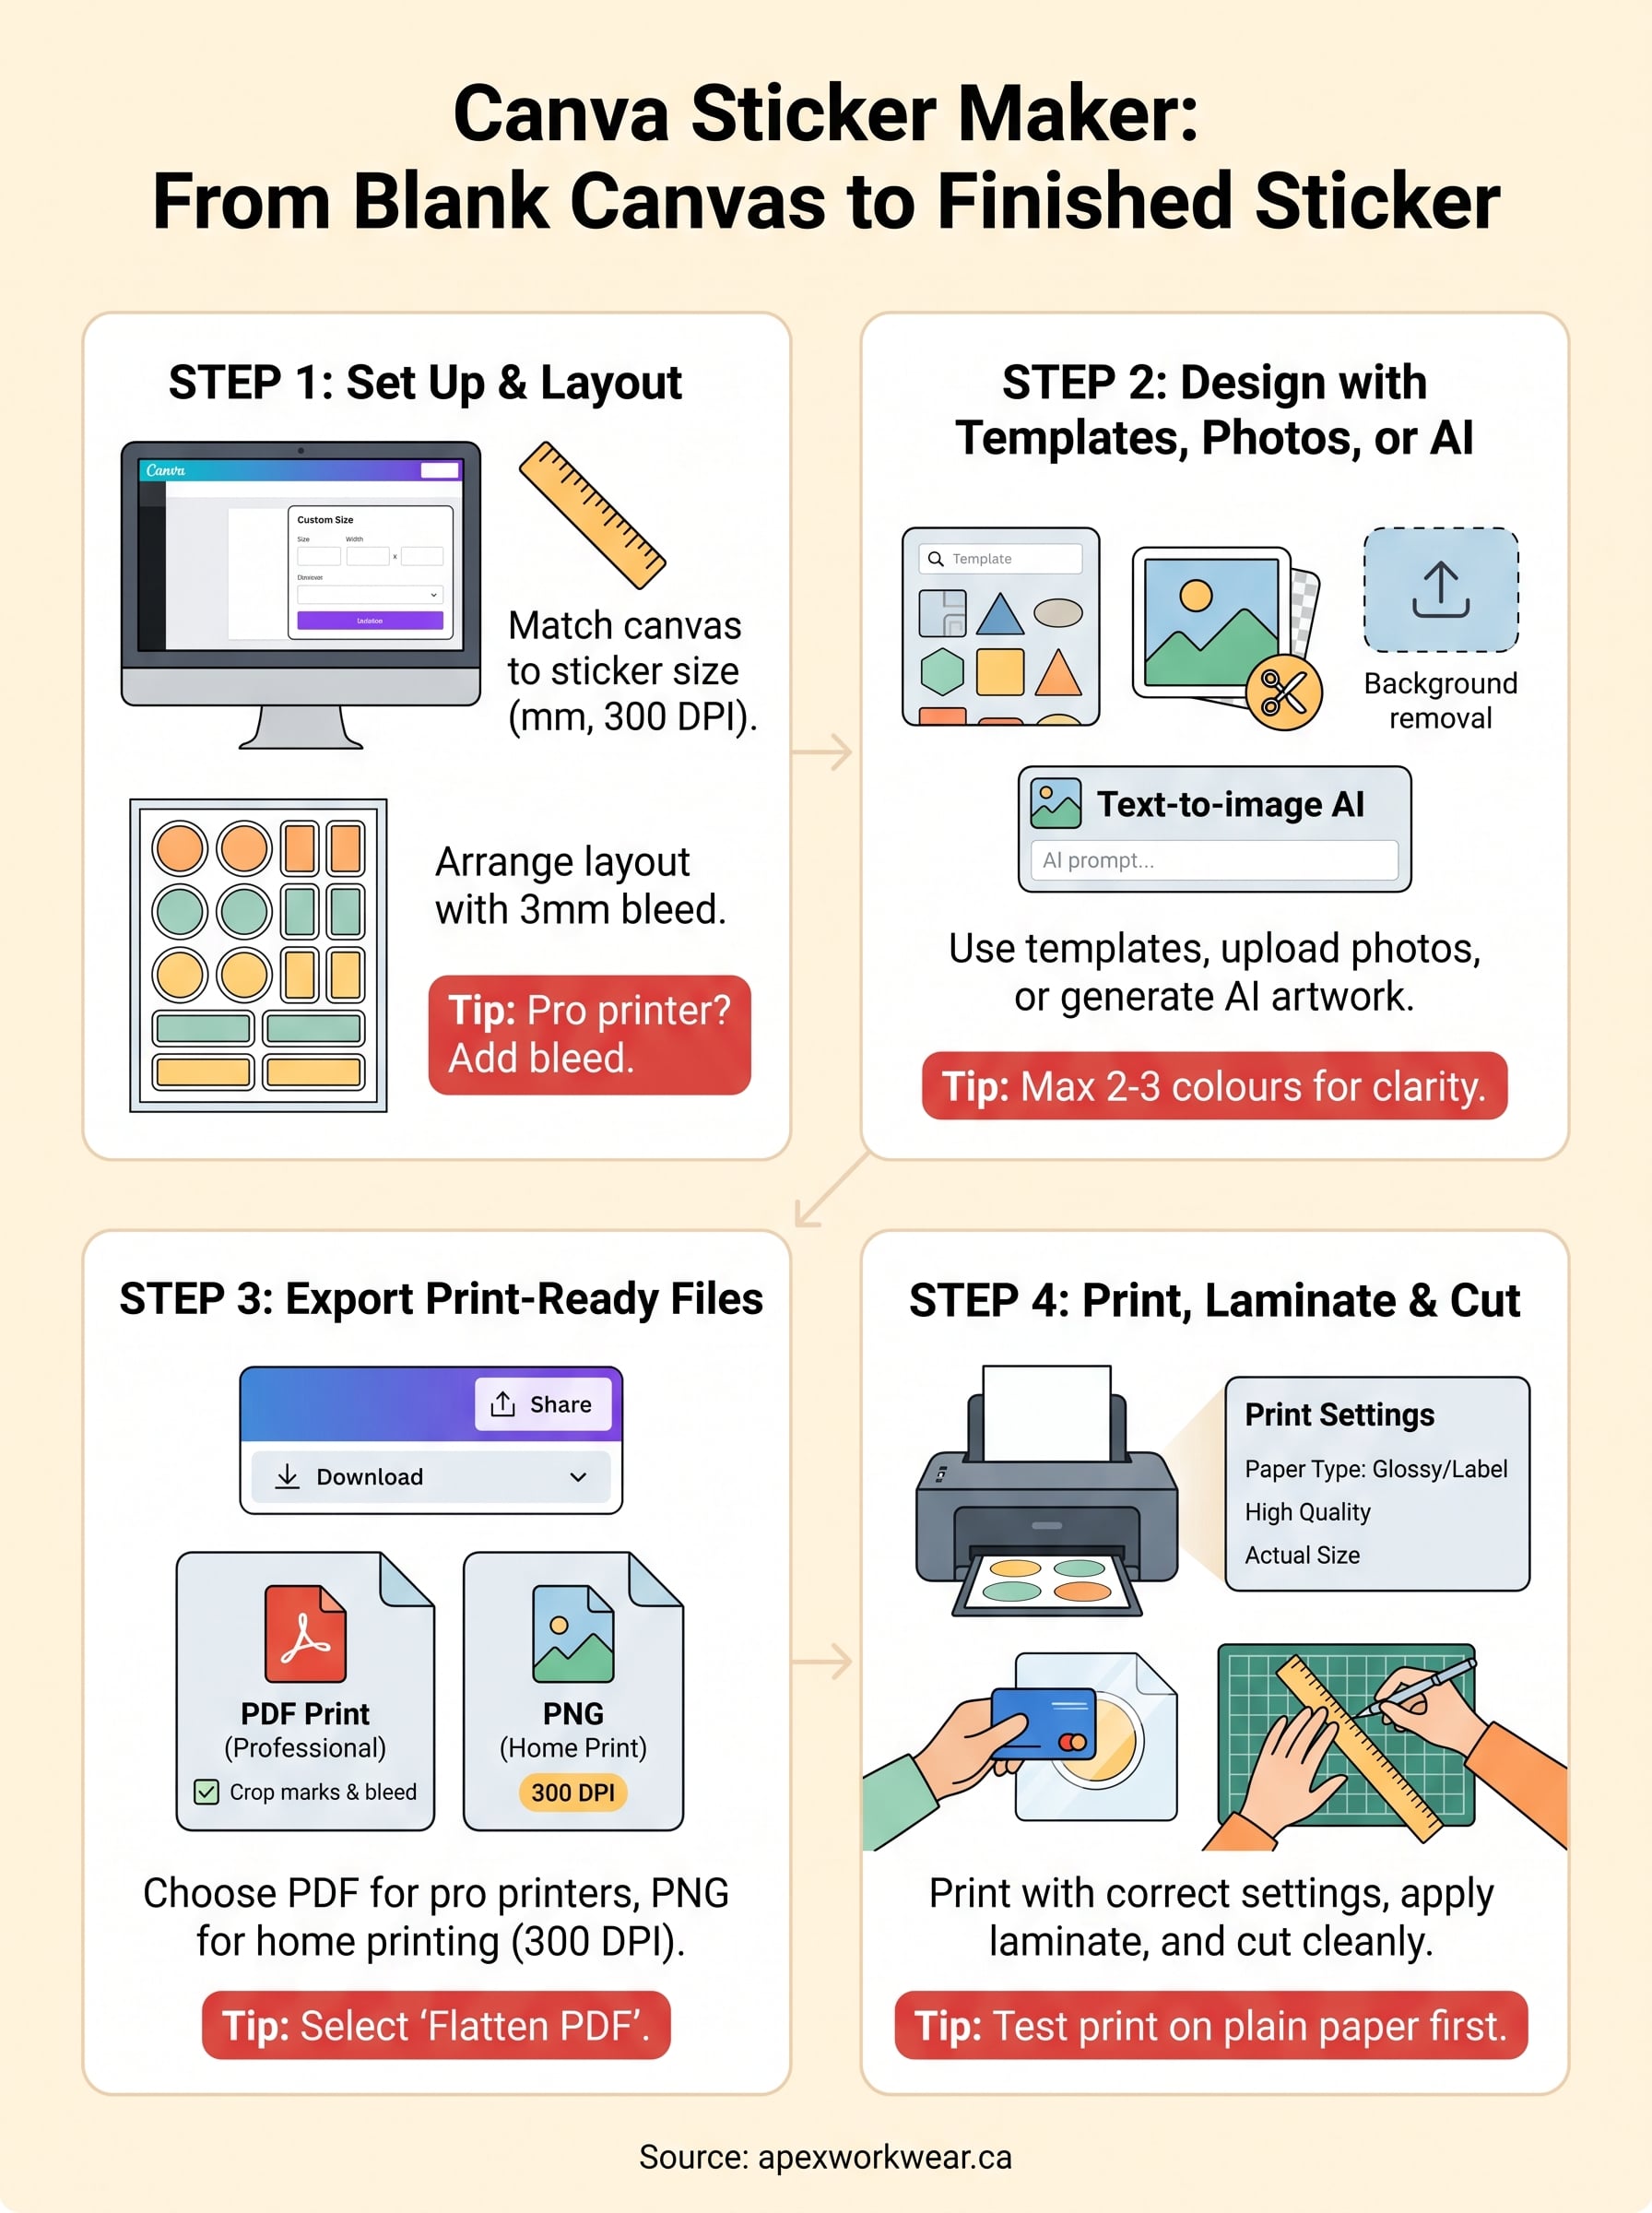
You now have everything you need to go from a blank canvas to a finished, laminated sticker using the Canva sticker maker. The process breaks down into four clear stages: setting the right canvas dimensions, building your design from templates, photos, or AI, exporting a print-ready file, and printing and laminating at home.
Home printing suits small personal batches or quick prototypes. For branded business stickers that need to look sharp on product packaging, equipment, or promotional materials, professional printing produces a noticeably better result. A professional printer also saves you the cost of specialty paper, laminate sheets, and wasted test runs.
That is where Apex Workwear comes in. We print custom stickers and labels in Canada with no minimum order requirements, free local shipping across the GTA, and a digital proof sent to you before anything goes to press. Upload your Canva export and we handle the rest.